
2025 Fixed: VNC Viewer Audio Greyed Out [4 Solutions]
How to fix VNC Viewer audio greyed out? Would you like to find a solution to this problem? Read this article and you will get the answer and find the best free alternative.
By Carolyn / Updated on December 13, 2024
How do I enable audio in VNC Viewer?
I enabled audio in the Server's Options>Users & Permissions and adjusted the volume to 100 in the VNC Viewer, but I still don't hear any audio. On the VNC Viewer, the Speaker icon is gray.
- Question from Kenneth Ocheltree

VNC is a graphical desktop sharing program used to remotely control other computers. VNC supports remote sound, but sometimes when users want to use remote sound, they encounter the problem that the audio is displayed in grey. In this article, we will discuss how to fix the VNC Viewer audio greyed out issue.
How to fix VNC Viewer audio greyed out [4 solutions]
It's really frustrating to have problems with the audio over VNC Viewer greyed out. But the good news is that there are some simple solutions you can try to fix this issue. Here, we will provide you with four options to help you fix the VNC Viewer audio not working issue.
Solution 1. Checking Windows system settings
When the VNC Viewer audio is greyed out, you can first check the Windows system settings to see if there is a problem with the settings.
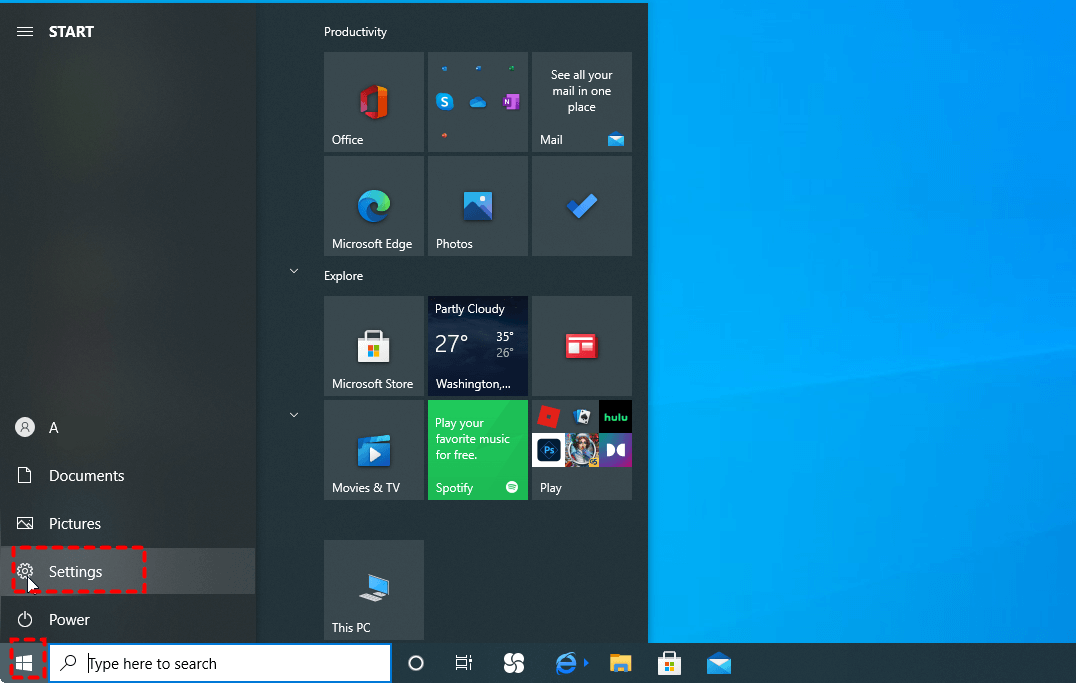
Step 1. Open “Settings” in the “Start” menu.
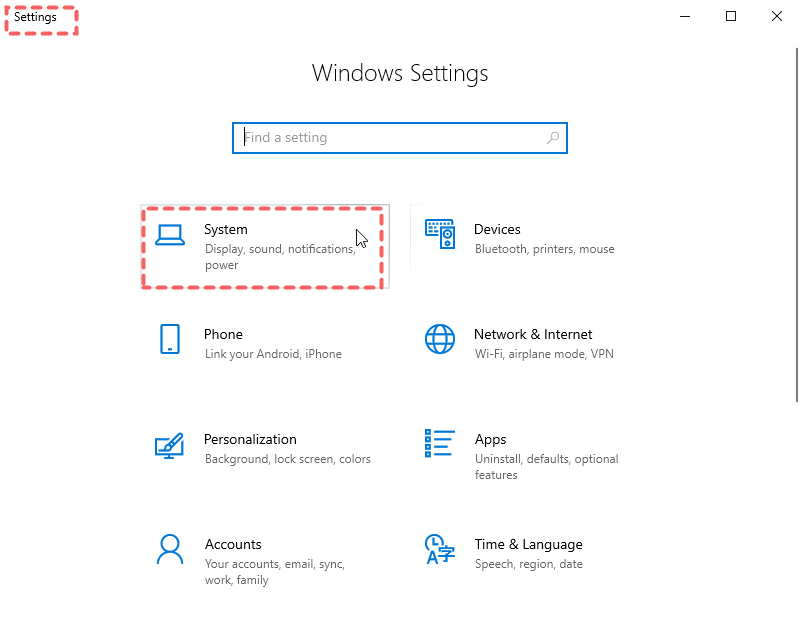
Step 2. In Settings, open “System” Options.
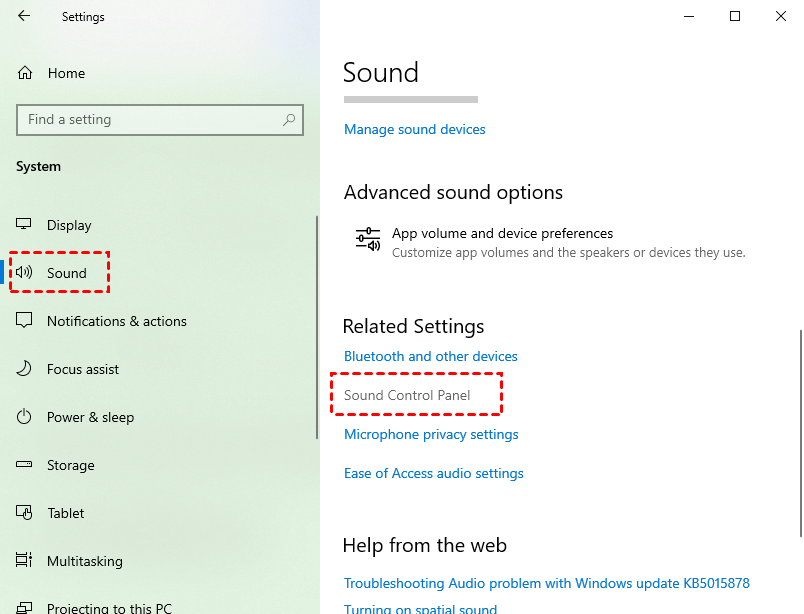
Step 3. Find “Sound” and then under “Related Settings” on the right, select “Sound Control Panel”.
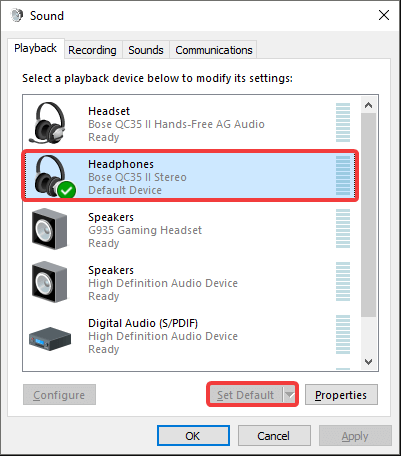
Step 4. Find the “Playback” tab in the Sound Control Panel and make sure that the audio output device you are talking to is set to default by clicking “Set Defaults”.
Solution 2. Selecting output devices from Windows settings
Windows allows you to assign audio output devices to specific applications. You can check to fix the VNC Viewer audio greyed out problem by selecting the sound output device.
Step 1. Open “Settings” in the “Start” menu.
Step 2. Find “System” in Settings and turn it on.
Step 3. Navigate to “Sound” and open “App volume and device preferences” on the right.
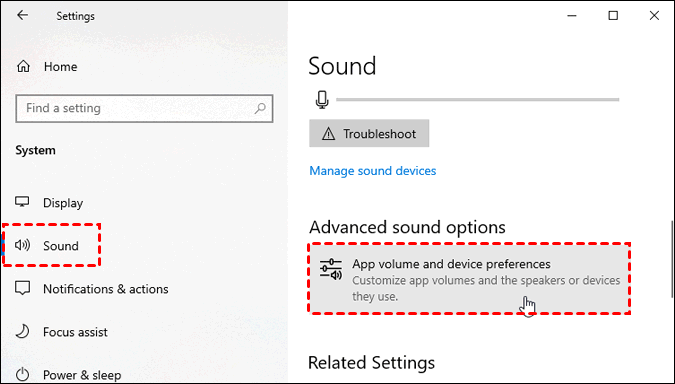
Step 4. Expand the VNC Viewer Output Devices drop-down list, then select "Speakers" from the list and make sure your computer's volume is loud enough.

Solution 3. Restart VNC server
When the VNC Viewer audio greyed out, it may be because the VNC Server is not running properly. Make sure the VNC Server on the remote computer is running and you can restart it to fix the problem.
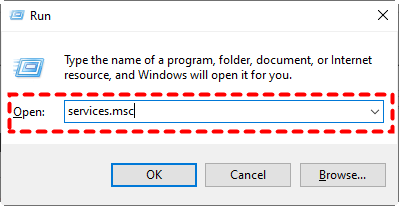
Step 1. Press “Win+R”at the same time and type in “services.msc” and click “OK”.
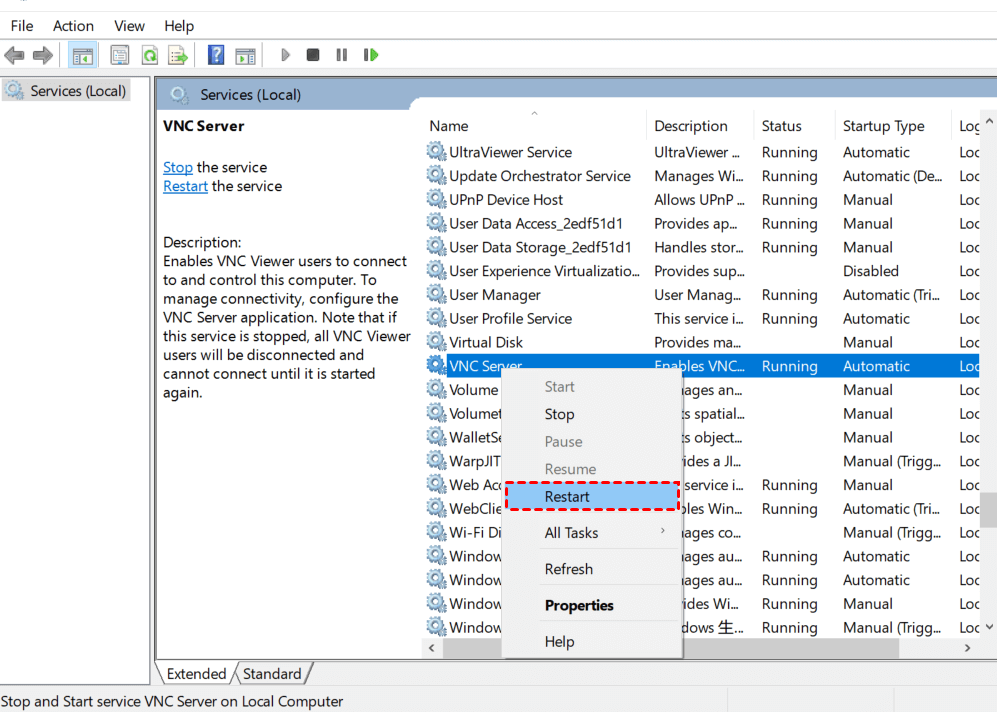
Step 2. Scroll down to find VNC service and right-click “VNC Server” > “Restart”.
Solution 4. Reinstall VNC Viewer
If none of the above works, then try reinstalling VNC Viewer.
Step 1. Open "Control Panel”> “Uninstall a program” and right-click “VNC Server”> “Uninstall”.
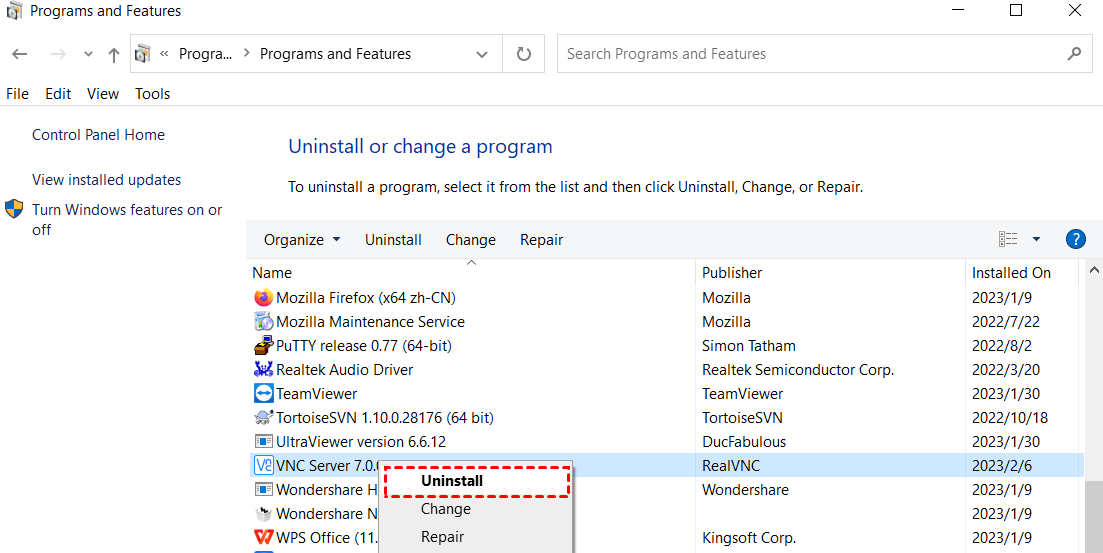
Step 2. Go to the VNC website to re-download and install it.
AnyViewer: The best free VNC viewer alternative without any audio issue
If none of the above methods help you to solve the problem of VNC Viewer audio not working. Then it is recommended that you use another VNC alternative to solve the problem and avoid it from happening again. AnyViewer is an all-in-one, free remote desktop software. It meets all your needs for remote connectivity.
AnyViewer supports synchronizing the remote computer sound, you can receive the sound of the remote computer in real-time, which makes your remote work more convenient and accurate.
Besides, AnyVeiwer's free version supports unattended remote access, file transfer, screen sharing, multi-session, and more. In addition, it has a strong technical team to ensure you a secure, stable, fast, and uninterrupted connection.
Download it for free and get started:
Step 1. First, download and install AnyViewer on your devices.
Step 2. Navigate to "Login" and click "Sign up" to create an AnyViewer account.

Step 3. By logging into the same account on your device, your device will be automatically assigned to the account you are logged into.

Step 4. On one of your devices, go to "Devices" and select the device you want to connect to in the "My Devices" list, then click "One-click control" to quickly establish a connection.

Step 5. To enable remote sound, make sure you have activated sound in the toolbar. (If you want to turn off the remote sound, just turn it off in the toolbar.)

- ★Tips: To unlock even more benefits, upgrade your account to a professional or enterprise plan:
- Control more devices with one-click control.
- One computer can control numerous devices simultaneously.
- Enjoy the right to connect in privacy mode.
- Enjoy faster file transfer speeds.
- Create groups to manage large numbers of devices more efficiently.
- ...
Conclusion
Anyway, don't worry if you are experiencing problems with VNC Viewer audio greyed out, you can read this article to find a solution. However, since VNC Viewer audio is not supported by the free version, it is recommended that you use its perfect alternative. AnyViewer is a free remote desktop software that runs on VNC without any audio issues. Hurry up and use it!
