
Tutorial: How to Transfer File from PuTTY to Desktop [PSCP & WinSCP]
This post primarily introduces two tools that would help you transfer file from PuTTY to desktop, PSCP and WinSCP, and offers the detailed steps on how to use them. Keep reading if you’re interested.
By Ellie / Updated on December 13, 2024
How do I copy a file from PuTTY to my desktop?
How do I copy a file from a remote server to my local Windows system using a Putty session? Can anybody help me?”
- Question from Stack Overflow

Luckily, there are two tools that would allow you to transfer file from PuTTY to desktop, PSCP and WinSCP.
PuTTY PSCP is a command-line tool made by the same authors as Putty. It is a file transfer application for Secure Shell (SSH) to copy files either between two directories on the configuration node or between the configuration node and another host.
Differing from PSCP, WinSCP has an intuitive graphical user interface (GUI). It displays two lists of files: one in the current directory on your local computer, and another in the remote computer directory you have SSH access. You select the files you want to transfer, then drag and drop them into the other directory’s list.
How to transfer file from PuTTY to desktop via PSCP & WinSCP
Let’s see the detailed steps on how to transfer file from PuTTY to desktop via PSCP and WinSCP.
Way 1. PuTTY file transfer via PSCP
Step 1. Download PSCP.exe from PuTTY download page.
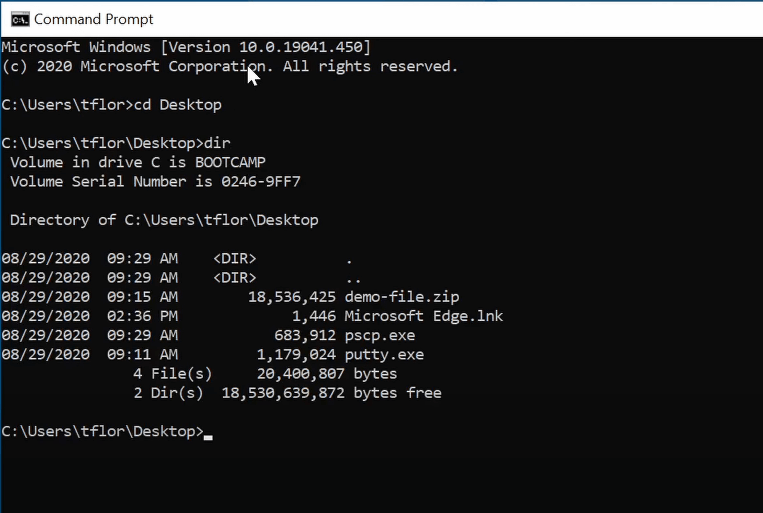
Step 2. To use pscp on Windows, you have to execute it as a command through the Command Prompt. Open Command Prompt by searching for “cmd” in the start menu. Use CD command to change the directory to your desktop:
CD desktop
You can use the dir command to list out the files and folders on your desktop:
dir
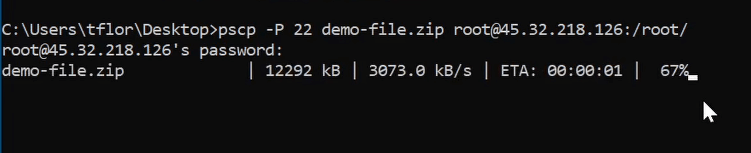
Step 3. Now you can start to use pscp command. If you want to copy a local file called demo-file.zip into the directory of a remote server called root with IP address of 45.32.218.126, send over port 22.
pscp -P 22 demo-file.zip root@45.32.218.126:/root/
It’s going to ask you for the password of the remote computer, type it.
Step 4. If you want to copy a remote file on the server with an IP address of 45.32.218.126 called a-file.txt onto the desktop of your local computer.
pscp -P 22 root@45.32.218.126:/root/a-file.txt a-file.txt
It’s going to ask you for the password of the remote computer as well, type it.

Way 2. Transfer files between computers via WinSCP
The second way is to transfer files between computers via WinSCP. This way is more intuitive than using PSCP. Before operations, make sure your remote PC has already installed SSH Server.
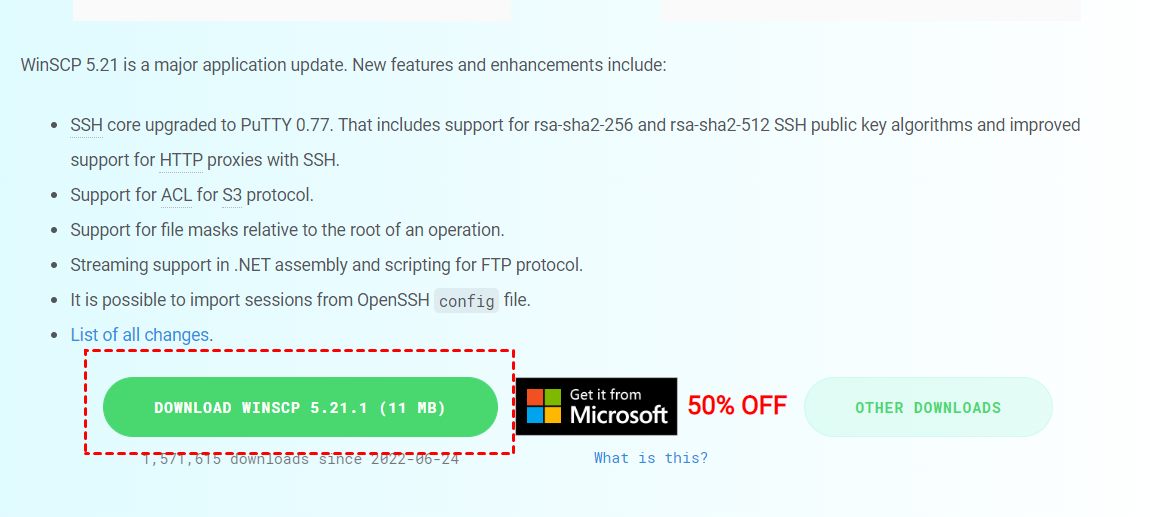
Step 1. Download WinSCP.
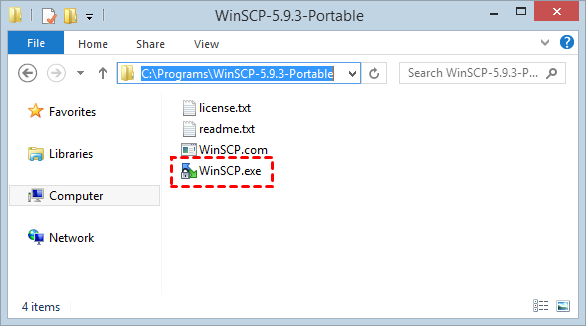
Step 2. Double-click WinSCP.exe to install it.
Step 3. To connect to another PC, open WinSCP, and type in the information in the Login interface. And then click Login.
- ✦Host name: The IP address of the remote PC to be connected.
- ✦Port number: The default value is 22.
- ✦User name: Your username, for example, admin.
- ✦Password: Your password.

Step 4. When you first attempt to connect to another computer, you may receive a warning notice. Select Yes to proceed.

Step 5. The WinSCP file transfer window is displayed after connection. On the left presents the local computer while on the right presents the files of the remote computer. Drag the target file you want to transfer and drop it to another side.

- An Error pop-up window will appear if you don’t have permission to write to the file system.
- The lock on the lower right corner of the interface means that your connection is secure.
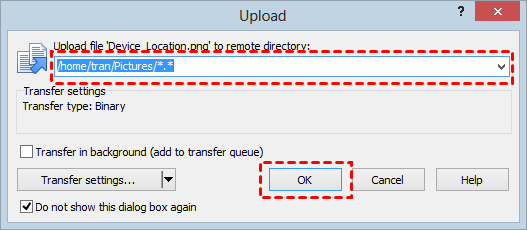
Step 6. Choose the file location in the pop-up window, and then click OK to achieve the file transfer.
PuTTY alternative: Easier way to transfer files with GUI
Some people may feel that it is difficult to deal with command lines and may want an easier way to transfer files with GUI, so it is recommended to use AnyViewer.
- ★Benefits:
- Wide compatibility. It works with several Windows versions, including the newest Windows 11.
- Unattended remote transfer. You are allowed to share files with an unattended computer.
- Fast speed. It transfers files at a really fast speed, even if transferring large files over the internet. But if the two laptops are on LAN or WiFi, the transfer speed will be faster.
- Improved security. The file transfer process is secured by Elliptic Curve Cryptography (ECC) encryption, protecting your data from leakage.
- Multiple features. As a remote desktop tool as well, it also allows you to completely control and manage another computer remotely. Besides, it is also a screen share tool.
Step 1. Download, install, and launch AnyViewer 3.0 or above on both Windows laptops. If your version is lower, please upgrade first.
Step 2. On one laptop, go to Log in, and then click Sign up (if you already have signed up on its official website, you can log in directly).

Step 3. Fill in the signup information.

Step 4. Then you can see you successfully logged in to AnyViewer. Your device will automatically be assigned to the account you’ve logged in to. After this, log in to the same account on the other laptop.

Step 5. Choose your target laptop, and then click File Transfer.


Step 6. Then a File Transfer dialog box will appear. You’re able to transfer files between devices freely by clicking the arrows after choosing the target files. You can also double-click the target file to achieve transfer.

- Notes:✎...
- To transfer files freely, it is highly recommended to upgrade your account to a professional or enterprise plan. Here are what a professional or enterprise plan can bring to you:
- Faster file transfer speed. Transfer speed for a free account is 500 KB/s, and for a paid account is up to 10 MB/s.
- Increasing numbers of files are being transferred at once. For a free account, 100 files can be transferred at a time; for a paid account, this number is unlimited.
- Larger size of a single file that can be transferred. The maximum size of a single file that can be transferred for the free account is 100 MB, and for a paid account is 1 TB.
Conclusion
This post primarily introduces how to transfer file from PuTTY to desktop with PSCP and WinSCP. But if you feel it is difficult to deal with command lines and want an easier way to transfer files with GUI, try AnyViewer right now.
