
3 Easy Methods to Share Files Between Mac and Windows
This guide shows you three simple ways to share files between Mac and Windows: using AnyViewer for remote transfers, File Sharing via SMB for local networks, and Migration Assistant for quick data migration. These methods make file sharing easy and efficient.
By Ellie / Updated on March 27, 2025
Can files be transferred from Mac to PC wirelessly?
Yes! Moving files between a Mac and a PC can sometimes be tricky, especially if you're dealing with large files or different formats. However, there are reliable and straightforward ways to transfer data wirelessly. If both devices are connected to the same network, you may not even need third-party software. However, in cases where built-in file transfer features are limited, third-party file transfer tools can provide a more effective solution.
Below, we'll explore the best methods for securely sharing files between your Mac and PC.
How to share files between Mac and Windows [3 methods]
Here are three methods to share files between Mac and Windows. Select the one that best suits your needs.
Method 1. Remotely share files between Mac and Windows via AnyViewer
AnyViewer is a robust remote desktop solution for secure and efficient file transfers over the Internet. Unlike many other file transfer tools that require both devices to be on the same network, AnyViewer operates remotely. This makes it an ideal choice for transferring files across different networks or when you’re in separate locations.
Key benefits of AnyViewer:
- Seamless Remote Transfers: Move files between devices over the internet, even on different networks.
- User-Friendly Experience: Transfer files between Windows and macOS effortlessly—no admin account or password required.
- Fast & Secure: Enjoy high-speed file transfers with advanced encryption for maximum data protection.
- Versatile Functionality: Beyond file transfers, access applications, manage settings, and troubleshoot devices remotely.
Here's how to transfer files between Mac and Windows using AnyViewer:
Step 1. Download and install AnyViewer on both your Windows PC and Mac.
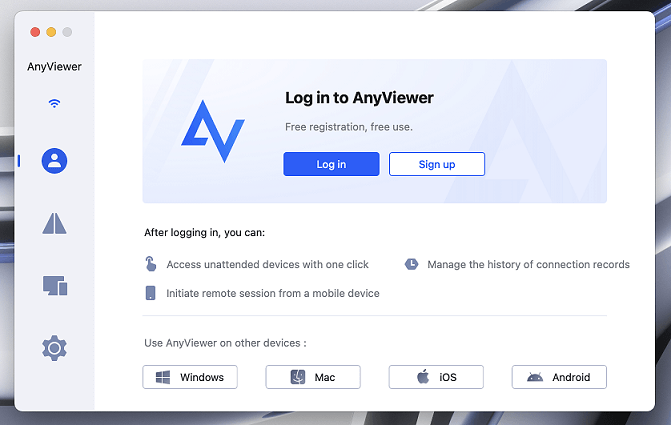
Step 2. Sign in to your AnyViewer account or create one if you don’t already have one.
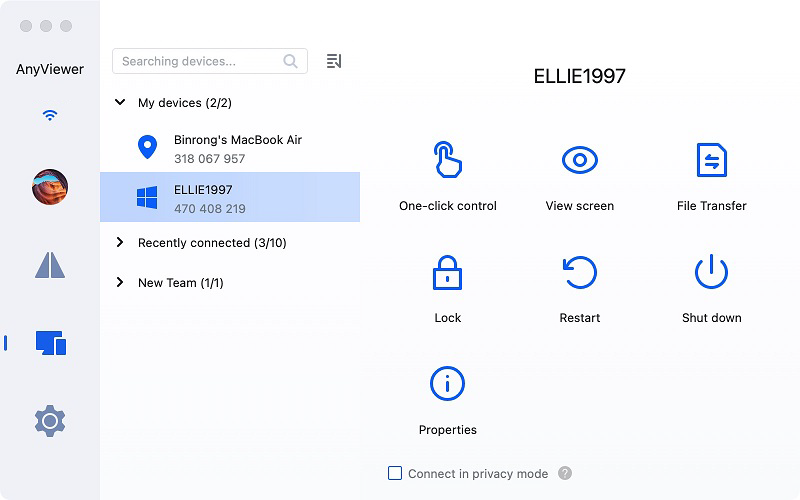
Step 3. Open AnyViewer on your Mac and click “Device” to view a list of connected devices. Locate your Windows PC under “My Devices,” select it, and choose “File Transfer” to open the file transfer manager.
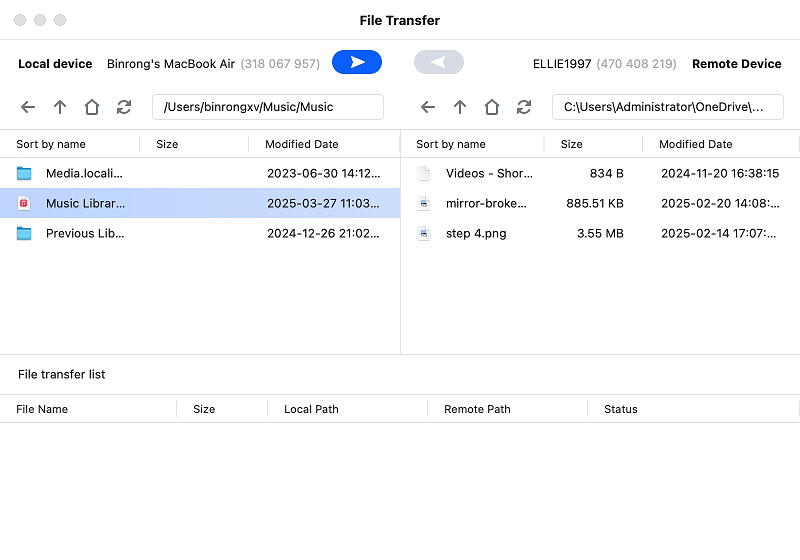
Step 4. In the file transfer manager, select the file you want to move and click the arrow to start the transfer.
Alternative method:
If you need unattended remote access during the transfer, select “One-click control” to remotely access your Windows PC. Once connected, use the file transfer manager from the toolbar to transfer files seamlessly.
Method 2. Share Mac files with Windows via File Sharing
If you want to share files between your Mac and a Windows PC, you'll need to enable file sharing and configure SMB sharing. Follow these steps to set it up properly.
Here’s how to share files between PC and Mac via File Sharing:
Enable File Sharing on Your Mac
Step 1. Click the Apple menu and go to System Settings.
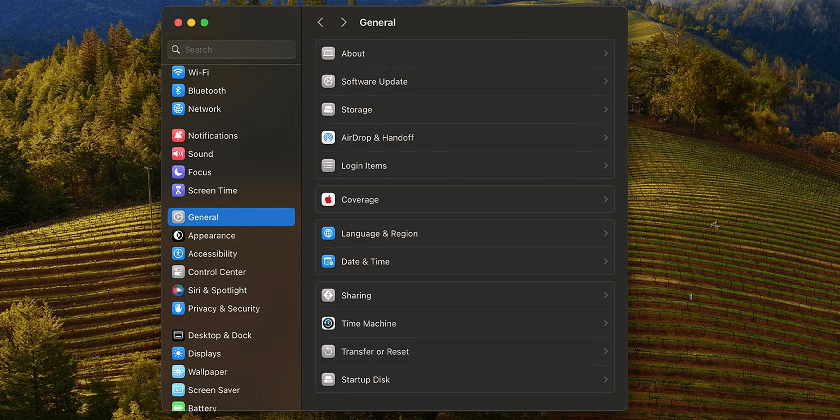
Step 2. Select General from the sidebar, then click Sharing (scroll down if necessary).
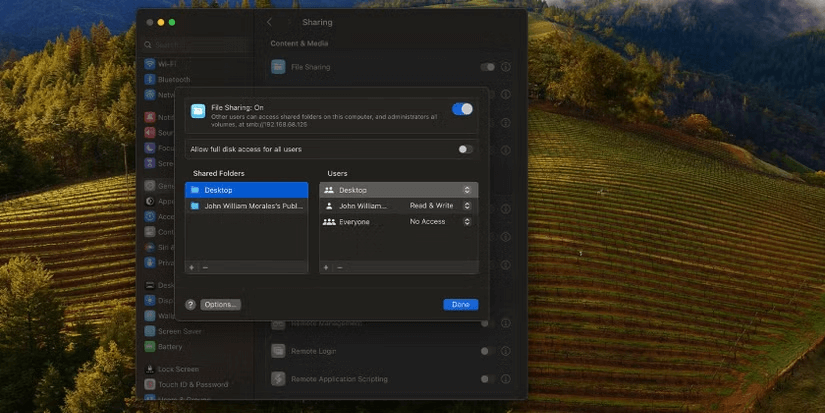
Step 3. Click the Info button next to File Sharing and toggle File Sharing.
Step 4. Click Options and enable Share files and folders using SMB.
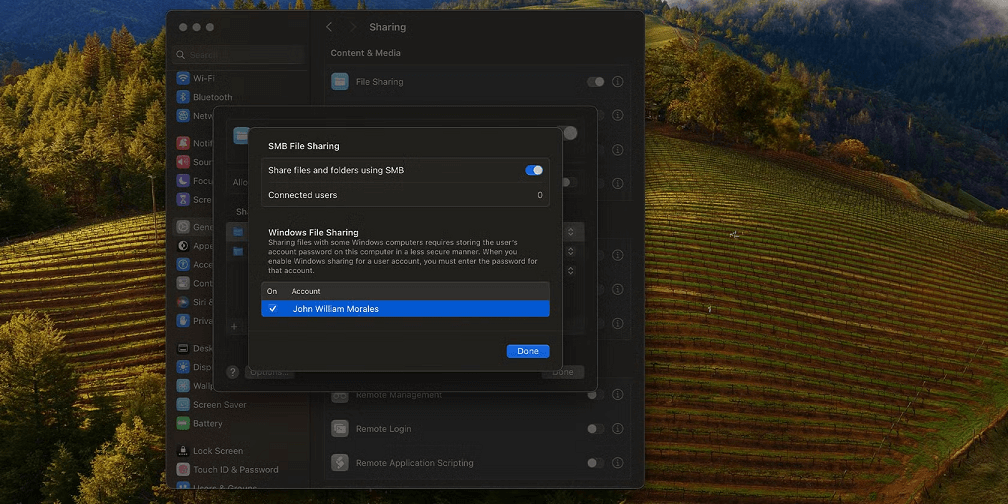
Step 5. Under Windows File Sharing, check the box next to each user account that will share files with Windows users.
Step 6. Enter the password for each selected account, then click OK.
Step 7. Click Done twice to save your settings.
Access Mac Files and Copy Them to Your Windows PC
To transfer files from your Mac to your Windows PC, follow these steps:
Step 1. Open File Explorer on your Windows PC.
Step 2. Click in the address bar and type your Mac's IP address (e.g., \192.168.x.x), ignoring the SMB prefix.
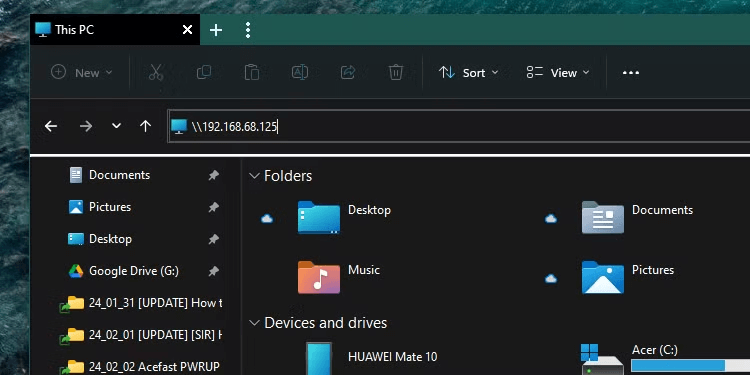
Step 3. When prompted, enter the username and password for the Mac user whose files you're accessing, ensuring they match exactly as on your Mac.
Step 4. You will now have access to the shared folders on your Windows PC. From here, you can copy files just as you would from any other folder on your PC.
Method 3. Migrate files between Mac and Windows via Migration Assistant
As long as your Mac and Windows PC are on the same network, you can transfer files seamlessly using Migration Assistant. This built-in tool allows you to migrate contacts, calendars, email accounts, and more between Mac and Windows without needing additional software.
Preparation steps:
- Ensure both your Mac and Windows PC are connected to the same network.
- Temporarily disable antivirus, firewall, or VPN software on both devices during the transfer.
- Make sure your Windows OS is up to date (Migration Assistant supports Windows 7 and later).
- Have your Windows administrator account name and password ready.
Here's how to share files between Mac and Windows using Migration Assistant:
Step 1. Download and install Windows Migration Assistant 3 on your Windows PC (it is required for macOS Sonoma 14.4 or later). If you're using an earlier macOS version, install the corresponding Migration Assistant.
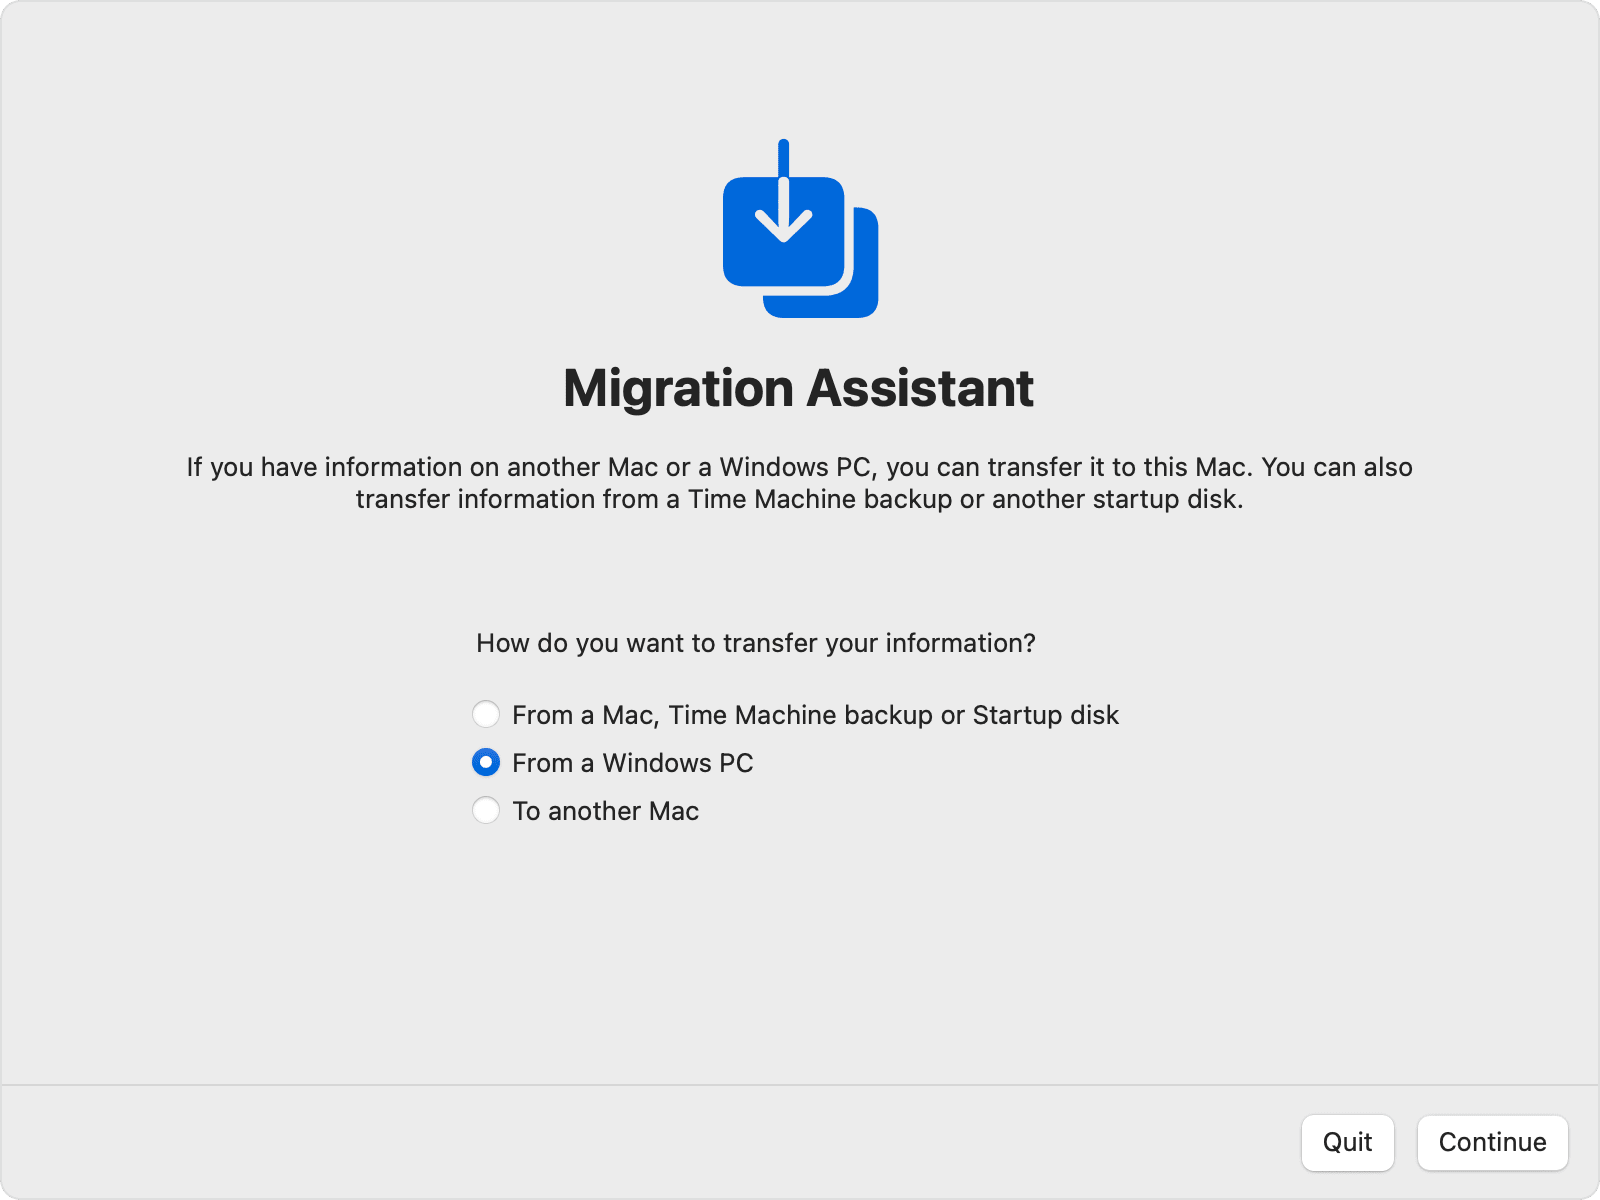
Step 2.On your Mac, open Migration Assistant by navigating to Applications > Utilities or using Spotlight Search.
Step 3. Follow the on-screen instructions until prompted to select a transfer method. Choose "From a Windows PC", then click Continue.
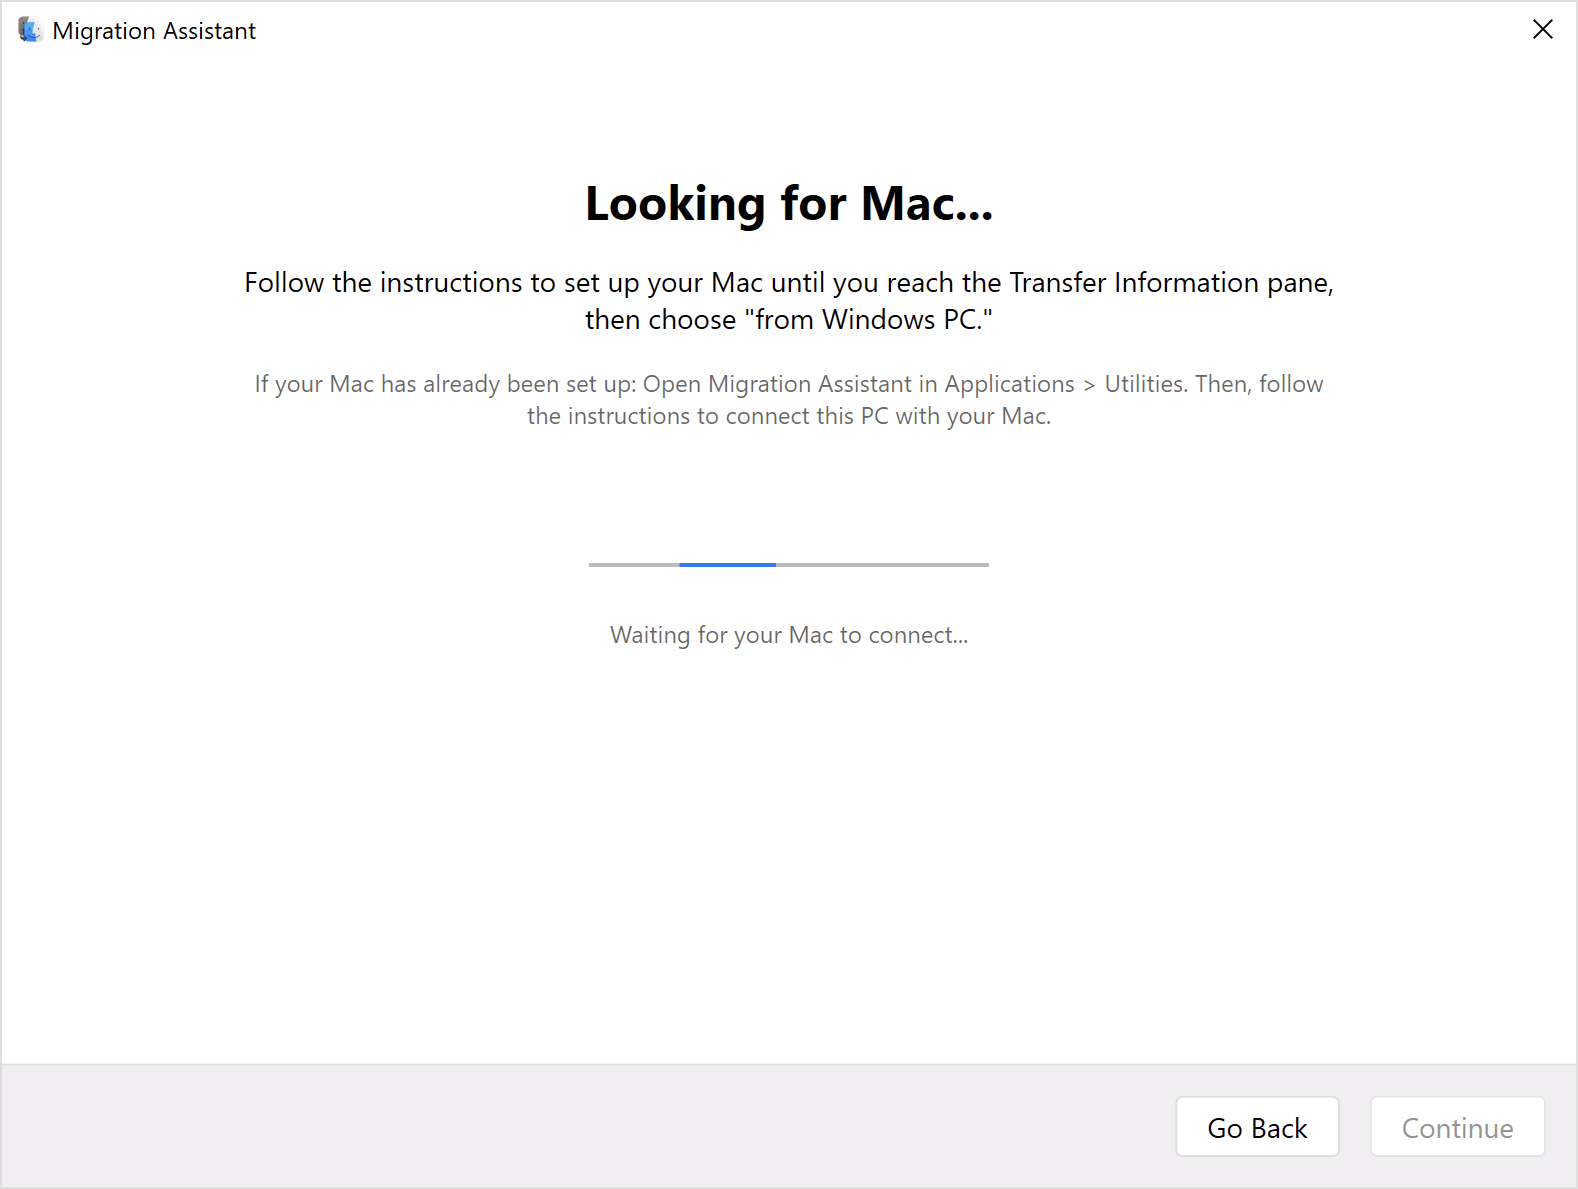
Step 4. A code will appear on your Mac. Open Windows Migration Assistant on your PC and enter the code displayed on your Mac.
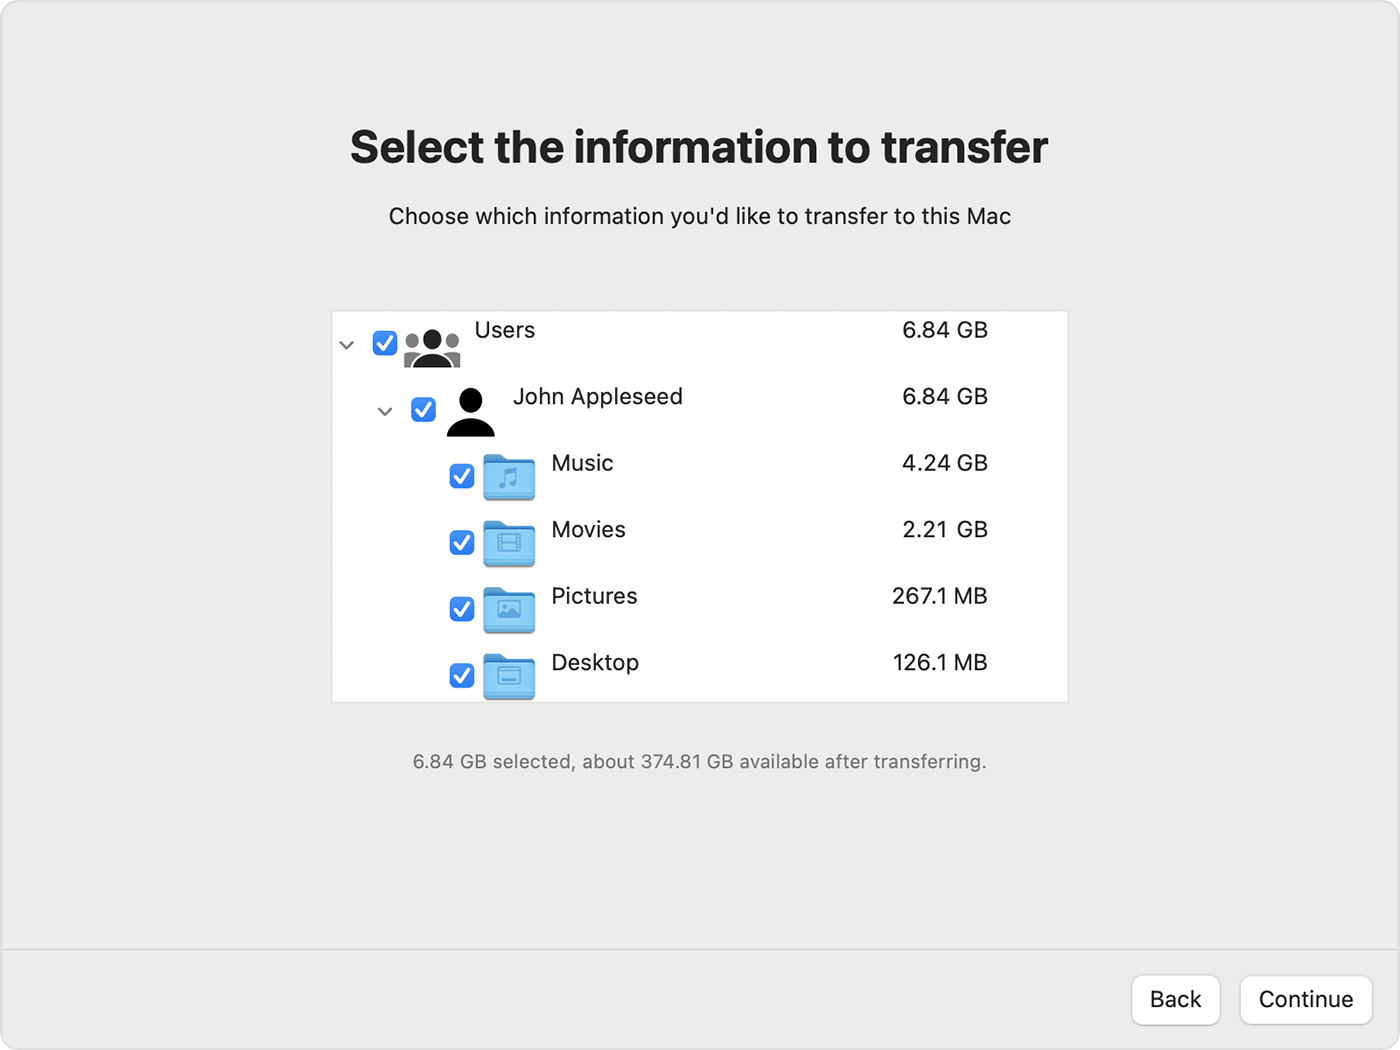
Step 5. Once connected, Migration Assistant will scan and catalog your files. This process may take a few minutes.
Step 6. Select the files you want to transfer, then click Continue. If transferring large files, consider running the process overnight.
Step 7. After the transfer is complete, log in to your Mac account to access your files. Your Mac account name will match your Windows username.
Step 8. Authorize your Mac for Apple purchases before syncing or playing any content from the Apple Store.
Conclusion
In conclusion, sharing files between Mac and Windows wirelessly is entirely possible using various methods. Whether you opt for AnyViewer for secure remote transfers, utilize file sharing via SMB, or leverage Migration Assistant for seamless file migration, each method offers unique benefits to suit different needs. With the right tools and setup, you can easily move files between your devices, ensuring a smooth and efficient transfer process.
