
Top 9 The Best Desktop Software With Audio Support 2025
What is the best free remote desktop software with audio support in 2024? This article lists 9 of the best free remote desktop software with audio support. Pick the option that best fits your needs.
By Carolyn / Updated on December 13, 2024
Can you get audio during remote access?
Working remotely has become part of more and more people's jobs. Then the requirements for remote desktop software are getting higher and higher, and the ability to get the sound of the remote device during remote work is one of the important requirements. So how do you choose remote desktop software with audio support when you need to get audio during remote access? This article will reveal that answer for you.
Top 9 best free remote desktop software with audio support
There are many remote desktop software with audio support on the market, so how should users make a choice? This article will introduce you to the best free remote desktop software with audio support.
Option 1. AnyViewer
AnyViewer is a free Remote Desktop software with audio support that provides secure remote access and remote support for almost all versions of Windows (including Windows Home and Windows Standard versions) as well as iOS and Android.
AnyViewer allows you to synchronize the remote device sound, during remote work, you can receive the sound of the remote device in real-time and without any audio problems. This will be a great help for your remote work. It also has the following features to improve your remote work efficiency:
- File transfer. AnyViewer allows users to work with file transfers during remote sessions and is very easy to use. This helps to increase the efficiency of users working remotely.
- Unattended remote access. As long as both computers are logged into the same AnyViewer account, users can start unattended remote access connecting from one device to another with just one click. This allows users to work remotely more quickly.
- Instant chat. AnyViewer allows users to use text chat during remote sessions, a feature that enhances communication during remote sessions and assists users in solving remote work challenges better and faster.
- Multiple sessions. AnyViewer enables you to access multiple devices remotely at the same time, which will greatly facilitate users' remote work tasks, increase remote work efficiency, and save remote work time.
- ...
Step 1. Install and launch AnyViewer on both of your devices first.
Step 2. To create an AnyViewer account, go to "Log in" and select "Sign up" (If you have already registered on the official website, you can log in immediately).

Step 3. Fill out the sign-up form.

Step 4. Upon successful login, your device will be automatically assigned under the account you are logged into.

Step 5. On both of your devices log in to the same account, then go to “Devices” to choose the target device that you want to connect, and click “One-click control” to achieve the connection.

Step 6. To enable remote sound, make sure that sound is activated in the toolbar.

- ★Tips: You can upgrade your account to a professional or enterprise plan for faster file transfers, one-click control of more devices, connect remotely in privacy mode, and more.
Option 2. TeamViewer
TeamViewer is an all-in-one remote access software with audio support available for free for personal use. It runs on a variety of systems such as Windows, macOS, Android, iOS, Chrome OS, and Linux.
However, TeamViewer is expensive for commercial use and it has an unstable connection, and users always experience connection loss. Due to the unstable connection, it is impractical to use it to transfer large files.
Step 1. Download and install TeamViewer on your device and select the purpose for which you are downloading the software (business or personal). Here is an example of the accessible version for personal users.

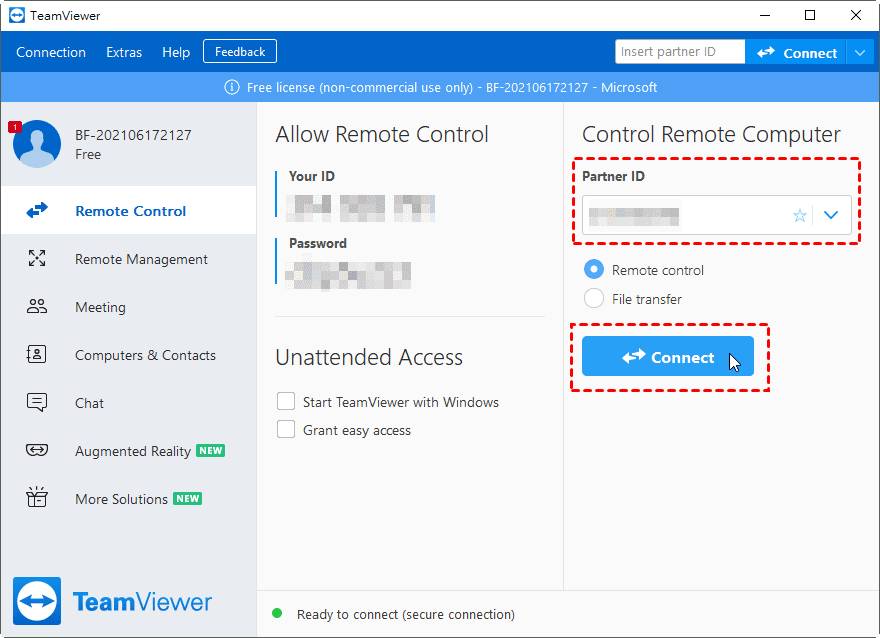
Step 2. After logging in, click "Remote Control" on the left side of the TeamViewer main interface on the client computer, enter the ID of the host computer under "Partner ID", and then click "Connect".
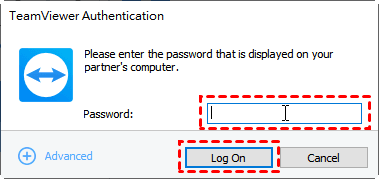
Step 3. Enter the host's password in the TeamViewer Authentication window to enable remote control.
Step 4. Under the Communications section of the toolbar, make sure that the Computer Sound checkbox is selected, indicated by a check mark.

Option 3. Windows Remote Desktop Connection
Remote Desktop Connection is specifically designed for remote desktop access with audio support on Windows-based systems. It allows users to connect to a remote Windows computer and access their desktop environment as if they were physically present on the computer. It is a built-in feature of the Windows operating system.
However, it does not support some Windows versions such as Windows 11/10 Home Edition. Very complicated settings are required when accessing the computer from an external network. And useful features such as chat and resolution change are not available during a remote session.
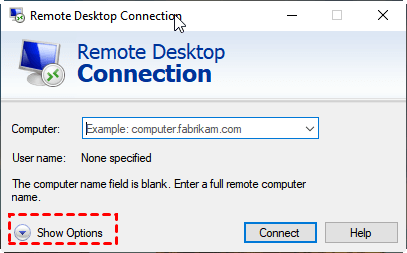
Step 1. Search for ”Remote Desktop Connection" in the search box and open it.
Step 2. In the Remote Desktop Connection dialogue box, select “Show Options”.
Step 3. Click the “Local Resources” tab and select “Settings” under Remote Audio.
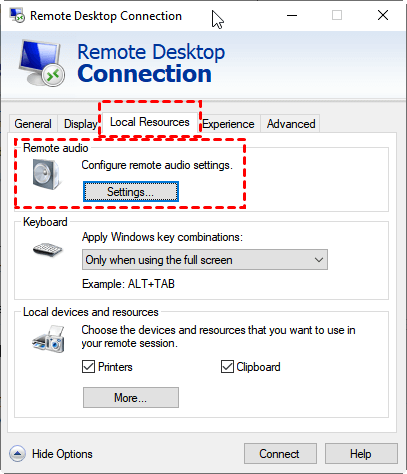
Step 4. To enable remote audio playback, select “Play on this computer” (so that the remote audio plays on the local computer) and click “OK”.
Option 4. Chrome Remote Desktop
Chrome Remote Desktop is a remote control software with audio support developed by Google, Inc. that can be used as an extension for Google Chrome. It is widely compatible with different operating systems such as macOS, OS X, Chrome OS, Windows, and Linux.
However, Chrome Remote Desktop's features are limited and it's not the best choice for business users. It doesn't support direct file transfer, live chat, multiple sessions, or multiple monitors.
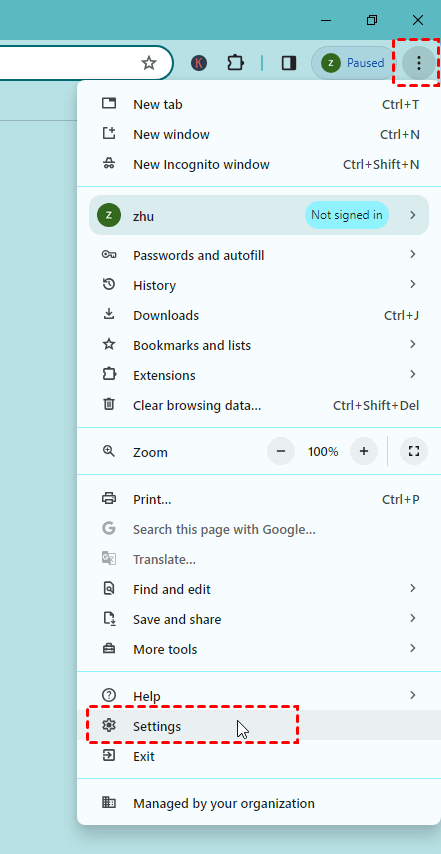
Step 1. Click the three-dot icon in the top right corner of Google Chrome and select “Settings”.
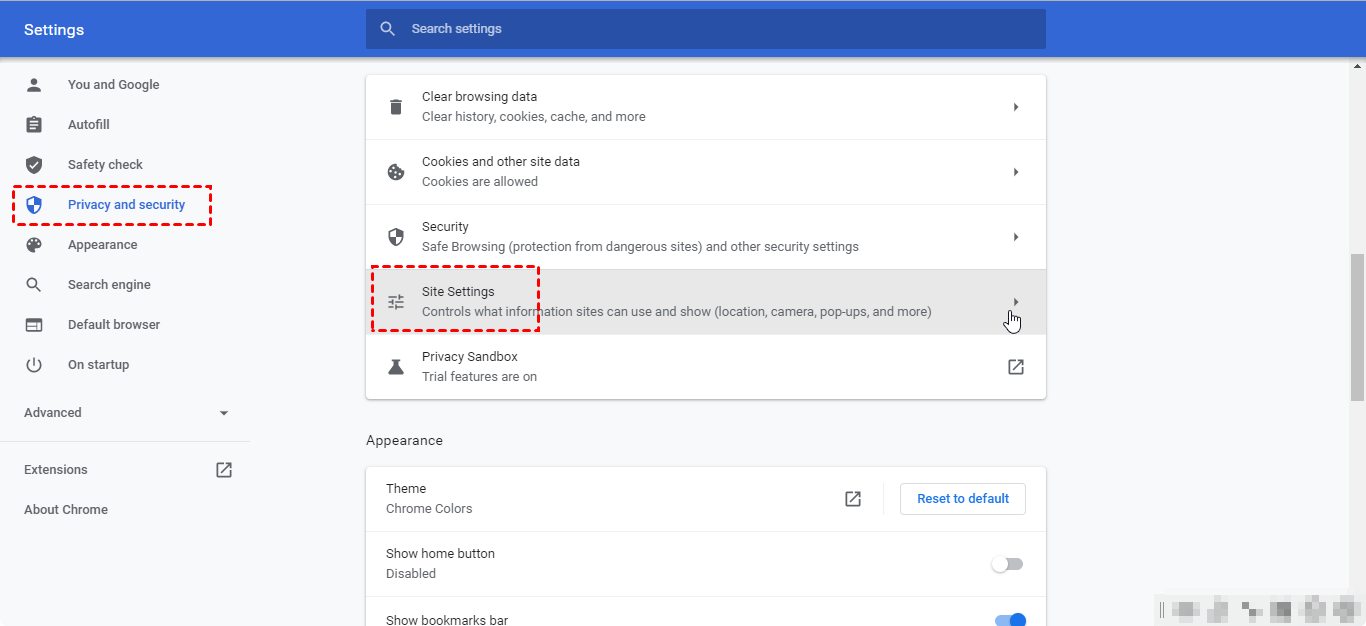
Step 2. Then, go to “Privacy & Security” > “Site Settings” > “View permissions and data stored across sites“.
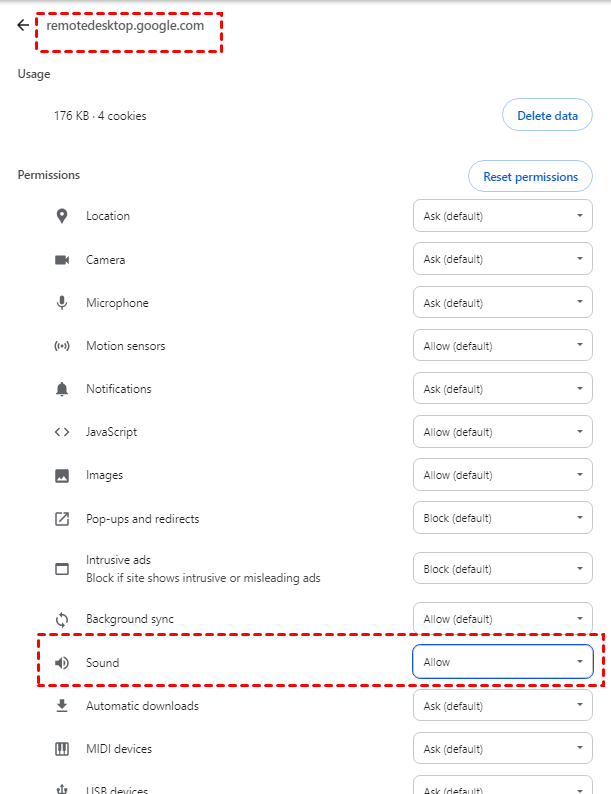
Step 3. Next, find Chrome Remote Desktop in Google Chrome and click on it. Find "Sound" in the list and select the "Allow" option from the drop-down list.
Option 5. RemotePC
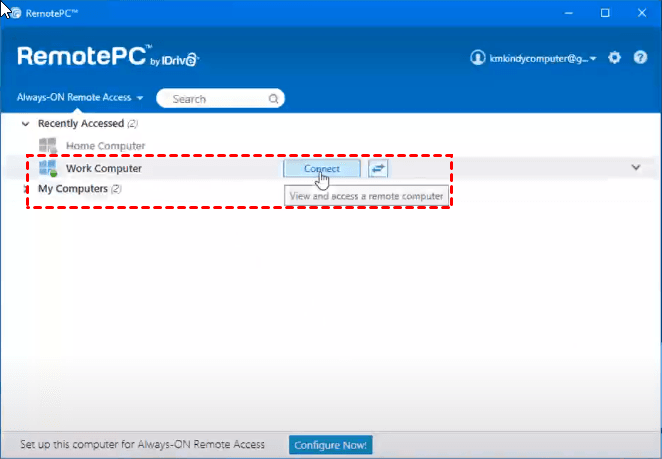
RemotePC is a secure remote desktop software with audio support It allows you to access your desktop computer remotely from any device. To use the platform, your desktop and the device you are using must both be online and have the RemotePC application installed.
![]()
However, there is no free version of RemotePC. This is bad news for users, who will have to spend a lot of money if they want to use RemotePC.
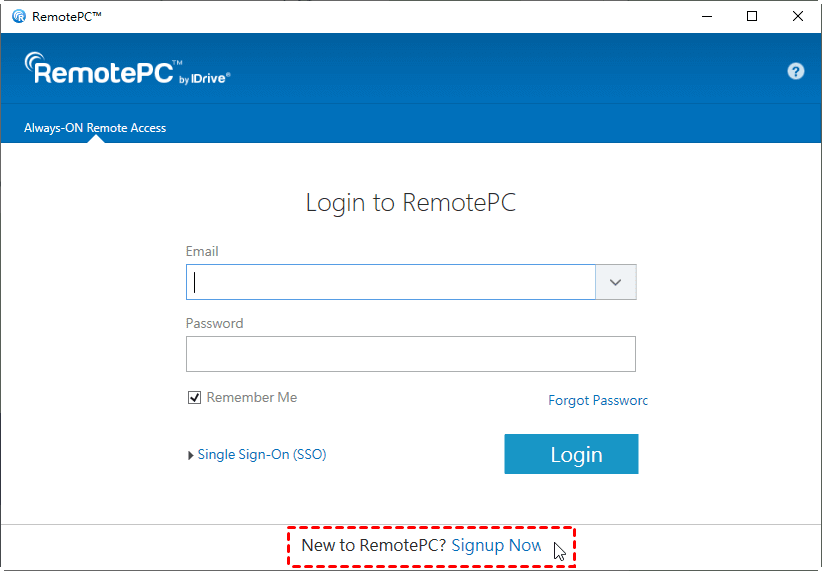
Step 1. On your device, download and install RemotePC, and click “Signup Now” to create an account.
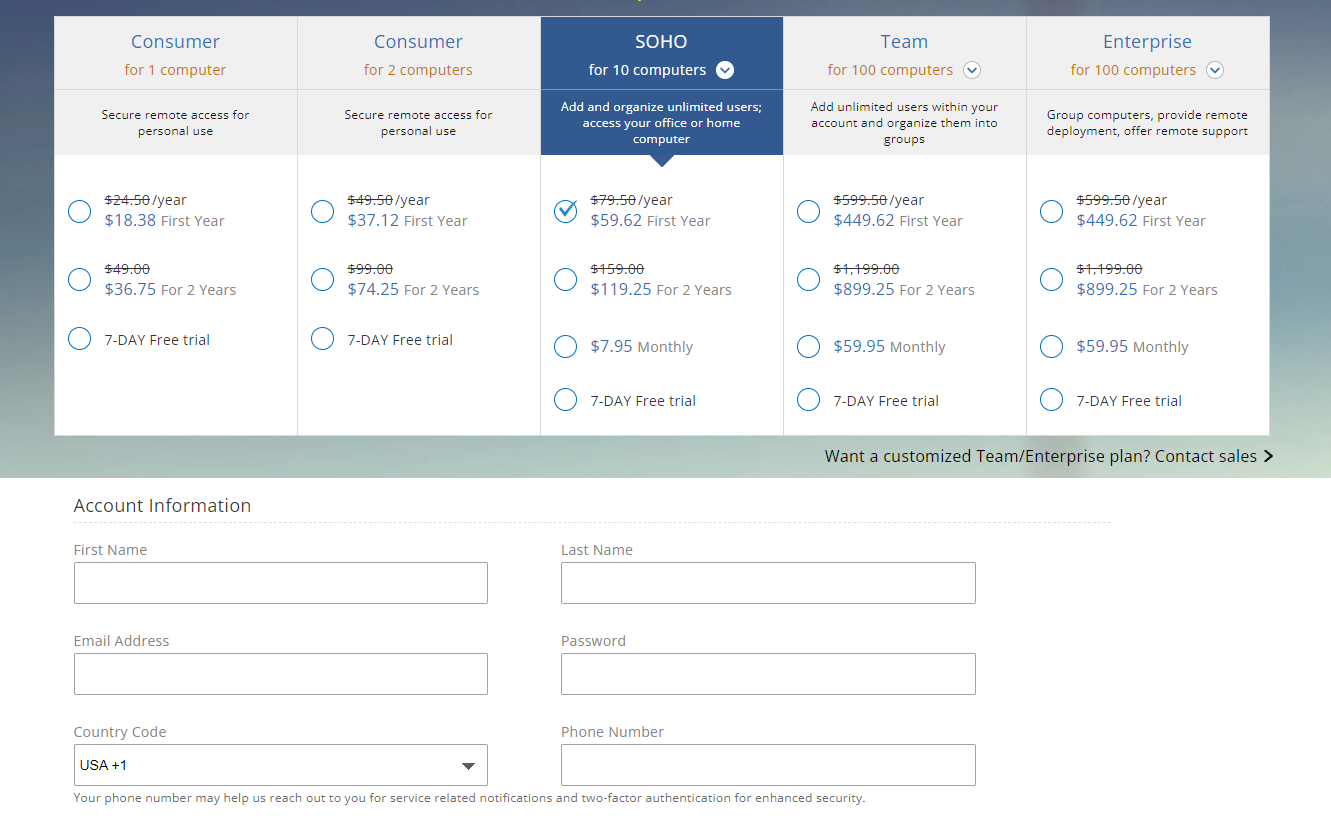
Step 2. Select the item you want to purchase, fill in the appropriate information, and then click “Create My Account” at the bottom.
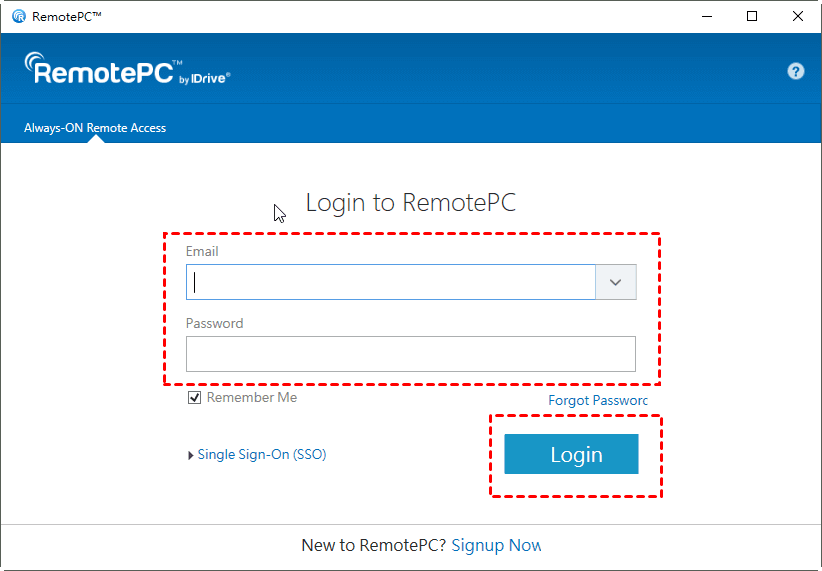
Step 3. Return to RemotePC and log in with your credentials.
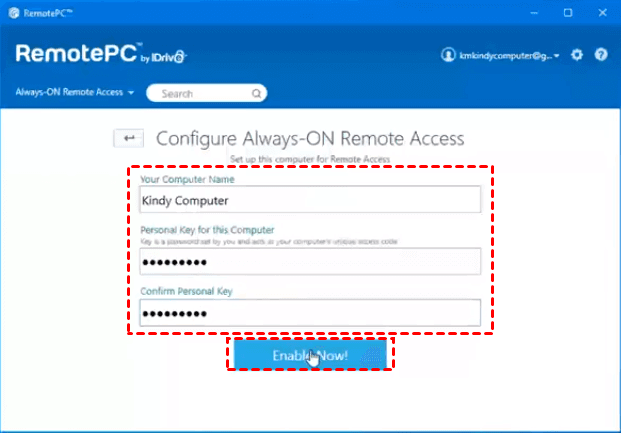
Step 4. Click "Enable Now!" after entering your personal key and computer name to enable remote access.
Step 5. Open RemotePC on your local computer and log in to your account. Locate the remote computer you want to connect to and click "Connect". Enter the personal key of the remote computer in the pop-up window below to establish a remote connection.
Step 6. Go to "Actions" from the application menu, click "Enable Sound" and mark the checkbox.

Option 6. Splashtop
Splashtop provides a seamless remote desktop with audio support experience with its range of features. It enables you to collaborate effectively with colleagues or assist clients remotely. It is available for Windows, Linux, macOS, iOS, and Android devices.

However, Splashtop does not offer a free version. If you want to have more advanced features, you need to pay more money, which is too expensive.
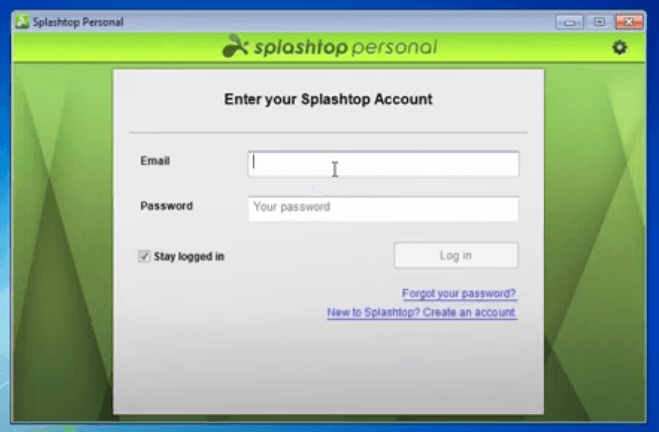
Step 1. On your device, download and install Splashtop, then log in.
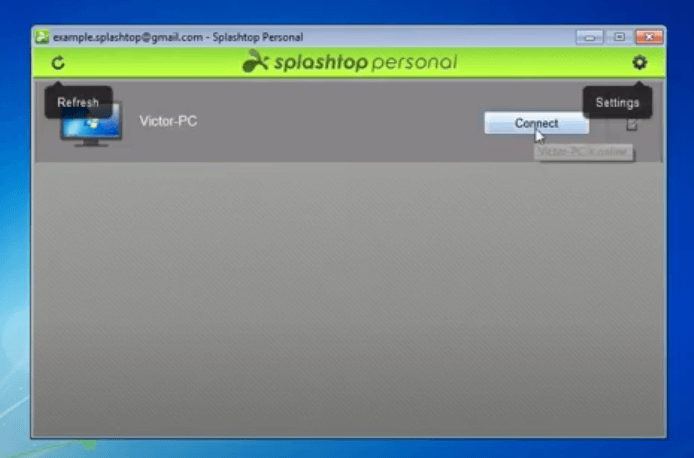
Step 2. After a successful login, you will see the device with Splashtop installed. Click "Connect" to successfully connect to the remote device on your home network.
Step 3. Please click "Action" > "Audio Quality" in the toolbar at the top of the screen for remote sound control and modification.
![]()
Option 7. LogMeIn
LogMeIn is a third-party remote access software with audio support. It is a program that enables remote computer control from any location in the world. Additionally, LogMeIn offers remote desktop solutions including LogMeIn Rescue, Central, and Pro.

However LogMeIn doesn't offer a free version either, you only get a 14-day free trial, but after that, you need to buy a license. And it doesn't support file transfers during a remote session, you have to switch back to the LogMeIn control panel for that.
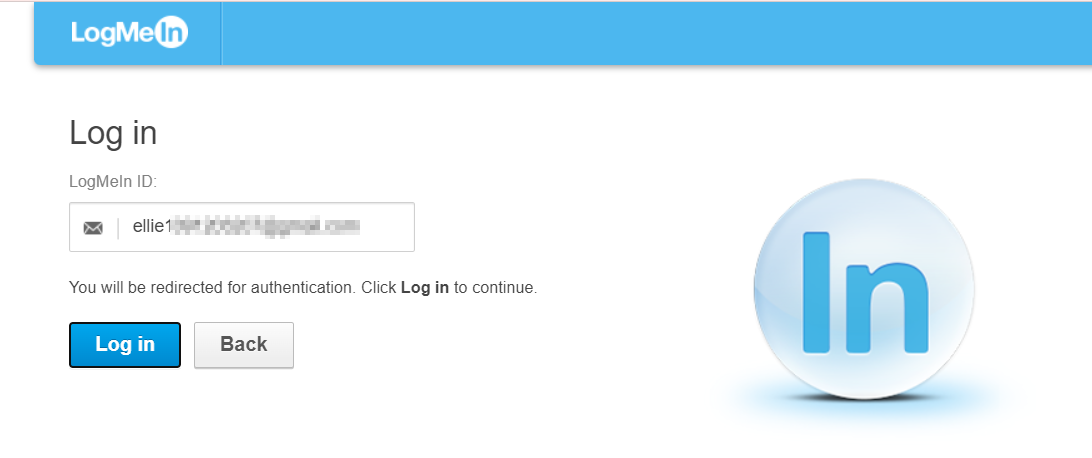
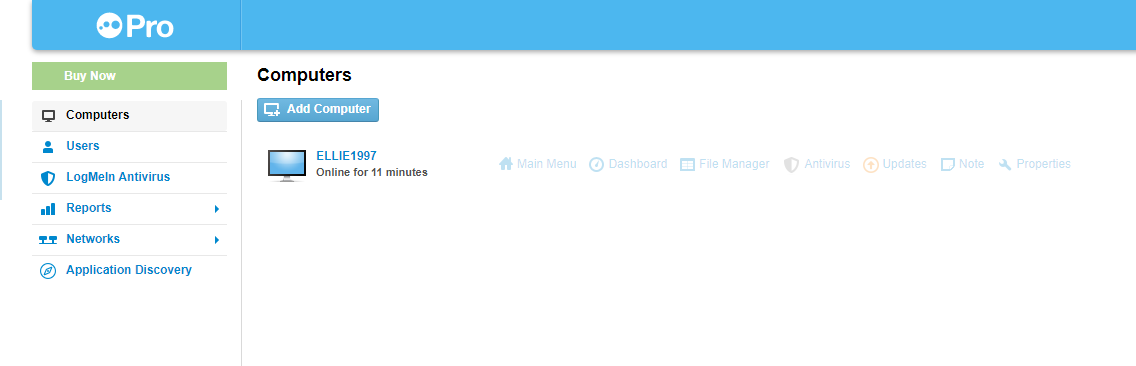
Step 1. Download and install LogMeIn on your devices, then “Log in”.
Step 2. You may then select "Add Computer" from this screen.
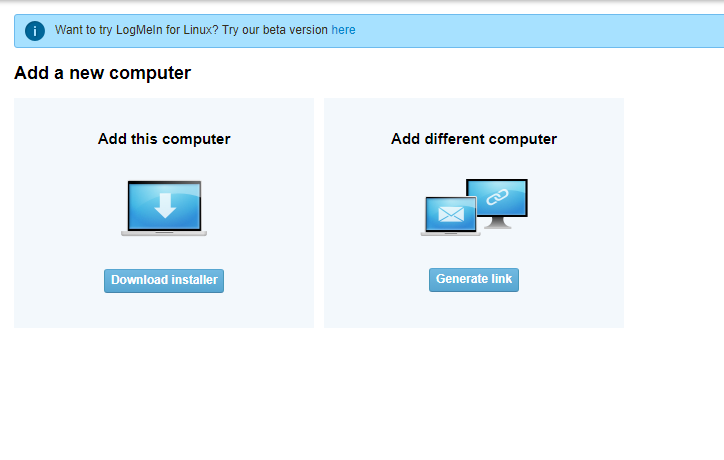
Step 3. Click "Download Installer" to install it on another device.
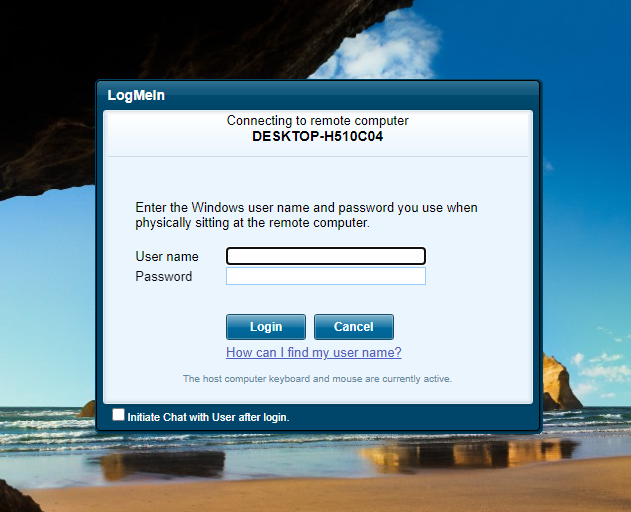
Step 4. You will then see that there are two computers here. To access a computer remotely, click it.

Step 5. For remote access, enter your login and password.
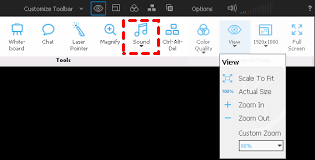
Step 6. Please click "Sound" in the toolbar at the top of the screen to enable remote sound.
Option 8. Zoom
Zoom is a versatile video conferencing platform that also doubles as a remote control tool with audio support, granting screen control access with the permission of other participants.
![]()
However, Zoom connections are unstable. Video and audio usually lag and break. And its free version isn't practical; meetings on the free plan are only allowed to run for 40 minutes and the meeting will be corrupted by an automatic shutdown
Step 1. Install and sign in to Zoom on both of your devices.
Step 2. On the local computer, click “Share Screen” on the home page.
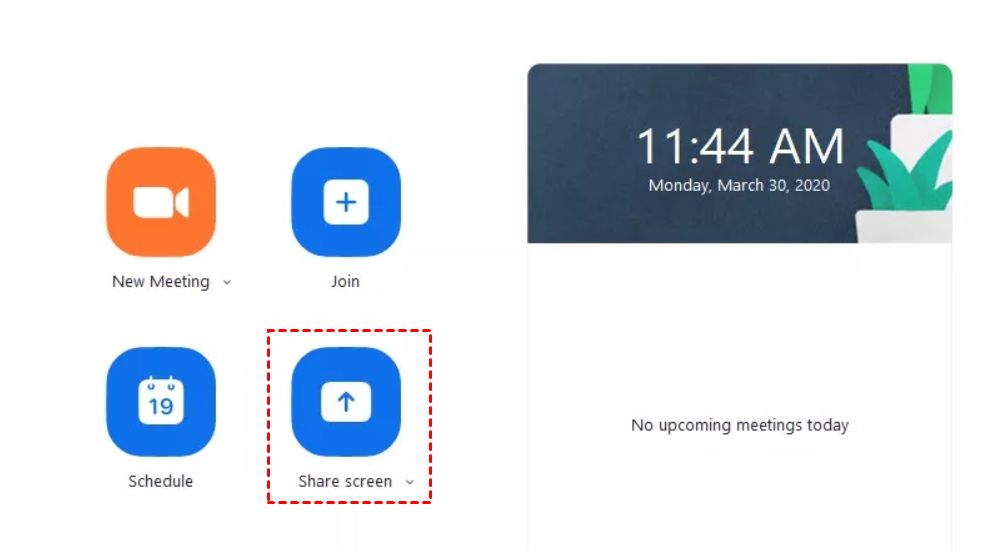
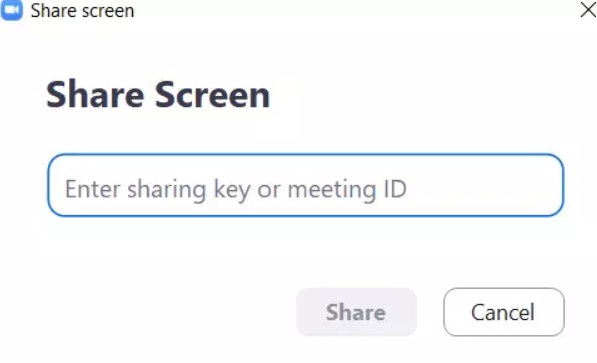
Step 2. Enter your Share Key or Meeting ID in the pop-up window and click "Share" to start screen sharing.
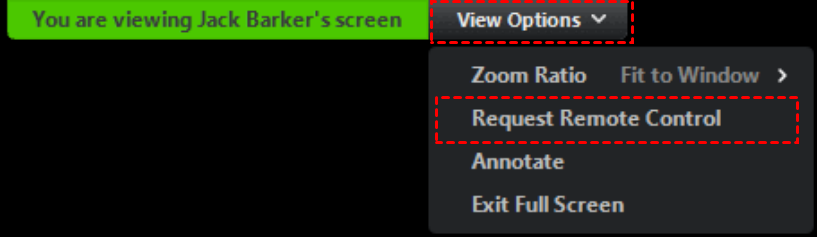
Step 3. On the client PC, click “Join” and enter the share key or ID, then click “View Options”> “Request Remote Control” on the upper toolbar.
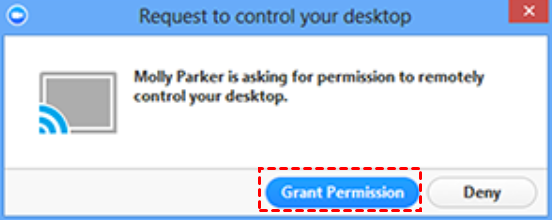
Step 4. After making the request, the host will see the following notification, and then click "Grant Permission" to start the remote control.
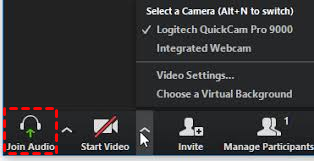
Step 5. Click "Audio" at the bottom to enable remote sound.
Option 9. VNC Viewer
VNC is a graphical desktop sharing program used to remotely control other computers. It includes various software implementations such as RealVNC, TightVNC, and TigerVNC that provide basic remote desktop functionality across different operating systems.
However, VNC's audio features require a fee to use, and it doesn't support drag-and-drop file transfers, multi-monitor support, and session recording.
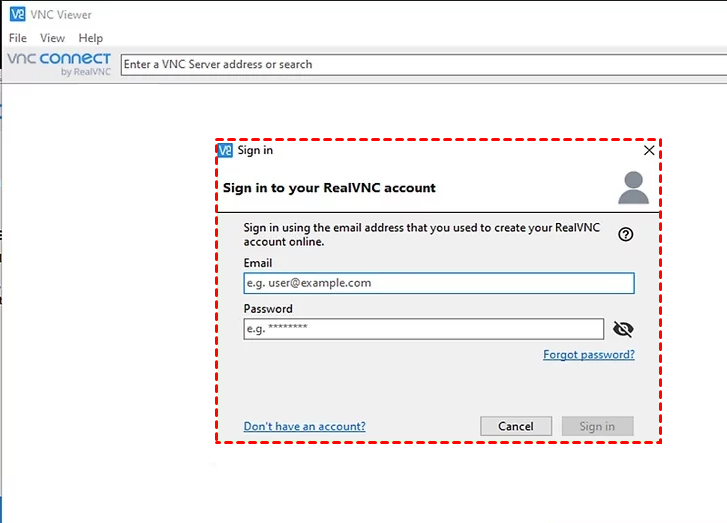
Step 1. On your device, install and launch VNC Viewer.
Step 2. In VNC Viewer select the device you want to connect to and log in the information of the remote device. Enter the password and the connection will be established.
Step 3. Remote sound can be turned on by clicking the sound icon in the toolbar.
![]()
Conclusion
Here are the top 9 best free remote desktop software with audio features for personal use or commercial use. AnyViewer is highly recommended, it doesn't have any audio problems and has a stable and fast connection, file transfer during remote desktop, text chat, etc. AnyViewer can help you solve your remote desktop problems perfectly, so hurry up and use it!
