
Stepwise Tutorial on How to Save and Check Remote Assistance Logs
Here in this post, we will discuss how to save and check Remote Assistance logs. Saving Remote Assistance log files is essential. For example, it can help identify configuration errors. Please keep reading to get the instructions!
By Hester / Updated on December 13, 2024
What is Remote Assistance logs?
Remote Assistance logs are the log files users save to store details about previous Remote Assistance connections. The log files would tell you the time stamps and the IP address of the computer that accessed your computer remotely. By keeping Windows Remote Assistance logs, you can identify configuration errors, troubleshoot service interruptions, analyze compromises that have already happened, and detect attacks.
How to save and check Remote Assistance logs
In this post, we'll look at how to enable Remote Assistance Windows 10,11, and save the log files.
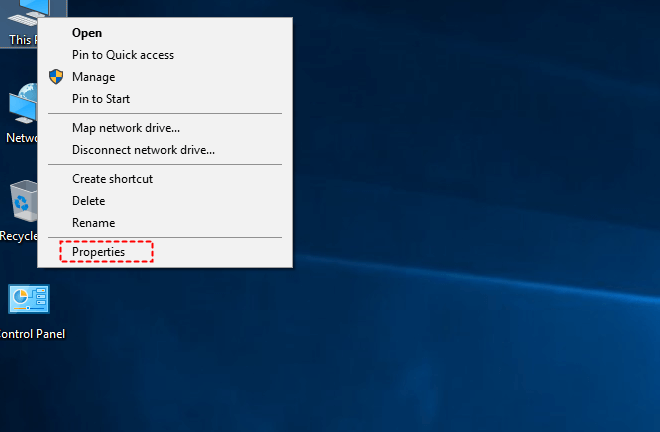
Step 1. Right-click This PC and click Properties on the remote computer that receives the remote control.
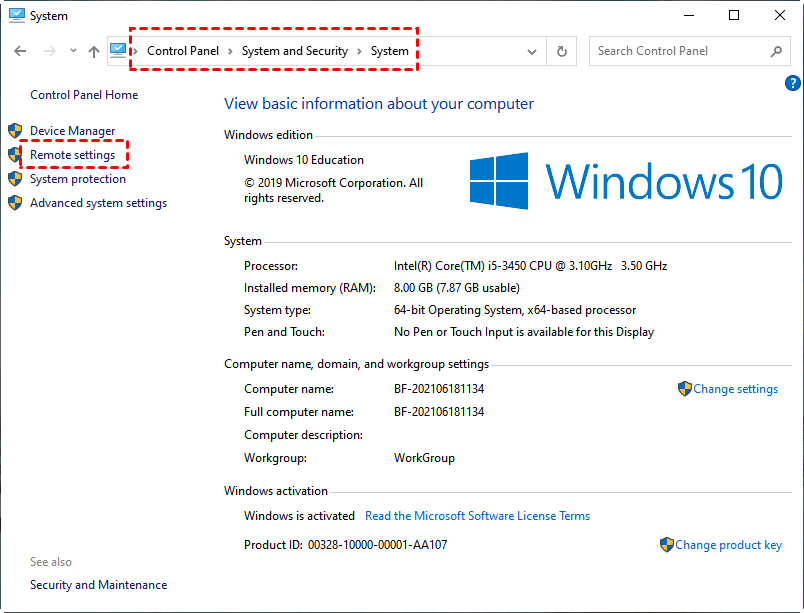
Step 2. Click Remote settings on the left panel.
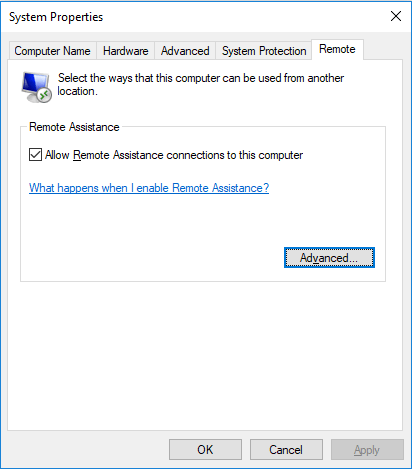
Step 3. Go to the Remote tab, and tick Allow Remote Assistance connections to this computer. Then click Apply > OK.
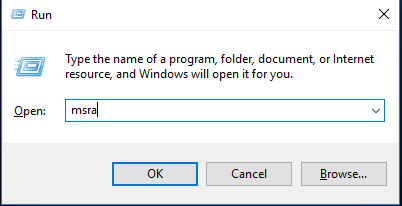
Step 4. Press Win + R, input “msra” and press OK to launch Remote Assistance.
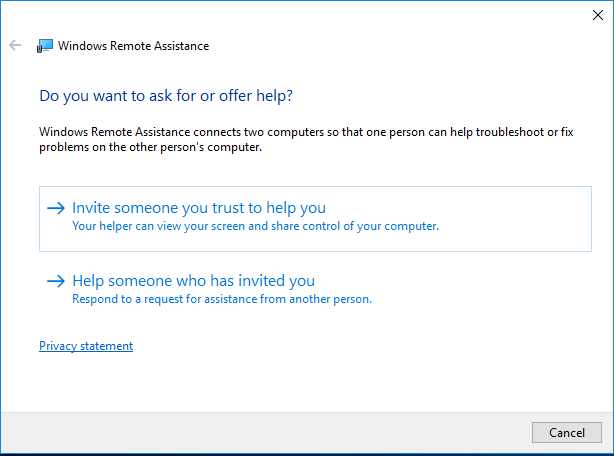
Step 5. Click the option: Invite someone you trust to help you.
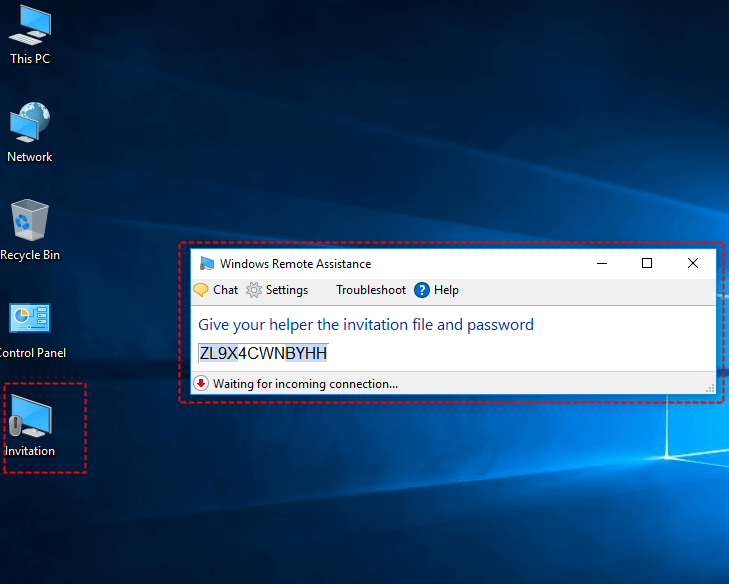
Step 6. Click Save this invitation as a file.
Step 7. Send your partner the invitation file and password.
Step 8. Launch Remote Assistance on the local computer that provides remote support and choose Help someone who has invited you.

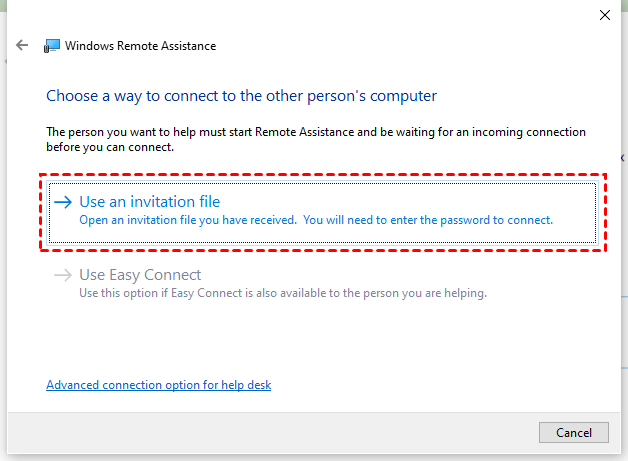
Step 9. Select Use an invitation file.
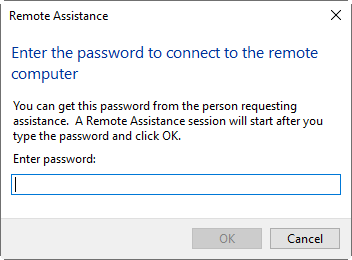
Step 10. Open the invitation file, enter the password, and click OK.
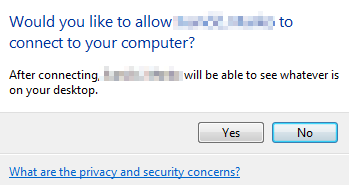
Step 11. There will be a pop-up window on the remote computer. Click Yes to confirm the connection.
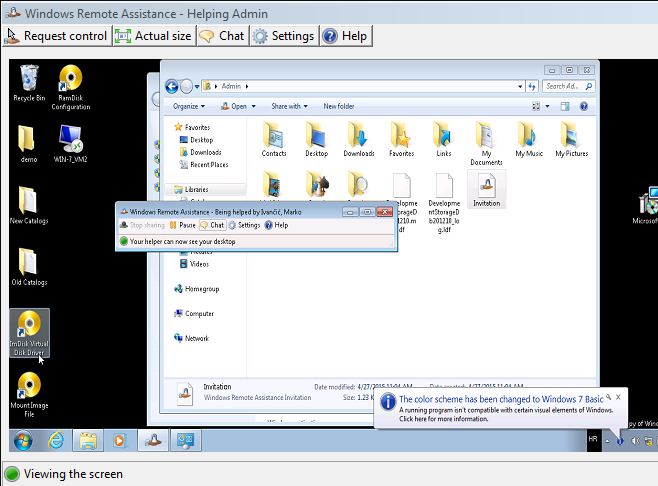
Step 12. Then you can see the remote desktop. If you want to take control of it, click Request control in the upper left corner.
Step 13. The remote computer needs to click Yes to allow the remote control.

Step 14. To save the log files on the remote computer, click Settings on the upper toolbar, check Save a log of this session and click OK.

Step 15. The log files are in the Remote Assistance Logs under the system Documents folder.

Use the best Remote Assistance alternative with auto-synced connection history
Since Remote Assistance is an early-developed tool, it has restricted functionality, and its security level is decreased nowadays. Hence, we advise you to use the specialized remote desktop software AnyViewer, which runs on Windows OS and Windows Server and can automatically save your AnyViewer account's connection history.
- ★Besides, AnyViewer has the following benefits over Remote Assistance:
- Secure. Users will always have secure connections protected by ECC encryption.
- Easy setup. Users can set up AnyViewer and initiate remote tasks with dead-simple steps.
- Unattended remote access. Users can log in to the same account to achieve one-click unattended remote access without exchanging invitation files.
- Flexible file transfer. Users can transfer files between devices in a remote session or via the specific file transfer mode.
- iOS & Android supported. Users can remotely access Windows computers from iOS or Android devices.
Download AnyViewer on your devices:
Step 1. Start AnyViewer on the host computer that will receive remote control. Click Sign up for registration.

Step 2. Input the details to complete Sign up.

Step 3. Start AnyViewer on the client computer that will start the remote control and login to the same account as on the host computer.

Step 4. Go to Device. Click the host computer you want to take control of, and click One-click control. (You can also check your currently connected devices from here.)

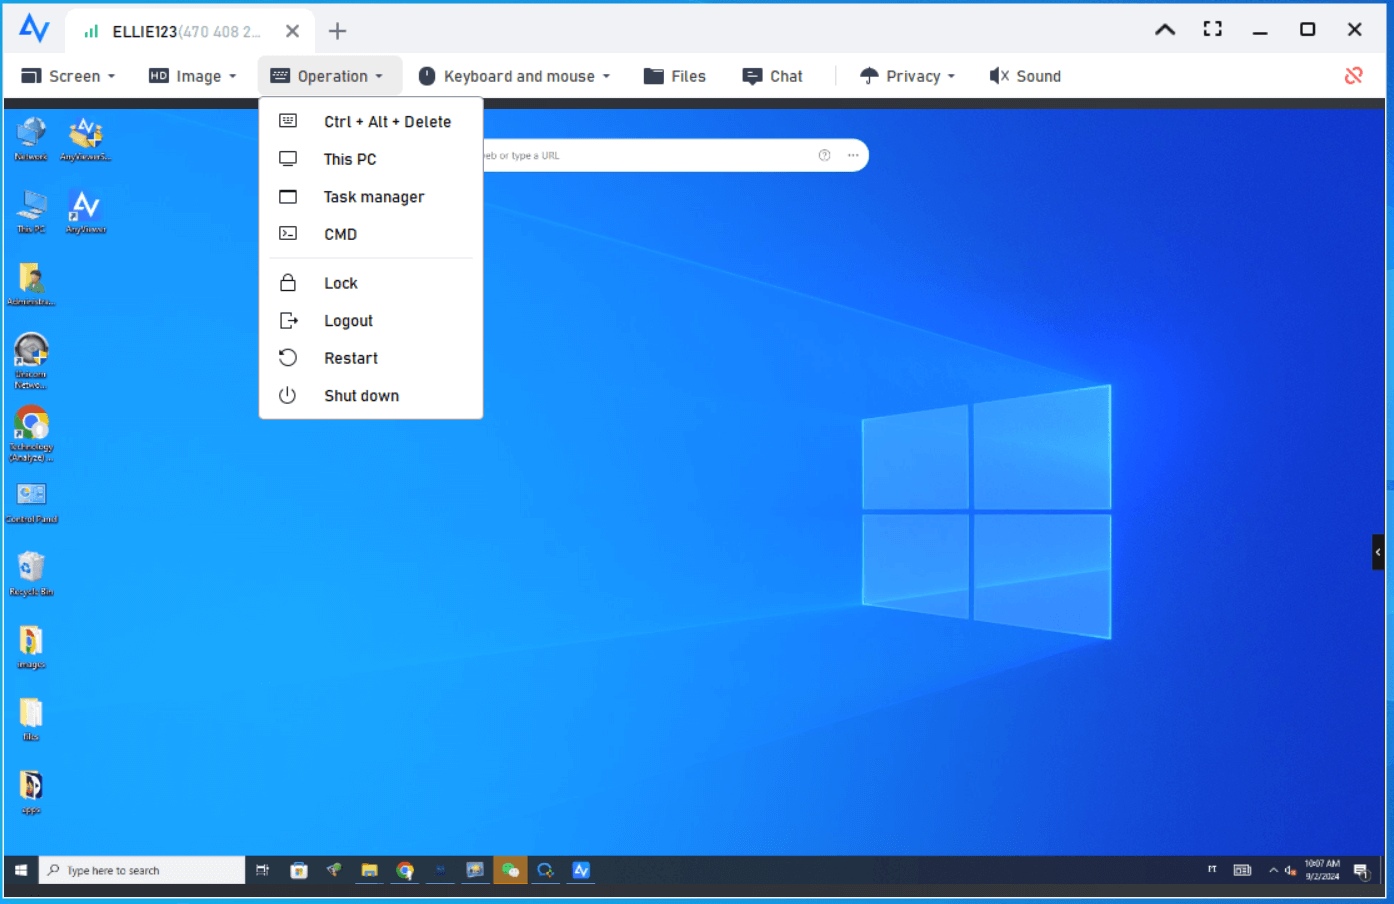
Now you can remotely manage the computer like you were sitting in front of it. The upper toolbar has many considerate options, such as remote lock/restart/shut down, opening Task Manager, etc.
- Notes:✎... Moreover, AnyViewer provides specialized plans for businesses. Upgrade to the Professional or Enterprise plan to gain more benefits!
- More concurrent channels for connections.
- More simultaneous connections.(the enterprise plan supports 10 simultaneous sessions)
- More assigned devices.
- Connection in privacy mode to sufficiently protect your data and privacy.
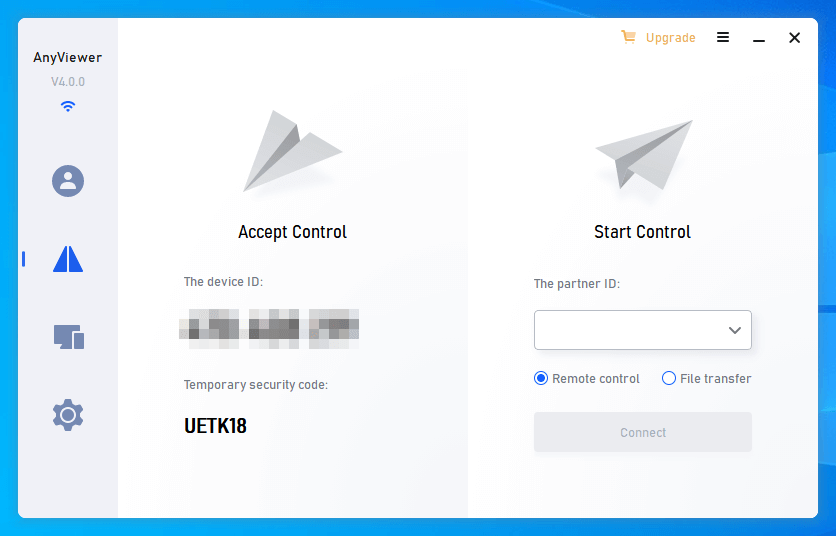
If you don’t want to share your account with someone you don’t trust enough, you can also establish a remote connection with the partner ID.
Start AnyViewer on the client computer. Go to Connect, enter the device ID of the remote computer, and click Connect.
Conclusion
After reading this post, you know how to save and check the Remote Assistance logs. If you think the process is complicated, we recommend you use the best Remote Assistance alternative AnyViewer, which will automatically save your connection history.
