
Troubleshooting: Quick Assist Something Went Wrong [4 Solutions]
This post primarily centers on offering four practical solutions to resolve the "Quick Assist something went wrong" problem. If you're currently dealing with this issue, consider applying the solutions provided in this article to effectively resolve the situation.
By Ellie / Updated on December 13, 2024
Quick Assist "Try again later. Something went wrong on our end. We're working on it."
Quick Assist has not been working for us since Wednesday of last week on any of our devices. It shows Quick Assist “Try again later. Something went wrong on our end. We're working on it.”It has been a lifesaver for us during our mandatory work-at-home days. Any ideas what might be going on?”
- Question from Microsoft Community

Quick Assist, a valuable tool for remote assistance, can sometimes encounter issues such as the frustrating Quick Assist "Something went wrong on our end. We're working on it." error message. This disruption can disrupt workflows, especially during remote work setups. In this guide, we'll delve into practical solutions to address this problem and restore the functionality of Quick Assist.
How to fix Quick Assist something went wrong [4 solutions]
Outlined below are four strategies to address the Quick Assist something went wrong.
Solution 1. Uninstall & reinstall Quick Assist
Step 1. Begin by opening the "Start" menu on Windows 10/11 and navigating to "Settings".
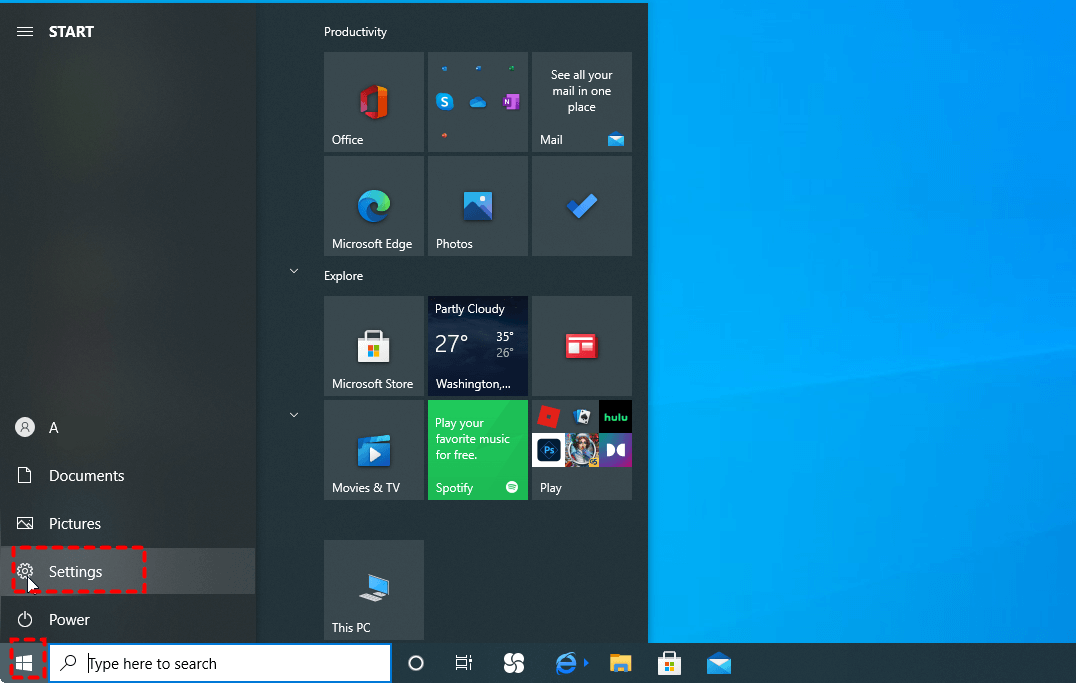
Stepp 2. Click on "Apps" and then choose "Manage optional features" from within the "Apps & features" section.
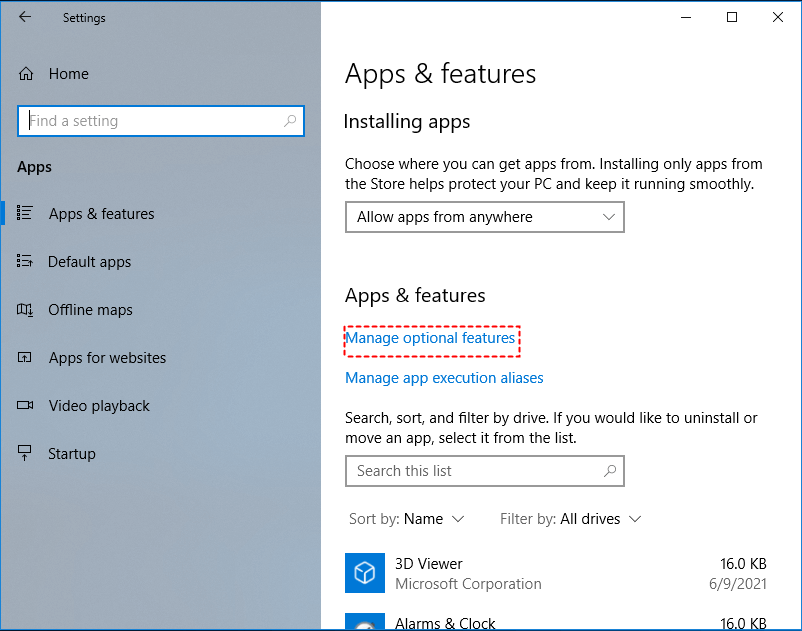
Step 3. Identify "Microsoft Quick Assist" and proceed with uninstalling it.

Step 4. After completing the uninstallation, perform a PC reboot. Reopen the "Manage optional features" section, locate "Microsoft Quick Assist", and proceed with reinstalling it. Finally, launch Quick Assist once more to ensure its functionality is restored.
Solution 2. Start another Quick Assist session
An alternative suggested by users involves initiating a new Quick Assist session and subsequently closing the stalled original session. By starting a fresh instance of Quick Assist, you can initiate a new session even as the previous one remains stuck. Remarkably, this approach has shown success in temporarily overcoming the obstacle posed by the "Something went wrong" message, even though the precise reasons behind its effectiveness are not entirely clear.
Solution 3. Delete or rename the Quick Assist temp folder
Should Quick Assist continue to exhibit issues, consider these steps to rectify the situation. Ensure Quick Assist is fully closed before proceeding.
Step 1. Open the Run dialog with Win + R, then enter "%temp%" and press Enter.

Step 2. This action grants access to the temporary files directory.

Step 3. Inside the Temp folder, you'll spot a folder named "QuickAssist". This folder pertains to the Quick Assist application.

Step 4. Two options present themselves:
- Option 1: Delete the "QuickAssist" folder from Temp. This sends it to the recycle bin, but the folder regenerates upon launching Quick Assist.
- Option 2: If deletion doesn't align with your preferences, rename the folder to "QuickAssist_Backup". Renaming achieves the same outcome as deletion, minus immediate removal.
Step 5. With the "QuickAssist" folder either deleted or renamed, relaunch Quick Assist.
Solution 4. Resort to a Quick Assist alternative
Opting for an alternative Quick Assist tool could prove the most pragmatic approach. Enter AnyViewer, the best free remote desktop software for Windows. It is the leading Quick Assist alternative endowed with several unique advantages:
- Extensive Compatibility: Unlike Quick Assist, AnyViewer seamlessly operates on Windows OS and Windows Server OS, widening its reach.
- Mobile Flexibility: AnyViewer extends its utility to iOS and Android devices, unlike Quick Assist, limited to Windows environments.
- Unattended Access: AnyViewer empowers unattended remote access, granting entry to distant computers without explicit permission.
- Efficient File Transfer: AnyViewer boasts versatile remote file transfer mechanisms, bridging the gap between distant systems.
- Simultaneous Sessions: AnyViewer allows concurrent remote sessions, a feature absent in Quick Assist.
Step 1. Install AnyViewer on the pertinent devices requiring remote access.
Step 2. Complete registration or log in to establish your AnyViewer account.

Step 3. Confirm successful account login for robust device associations.

Step 4. In the "Devices" section, pinpoint the desired remote computer.
Step 5. Initiate connection by activating "One-click control", and streamlining link establishment.

- ★Tips:
- For enhanced capabilities, consider AnyViewer's Professional or Enterprise plan, brimming with valuable perks:
- Enhanced allocation for unattended access device assignments.
- Efficient management of simultaneous remote sessions.
- Swift file transfers for seamless data exchange.
- Heightened security through privacy mode integration.
- ... and much more.
The bottom line
Navigating the hiccup of Quick Assist something went wrong message demands patience and resourcefulness. Armed with these strategies, you're primed to restore seamless remote assistance functionality, thereby ensuring smooth operations in various work scenarios.
However, for those seeking a comprehensive solution that extends beyond the limitations of Quick Assist, AnyViewer stands as an optimal choice. With its wide compatibility, mobile flexibility, unattended access capabilities, efficient file transfers, and the ability to manage multiple sessions concurrently, AnyViewer not only resolves the current issue but also equips you with a more versatile and robust remote assistance tool.
