
[6 Ways] How to Transfer Photos from One Mac to Another Easily
Need to move photos between Macs? Use AnyViewer for remote transfers, Migration Assistant for full migration, or try iCloud, Time Machine, File Sharing, or an external drive. Find the best method for you!
By Ellie / Updated on March 28, 2025
How to transfer photos from an old Mac to a new Mac?
If you're looking to move your Photos library from one Mac to another, Apple offers a variety of seamless options. For a hassle-free transfer of all your photos, Migration Assistant is the clear winner, ensuring everything moves over effortlessly. However, if you're only transferring a handful of photos, several equally effective methods can save you time and effort, making the process quick and simple. Don't settle for anything less—choose the method that works best for your needs!

How to transfer photos from one Mac to another [6 ways]
Here are six effective methods to transfer photos from one Mac to another, complete with detailed steps for each. Take a look and find the best option for you!
Way 1. Migrate all photos from one Mac to another via Migration Assistant
If you want to move all your photos from one Mac to another, using Migration Assistant is the most efficient way to transfer your entire library. This method ensures that your photos, along with other important data, are seamlessly copied to your new Mac.
Follow these steps to migrate data between Macs using Migration Assistant:
Step 1. Open Migration Assistant on your new Mac. You can find it in the Other folder in Launchpad. If you're setting up a new Mac, follow the setup process until you reach the Migration Assistant screen.
Step 2. Choose "From a Mac, Time Machine backup, or Startup disk", then click Continue.

Step 3. If prompted, enter your Mac’s administrator password and click OK.
Step 4. Now, on your old Mac, open Migration Assistant. If Launchpad is unavailable, go to Applications > Utilities to find it.
Step 5. Select "To another Mac", then click Continue.
Step 6. On your new Mac, select your old Mac from the list of available devices, then click Continue.
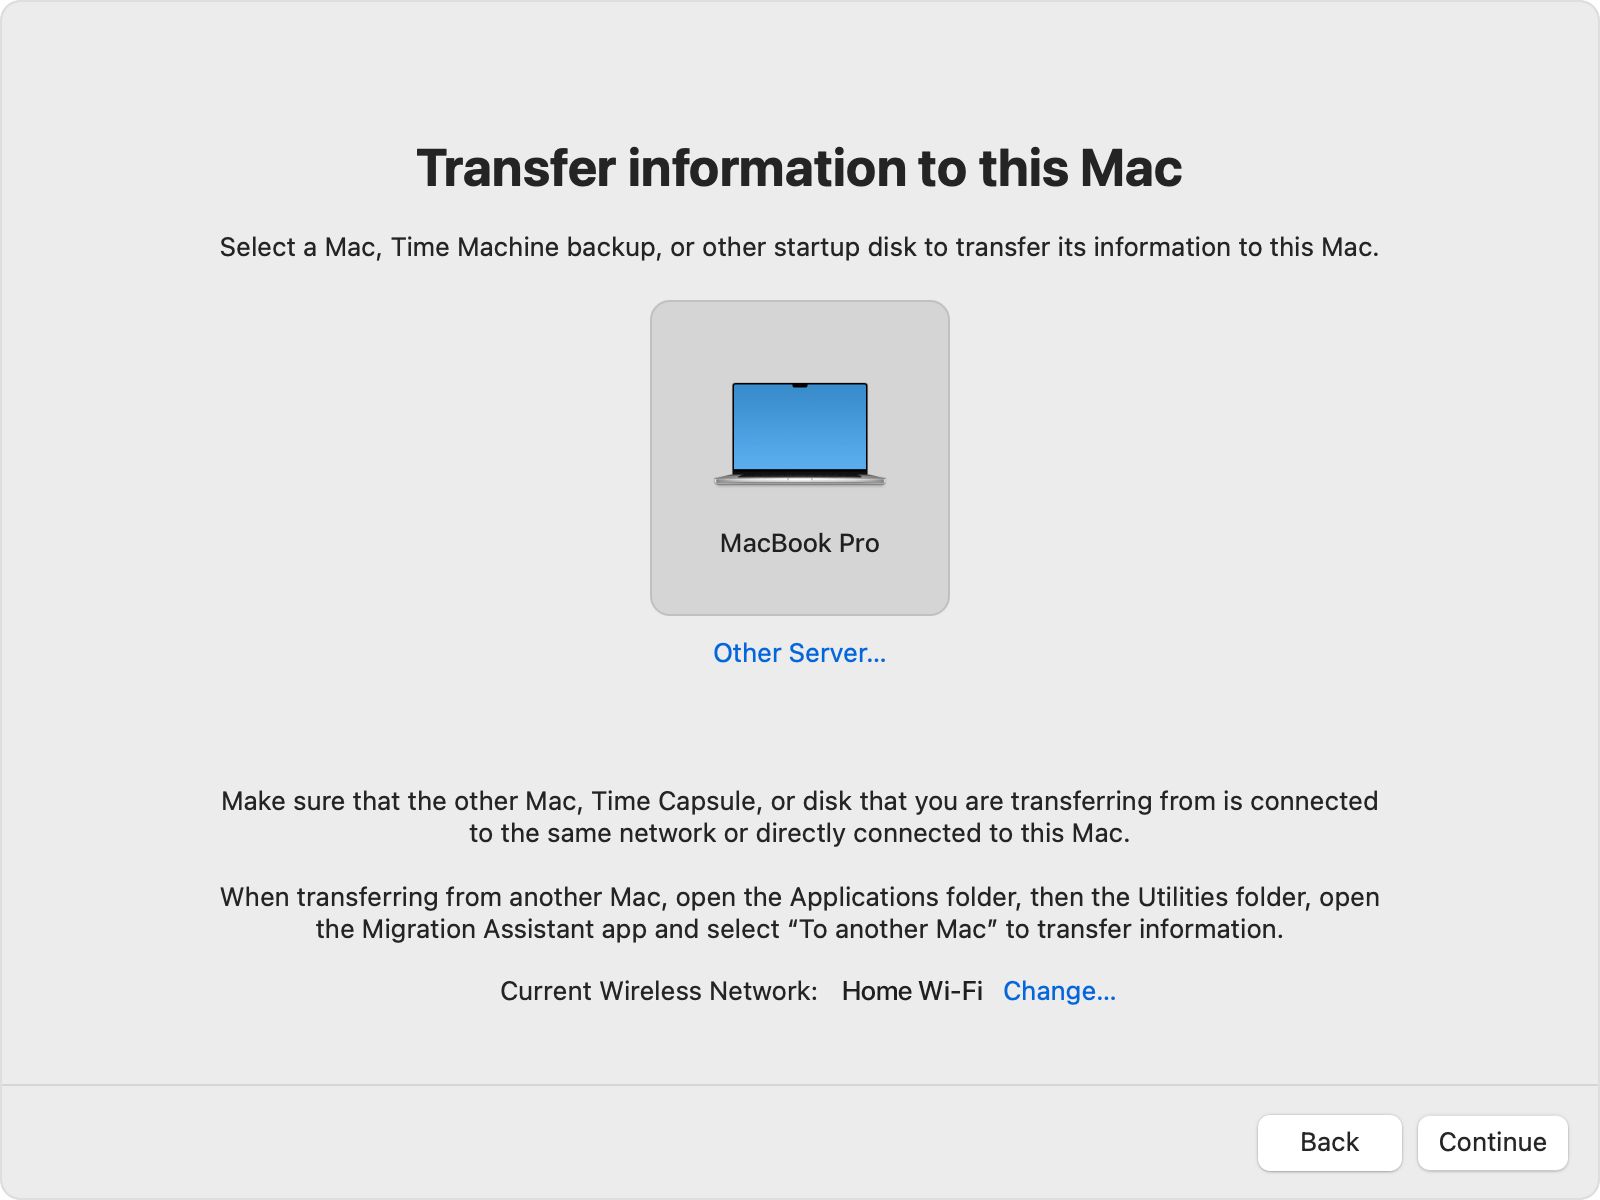
Step 7. If a security code appears on the screen, verify that the code matches on both Macs, then click Continue.
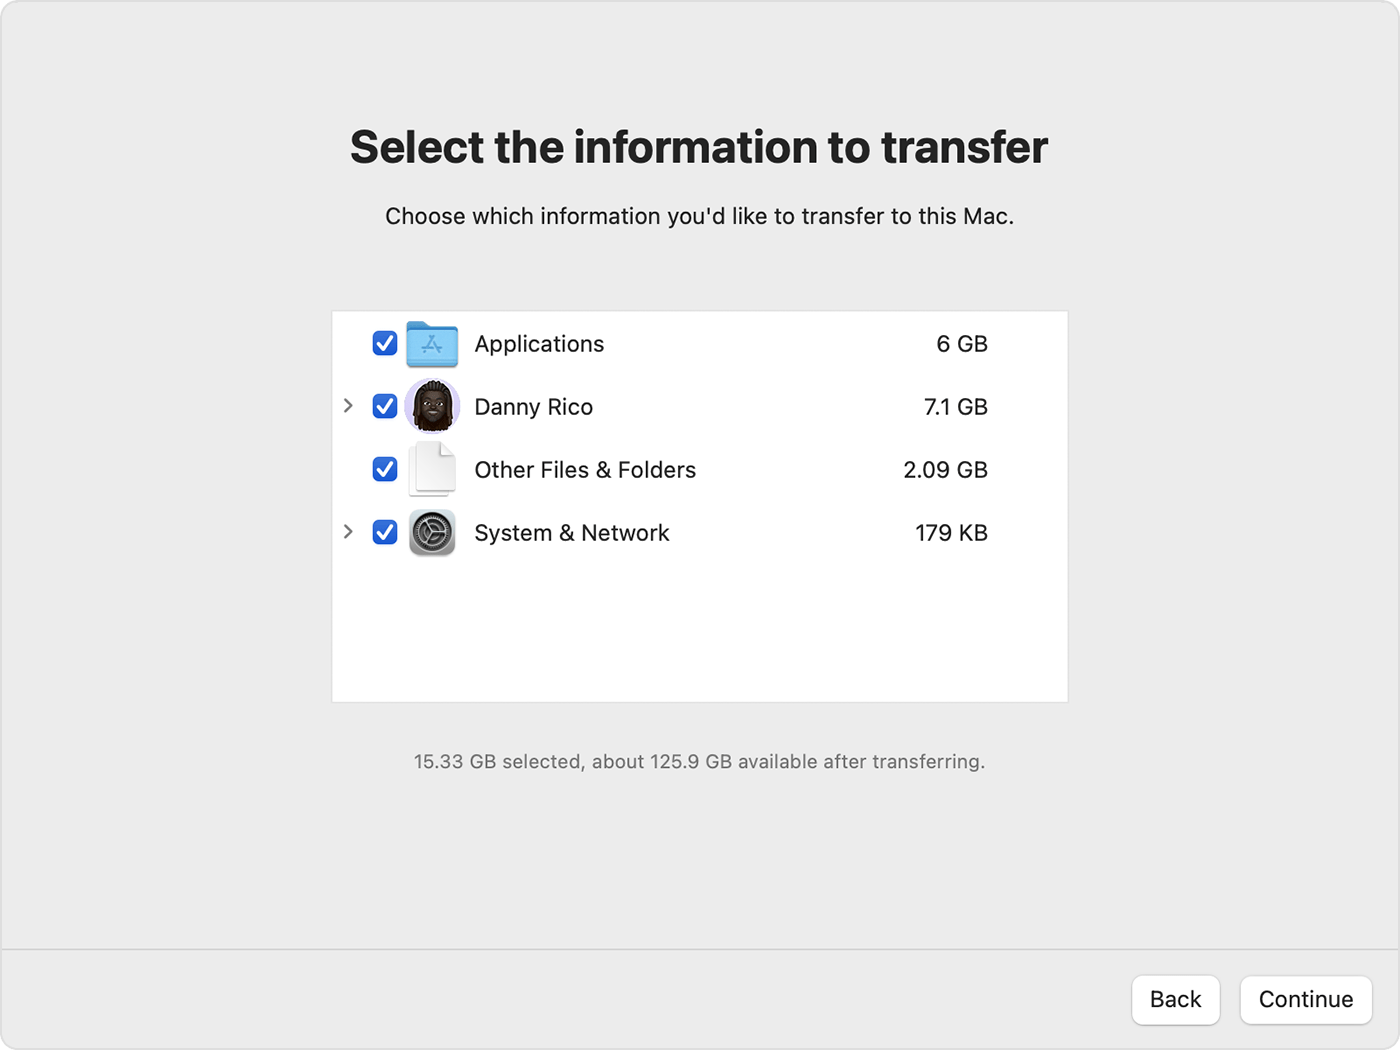
Step 8. Select the information you want to transfer, such as your user account, applications, system settings, and photo library, then click Continue to start the migration.
Step 9. Once the transfer is complete, log into your new Mac using your existing account. Your photos, along with all selected data, will be available.
Migration Assistant is a hassle-free way to move everything, ensuring your photo library remains intact on your new Mac.
Way 2. Remote Mac-to-Mac photo transfer via AnyViewer
If you're looking to transfer photos between two Macs in different locations or only need to move specific files, AnyViewer is the perfect remote desktop solution. Unlike Migration Assistant, which requires both Macs to be on the same network, AnyViewer allows for fast, secure, and stable photo transfers over the internet—no matter where your devices are located.
Why Choose AnyViewer for Mac Photo Transfers?
- Cross-Network Flexibility – Transfer photos remotely between Macs, even if they are on different networks, something Migration Assistant can’t do.
- Dual Functionality – In addition to photo transfers, AnyViewer offers remote desktop control, enabling you to manage settings, troubleshoot issues, and access applications from anywhere.
- Enhanced Security – With robust encryption protocols, AnyViewer ensures your data is safe and secure during transfers.
- Cross-Platform Support – Mac-to-Mac, Mac-to-PC, and PC-to-Mac transfers are supported, making AnyViewer an excellent all-in-one remote access solution.
How to transfer photos from one Mac to another using AnyViewer
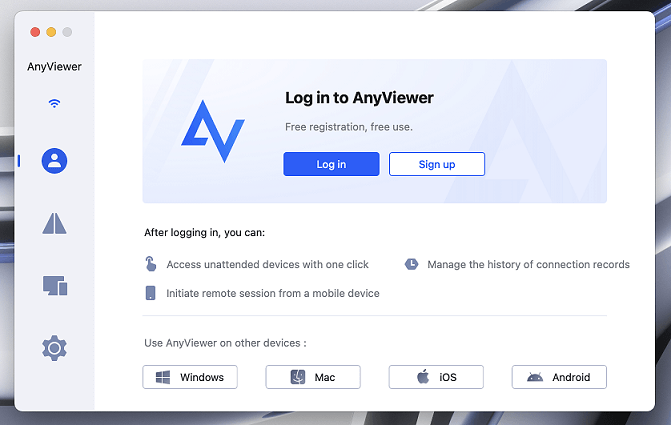
Step 1. Install AnyViewer on both Macs.
Step 2. Log into both devices using the same AnyViewer account.
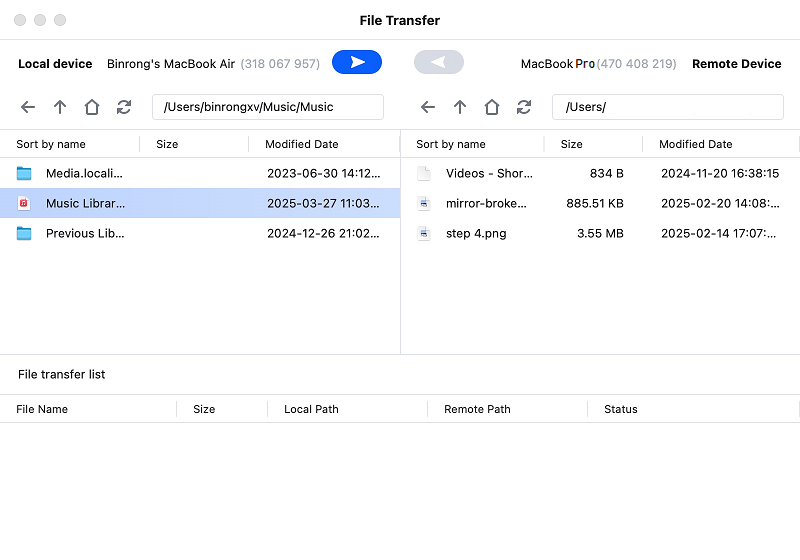
Step 3. On your local Mac, find the remote Mac in the device list and select File Transfer.
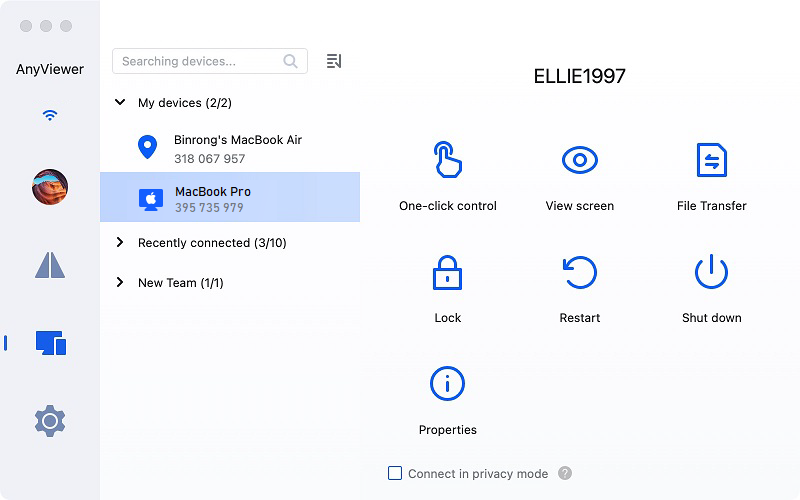
Step 4. In the File Transfer Manager, choose the photos you want to move, then click the arrow to start the transfer.
Step 5. Optional: Select One-Click Control to access the remote Mac and initiate the transfer from the toolbar.
With AnyViewer, you can easily and securely transfer photos between Macs without limitations.
Tips for Faster File Transfers with AnyViewer
To further enhance your file transfer experience, consider upgrading to an AnyViewer Professional or Enterprise plan. These plans unlock premium features that significantly improve transfer speed and efficiency:
- Maximum file transfer speed: 10 MB/s
- Simultaneous transfers: Transfer up to 5 files at once
- Unlimited files per transfer: Move as many files as needed in a single session
- Large file support: Transfer individual files up to 1 TB in size
With these advanced features, AnyViewer ensures fast, reliable, and secure photo transfers for both personal and professional needs.
Way 3. Sync photos between Macs via iCloud Photos
iCloud Photos allows you to sync your images and videos across your Mac and iCloud, making them accessible on all your devices. iCloud stores the original, full-resolution versions of your media on its servers. On each device, you can choose whether to store "optimized" media (ideal for saving space) or keep the full-resolution versions. The optimized option is especially useful if you're working with limited storage on your device.
However, keep in mind that iCloud storage comes at a cost. Pricing starts at $0.99/£0.79 for 50GB, with plans going up to $9.99/£6.99 for 2TB.
To confirm that iCloud Photos are synced on your new Mac, follow these steps:
Step 1. Click the Apple menu in the top left corner of your screen.
Step 2. Select System Preferences from the drop-down menu.
Step 3. Click on Apple ID at the top of the window.
Step 4. In the left sidebar, click on iCloud.
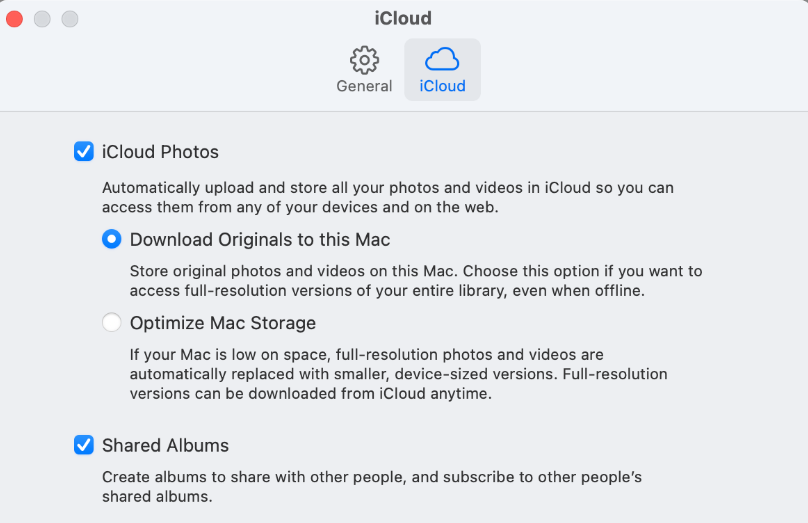
Step 5. If the Photos box isn't already checked, tick it to enable syncing.
Once checked, your Mac will begin syncing your photos from iCloud, ensuring your images are up to date across all your devices.
Way 4. Transfer a Photos library using Time Machine
Using Time Machine to back up your data is an effective way to migrate to a new Mac, ensuring that the new machine mirrors your old one. We've covered how to create a Time Machine backup elsewhere, but if you're just looking to transfer a Photos library from a Time Machine backup to another Mac, here's how you can do it:
Step 1. Connect the drive with the backup to the Mac you want to transfer the Photos library to.
Step 2. Open the backup drive.
Step 3. Navigate to the most recent backup folder.
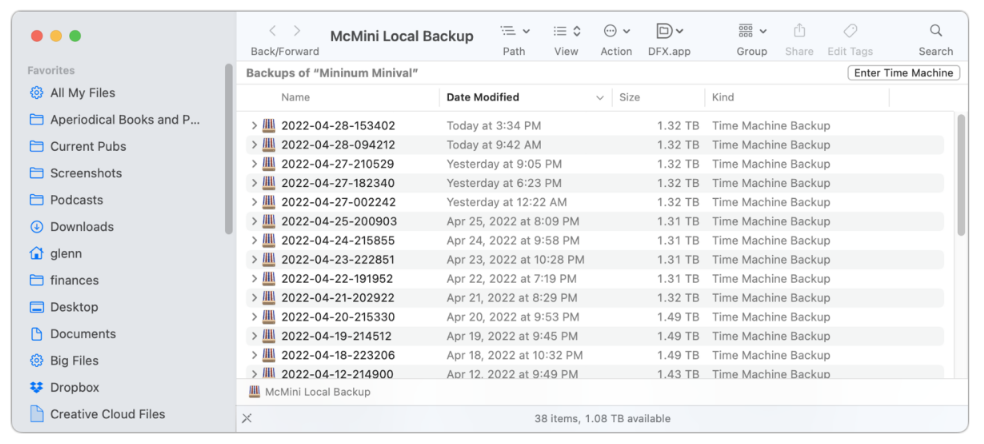
Step 4. Locate the Photos library (Home > Pictures > Photos Library.photoslibrary).
Step 5. Control-click the Photos library file and select Restore "Photos Library."
Step 6. When prompted, choose a destination other than the current Photos library on your new Mac (this step is crucial to avoid overwriting it).
Step 7. Click Restore.
Alternatively, if the restore option isn't available, simply drag and drop the library to your new Mac.
This will create a duplicate Photos Library folder. You can then decide whether to merge the libraries or keep them separate, depending on your needs.
Way 5. Share photos between Macs via File Sharing
Every Mac comes with a built-in File Sharing feature that allows seamless file transfers between devices on the same network. If you want to migrate photos from one Mac to another, this is a simple and effective method.
Step 1. Enable File Sharing on both Macs
- Ensure both Macs are connected to the same network.
- Click the Apple menu > System Preferences > Sharing.
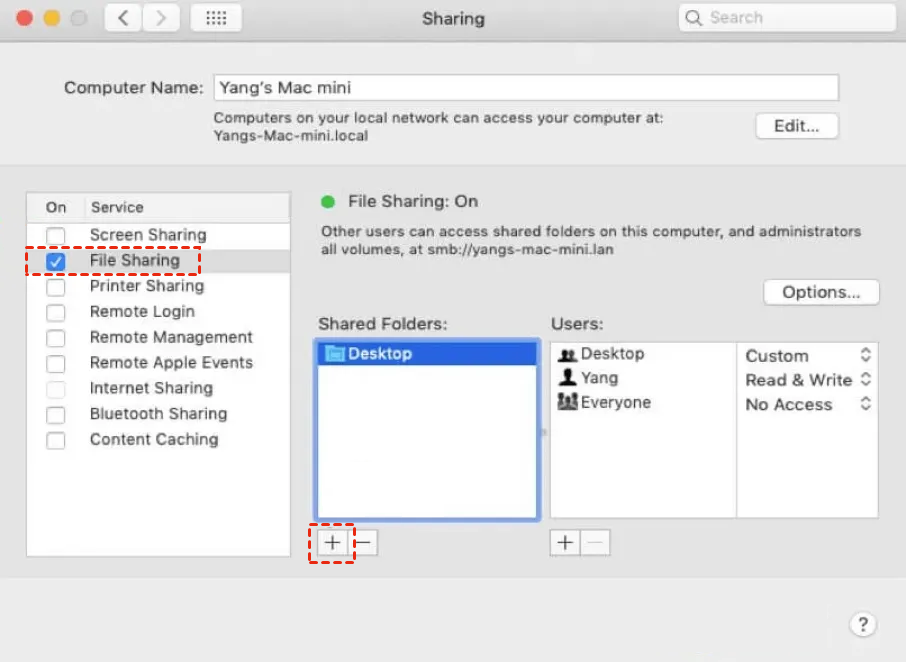
- Check the box for File Sharing on both Macs.
Step 2. Share Files on the First Mac
- In the File Sharing window, click the "+" button under Shared Folders to add the files or folders you want to share.
- By default, the Public folder is shared—you can use it or replace it with another folder containing your photos.
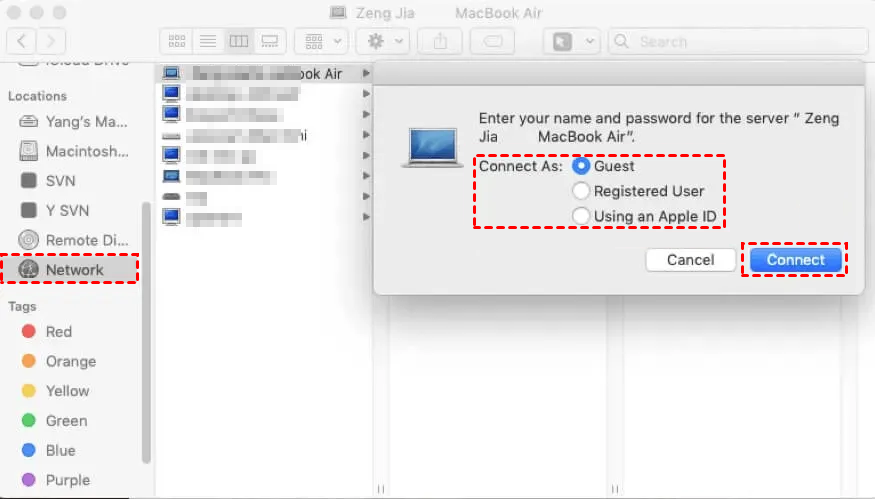
Step 3. Access Shared Files on the second Mac
- Open Finder and go to Go > Network.
- Locate the name of the first Mac and click on it.
- Click Connect As and choose a login method (Guest, Registered User, or Apple ID).
- Enter your credentials and click Connect.
- Once connected, you can access or copy the shared photo files directly to the second Mac.
File Sharing is a convenient method for transferring photos and other files between Macs as long as both devices are on the same network.
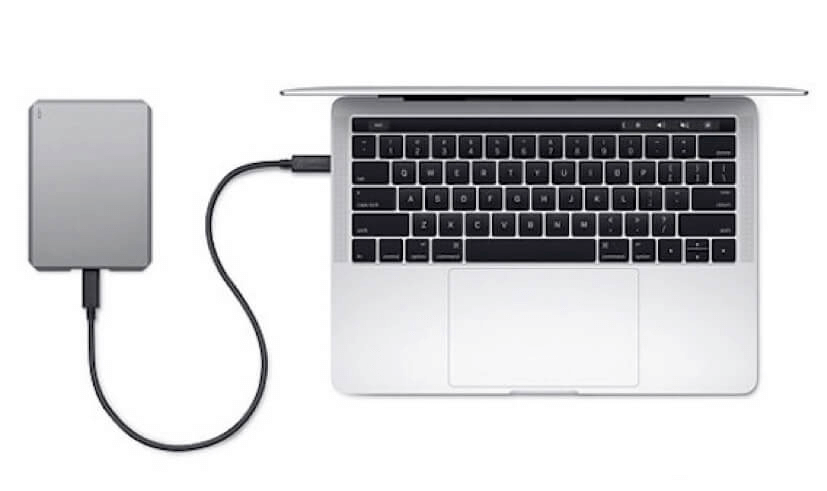
Way 6. Copy photos to another Mac via an external drive
Another option is to copy your Photos library to an external drive and then transfer it to your second Mac by simply dragging and dropping the folder. This method is also a great solution if you're running out of space due to your expanding photo collection. However, keep in mind that you'll need an external drive with sufficient storage space.
Conclusion
When it comes to how to transfer photos from one Mac to another, you have plenty of options to choose from. Whether you use Migration Assistant for a complete transfer, AnyViewer for remote file sharing, or iCloud Photos for seamless syncing, each method ensures a smooth transition. Additionally, Time Machine, File Sharing, and external drives offer reliable alternatives for manual transfers. Pick the best method based on your needs, and enjoy a quick and hassle-free photo migration between your Macs!
