
How to Transfer Files from Dell to Mac: 3 Simple Methods
Wondering how to transfer files from Dell to Mac? This guide covers three simple methods: Migration Assistant for devices on the same network, AnyViewer for remote transfers, and an external hard drive for offline file movement.
By Ellie / Updated on April 2, 2025
How do I transfer files from my Dell laptop to my Mac?
Transferring files from a Dell PC to a Mac might seem daunting, but it's easier than you think. Whether you're switching from Windows to macOS or simply moving data between devices, there are several methods to ensure a smooth transfer process. In this guide, we'll explore the most efficient ways to get your files from a Dell to a Mac.
How to transfer files from Dell to Mac [3 methods]
Here are three ways to transfer files from a Dell computer to a Mac. Each method is designed for specific conditions and scenarios. Choose the one that best fits your requirements.
Method 1. Migration Assistant - Transfer files between devices on the same network
Migration Assistant helps transfer your contacts, calendars, email accounts, and more from a Windows device to your Mac, placing the data in the appropriate locations. It also allows you to transfer files between Macs. After the transfer, remember to authorize your Mac for iTunes Store purchases before syncing or playing any content downloaded from the store.
When to use Migration Assistant:
- Both your Mac and Dell laptop are connected to the same network.
- Disable antivirus, firewall, or VPN software on both computers during the transfer process.
- Ensure your Windows operating system is up to date (Migration Assistant supports Windows 7 and newer versions).
- Have the administrator account name and password for your Windows ready.
Here's how to transfer files from Dell to Mac using Migration Assistant:
Step 1. On your Dell PC, download and install Windows Migration Assistant 3, required for macOS Sonoma 14.4 or later. If your Mac has an earlier version, use the corresponding Migration Assistant.
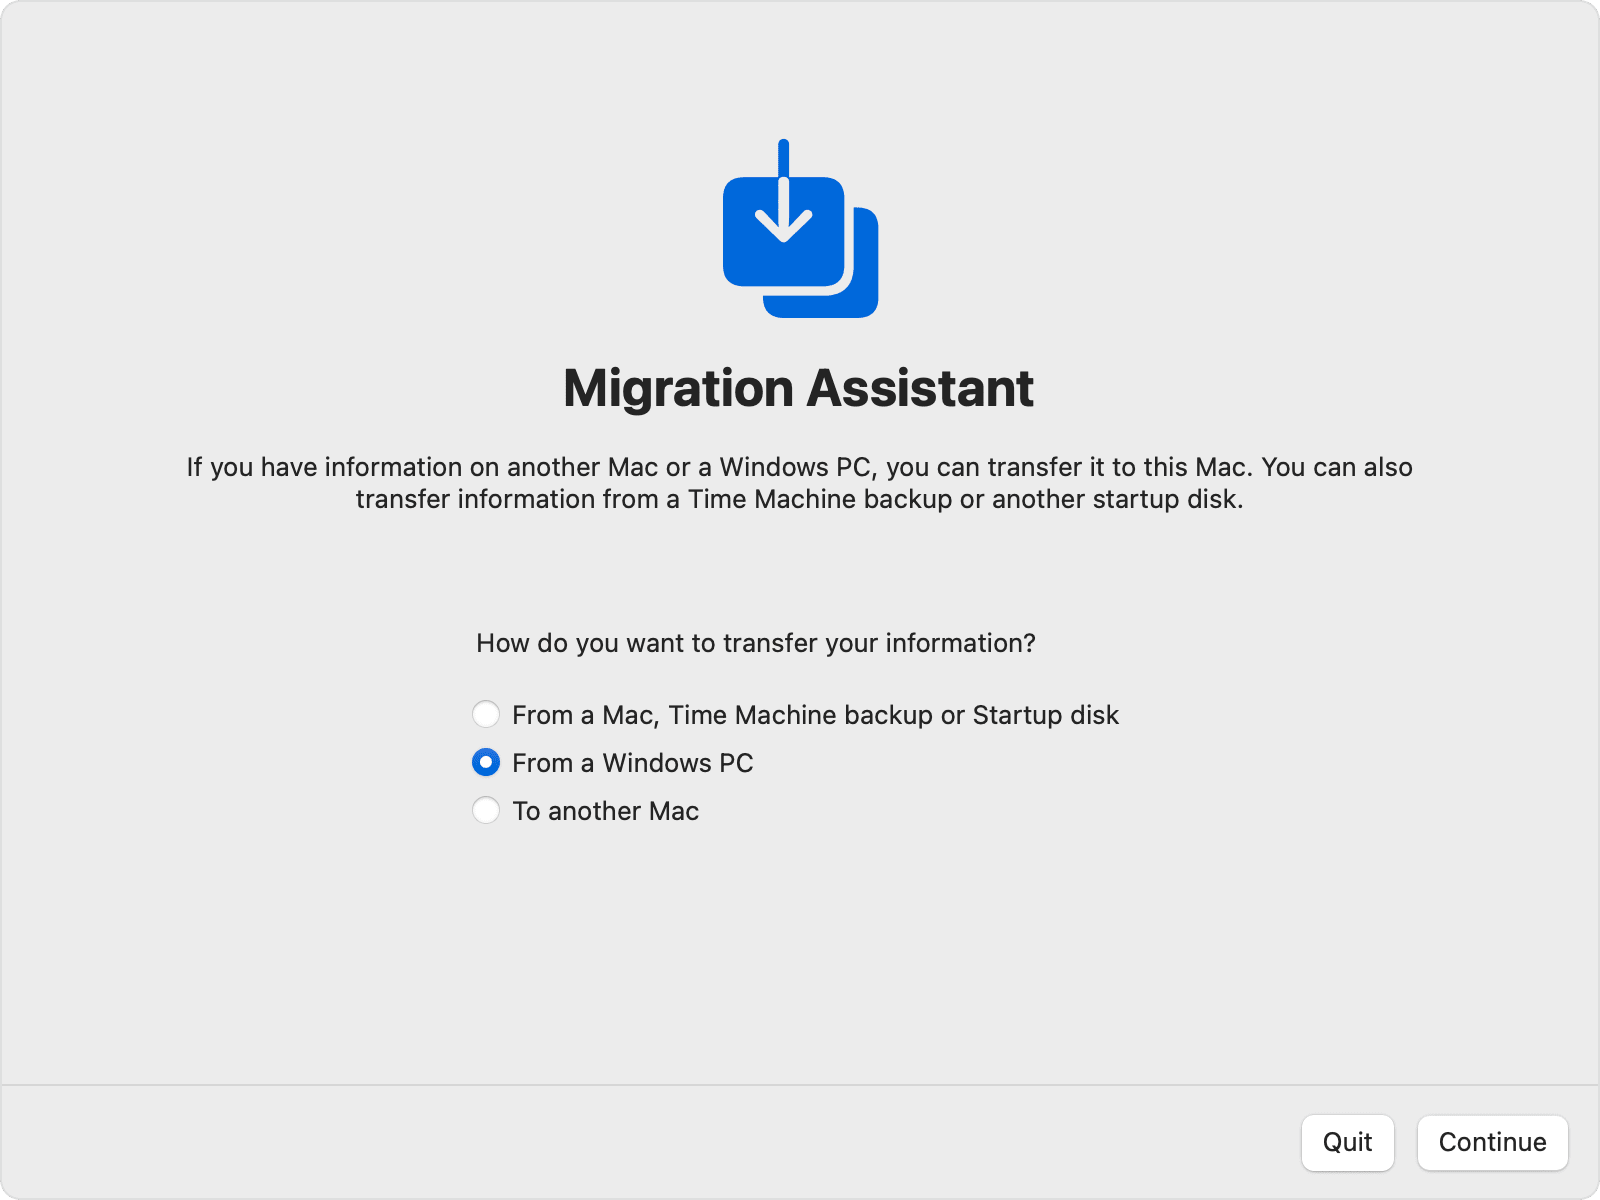
Step 2. On your Mac, go to Applications > Utilities and open Migration Assistant. Alternatively, use Spotlight to search for it.
Step 3. Follow the on-screen prompts until you're asked to choose the transfer method. Select From a Windows PC and click Continue.
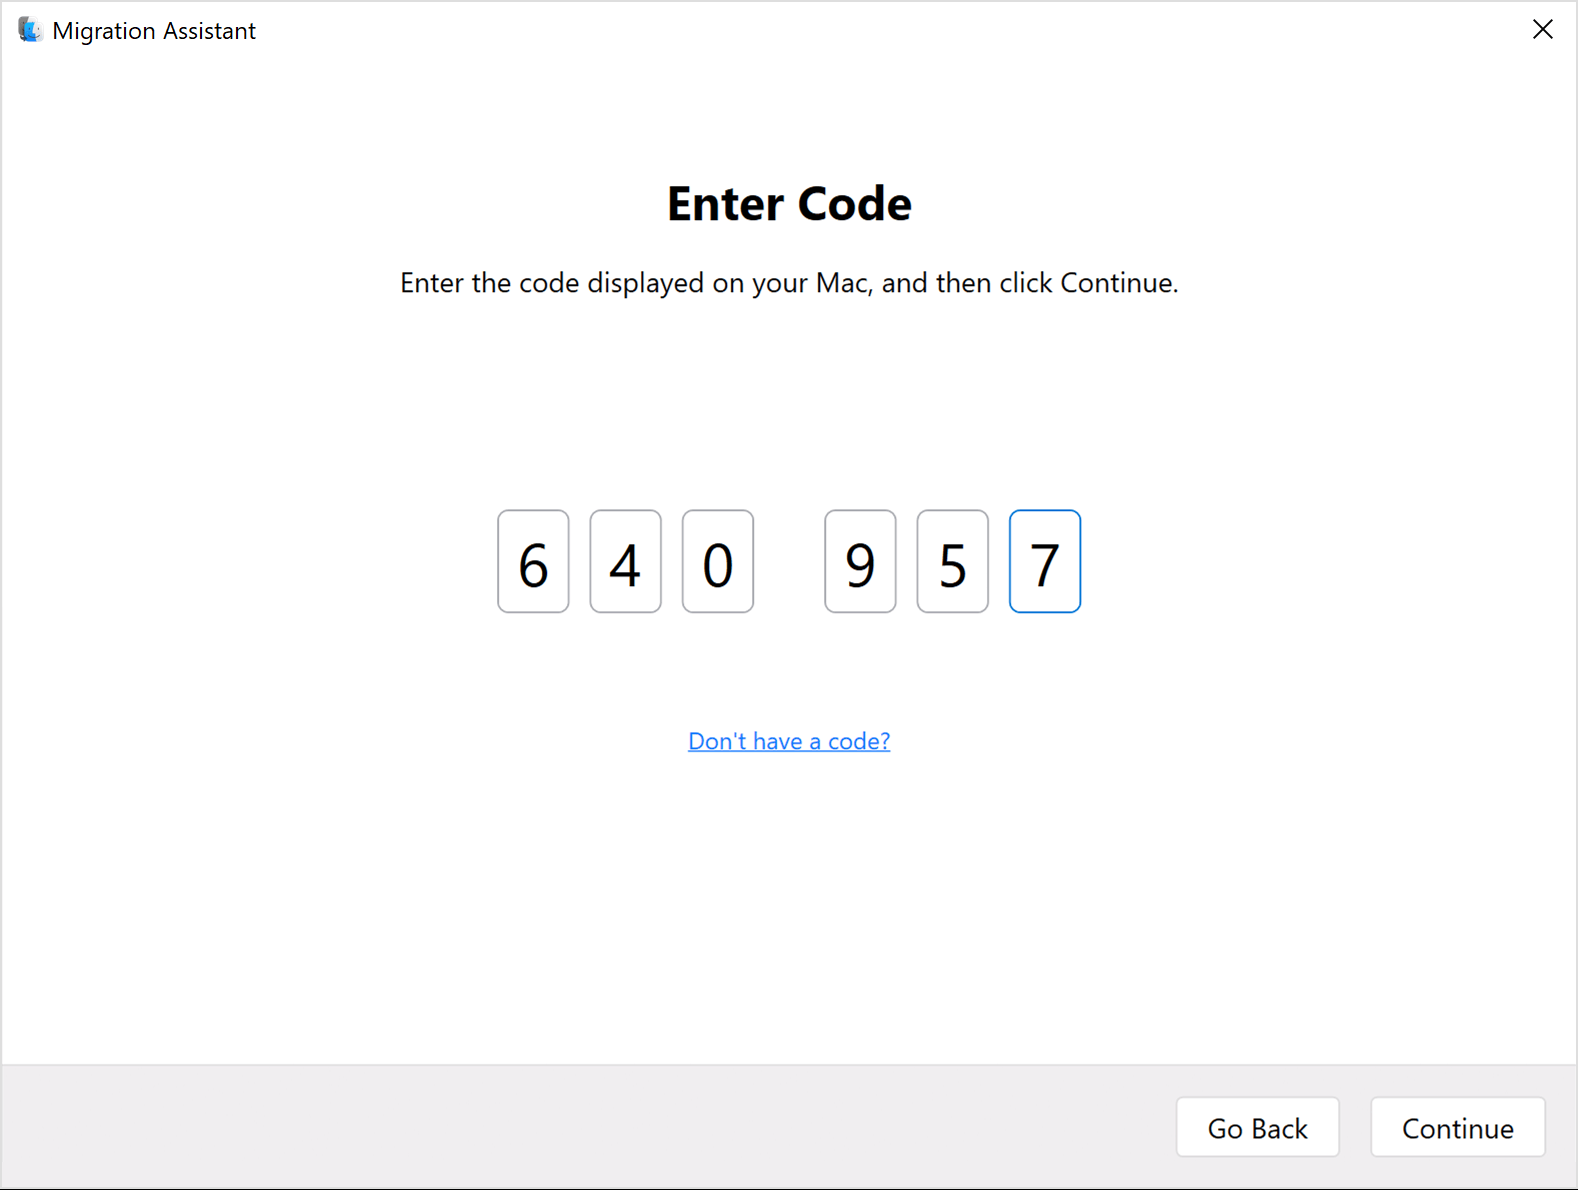
Step 4. Your Mac will show a code. Open Windows Migration Assistant on your PC and enter the code displayed on your Mac.
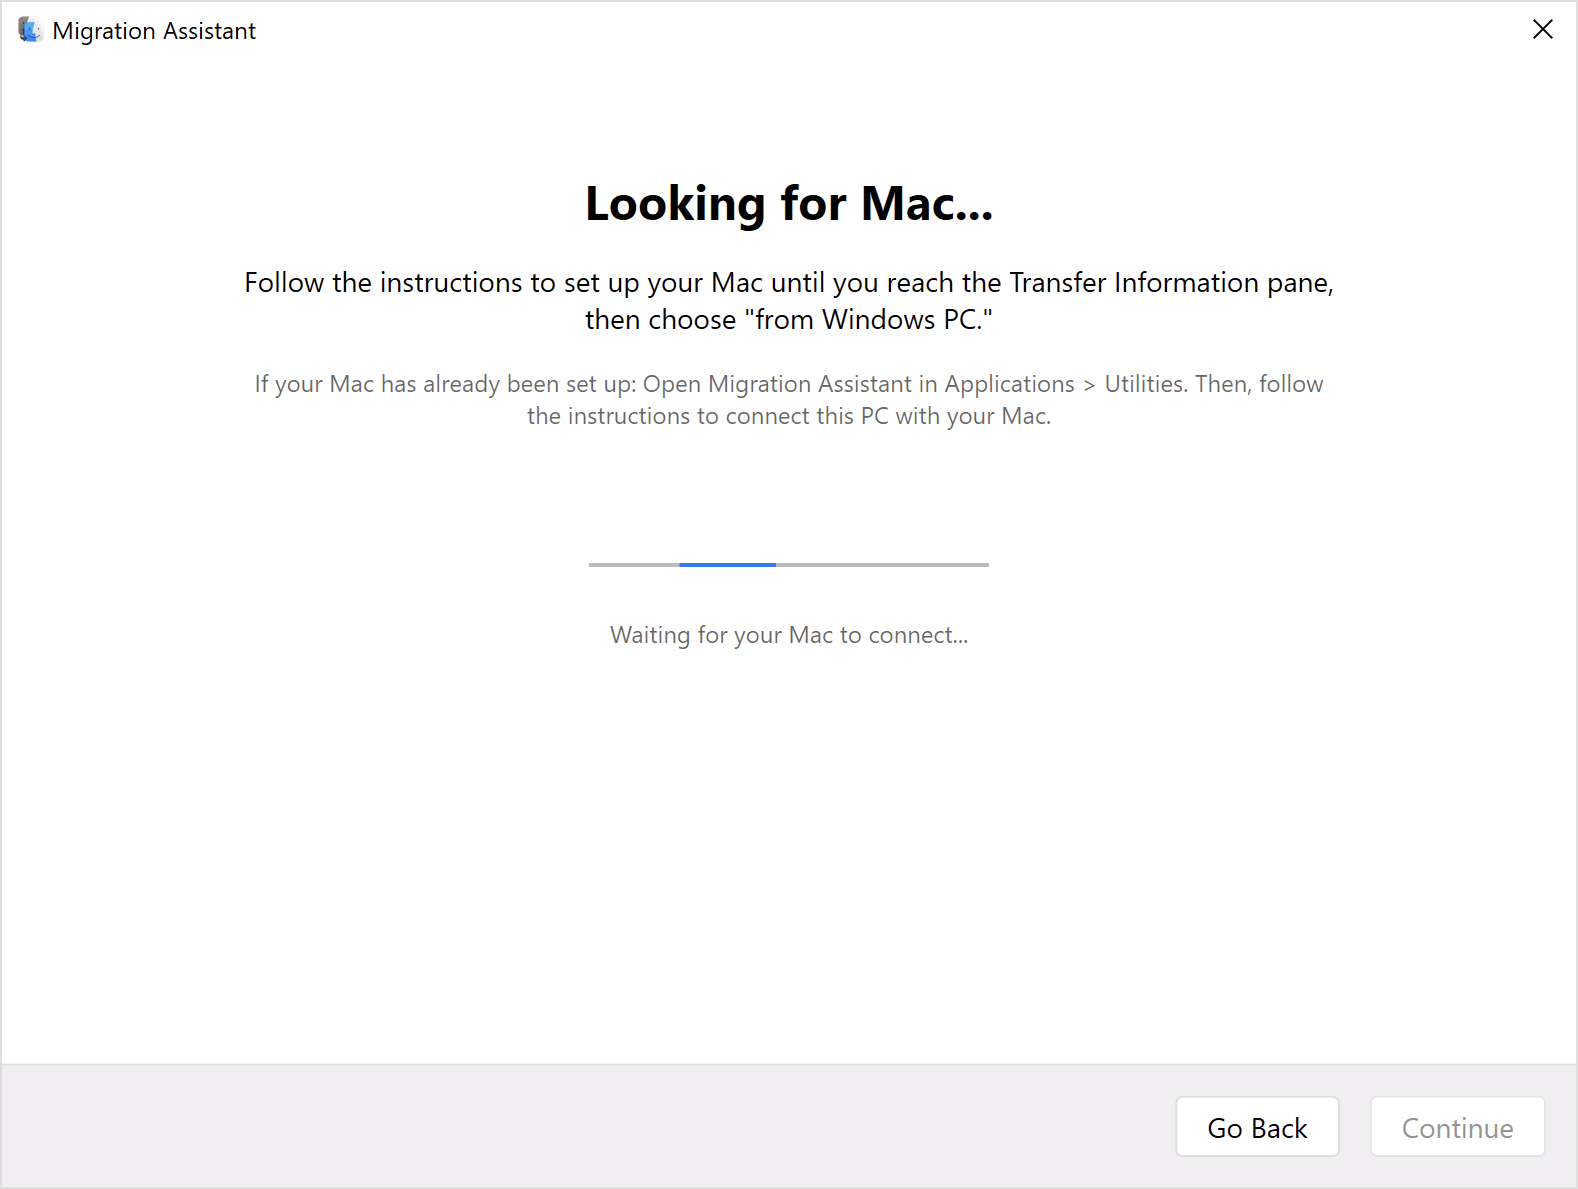
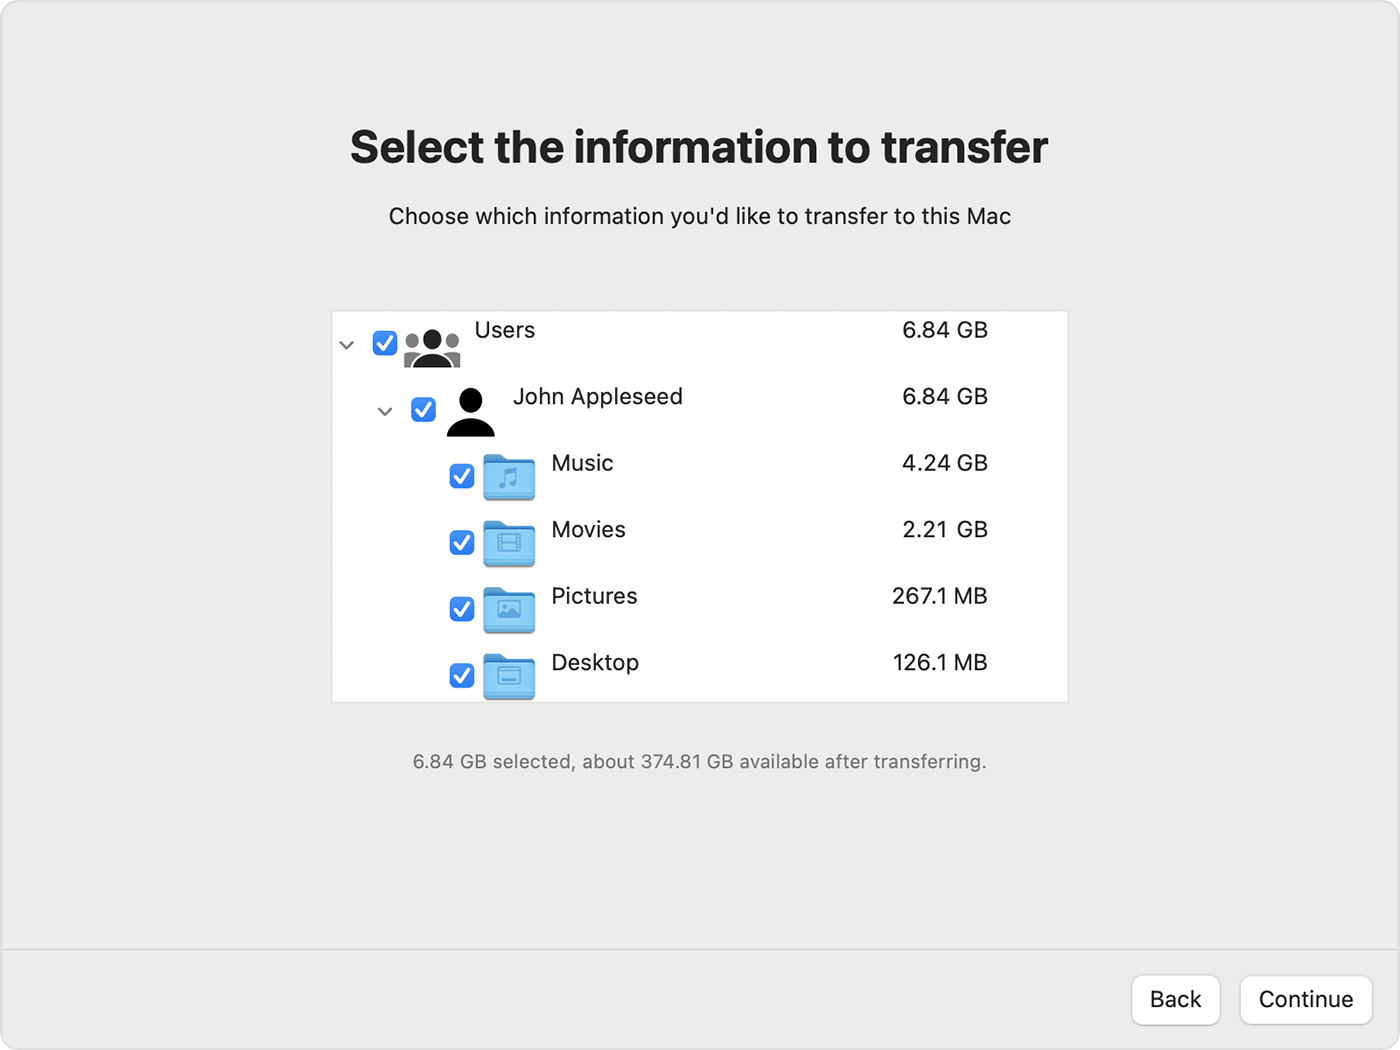
Step 5. Once connected, Migration Assistant will catalog your files. This may take a few minutes.
Step 6. Choose the files you want to transfer, then click Continue. Large transfers may take time, so consider starting in the evening.
Step 7. When the transfer is complete, log in to your Mac account to access your files. The account name will be the same as on your Dell PC.
Step 8. Authorize your Mac for Apple purchases before syncing or playing any content from the Apple Store.
Method 2. AnyViewer - Transfer files between devices over the internet
AnyViewer is a powerful remote desktop tool that allows you to transfer files securely and efficiently over the internet. Unlike Migration Assistant, which requires both devices to be on the same network, AnyViewer works remotely, making it perfect for transferring files across different networks or even when you’re not in the same physical location.
When to use AnyViewer:
- You need to transfer files between devices over the internet, even when they're on separate networks.
- You want a simple, user-friendly file transfer solution between Windows and macOS, without needing an administrator account or password.
- You require faster, more reliable file transfers with advanced encryption to ensure data security.
- You need additional features like accessing applications, managing settings, and troubleshooting while transferring files.
Here’s how to transfer files from Dell laptop to MacBook Air using AnyViewer. To transfer files from Mac to Windows, simply reverse the steps.
Step 1. Download and install AnyViewer on both your Dell PC and Mac.
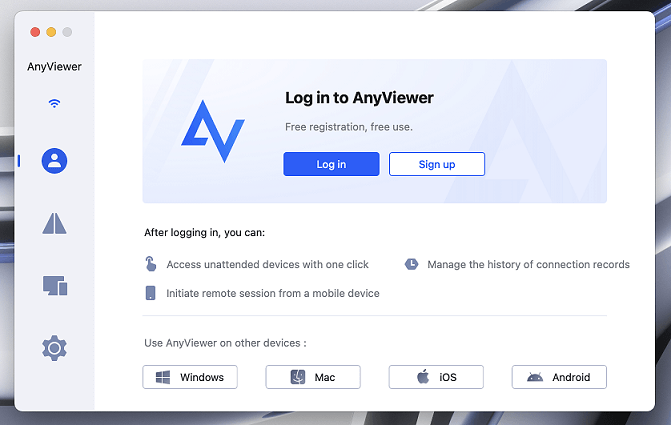
Step 2. Create an AnyViewer account or sign in if you already have one.
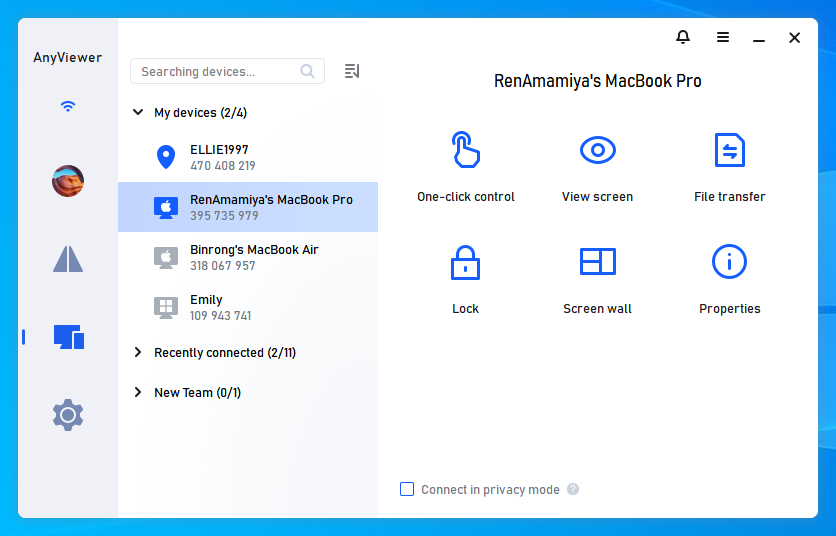
Step 3. In the AnyViewer app on your Dell PC, click on “Device” to see a list of your connected devices. Locate your Mac under “My Devices” and click on it. Select "File Transfer" from the options to open the file transfer manager.
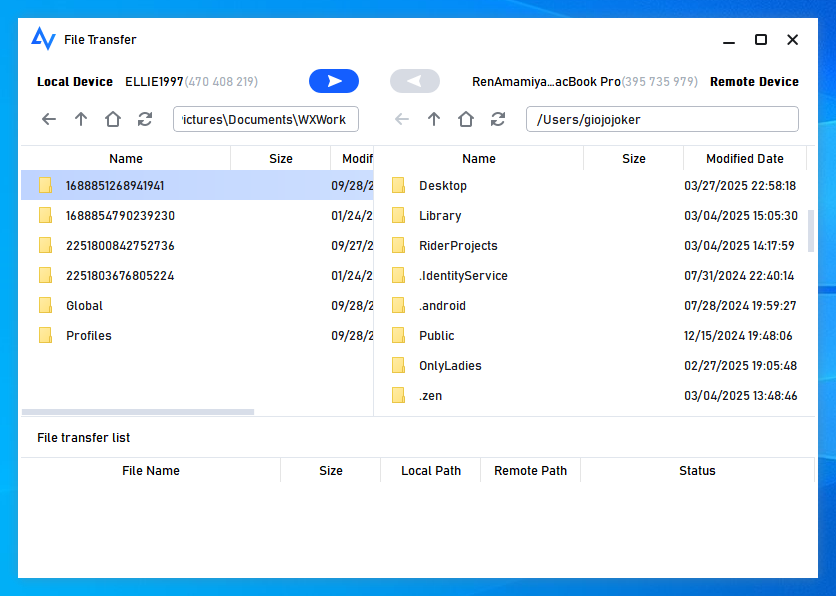
Step 4. In the file transfer manager, choose the file you want to move, then click the arrow to begin the transfer.
Alternatively:
If you want to enable unattended remote access during the transfer, select “One-click control” to access your Mac remotely. Once connected, you can use the file transfer manager from the toolbar within the remote session.
- ★Tips: For better file transfer performance, consider upgrading to a Professional or Enterprise plan, which offers:
- Maximum file transfer speed: 10 MB/s
- 5 simultaneous file transfer threads
- Unlimited number of files per transfer
- Maximum single file size: 1 TB
Method 3. External Hard Drive or USB Drive - Transfer files between devices without network
One of the simplest ways to transfer files from your Dell to a Mac is by using an external hard drive or USB drive. This method doesn’t require any internet connection and works well for large file transfers.
When to use an external hard drive or USB drive:
- You don't have access to a network or prefer not to use one.
- You have physical access to both your Dell and Mac.
- You need to transfer large amounts of data without relying on an internet connection.
- You prefer a simple, straightforward way to move files without additional software.
Here’s how to transfer data from Dellto MacBook Air using an external hard drive or USB drive:
Step 1. Plug your external hard drive or USB drive into your Dell PC. Copy the files you want to transfer onto the device.
Step 2. After copying the files, safely eject the drive from your Dell.
Step 3. Plug the external drive into your Mac. You should see it appear on your Mac’s desktop or Finder.
Step 4. Simply drag and drop the files from the external drive to your desired location on your Mac.
Conclusion
In conclusion, learning how to transfer files from Dell to Mac is simple with the right tools. Whether you choose Migration Assistant for devices on the same network, AnyViewer for remote transfers, or an external hard drive for offline transfers, each method offers a unique advantage. By selecting the best option for your situation, you can easily and efficiently move your files from a Dell laptop to your Mac without hassle.
