
How to Screen Mirror on Windows 10, 11 [PCs/TVs]
This post introduces how to screen mirror on Windows 10 and 11. Screen mirroring is easy with tools like AnyViewer and the Windows Connect app for PC-to-PC connection. For screen mirroring Windows on TVs, use HDMI cables or Chromecast.
By Ellie / Updated on December 13, 2024
Can I screen mirror on Windows?
Screen mirroring allows you to share your Windows PC’s display with another device, such as another PC or a TV. This can be incredibly useful for presentations, watching videos, or simply extending your workspace.
Can you screen mirror on Windows? Yes, there are several tools available for mirroring your Windows 10 or 11 screen to another PC or TV. Here’s a comprehensive guide on how to screen mirror on Windows for different devices.
How to screen mirror on Windows 10/11 to another PC
Screen mirroring between Windows 10/11 PCs improves teamwork, simplifies remote IT support, and makes presentations or training easier. It also helps manage multiple PCs, share content, and monitor activities more effectively. If you want to mirror a Windows screen to another, use the following two tools.
Way 1. AnyViewer
If you're seeking a top-notch solution for screen mirroring between Windows devices, AnyViewer is an excellent remote desktop software choice. Its user-friendly interface, robust security features, and high-quality performance make it ideal for both personal and professional use. With easy setup and additional functionalities like file transfer and remote support, AnyViewer offers a comprehensive and reliable way to connect and manage remote screens seamlessly.
How to mirror screen on Windows 10 and 11 with AnyViewer:
Step 1. Download and install AnyViewer on both your local and remote Windows computers.
Step 2. Sign up for an AnyViewer account and log into your AnyViewer account on both devices.

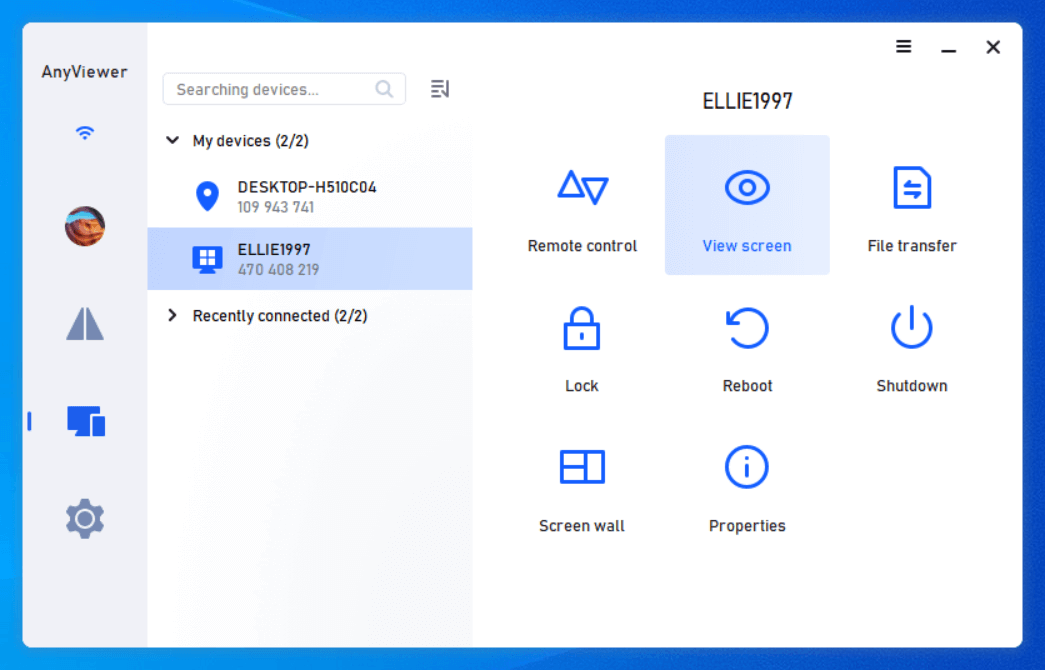
Step 3. On your local device, select the remote computer that will screen mirror from, and choose "View screen" to mirror its screen on your local Windows computer.
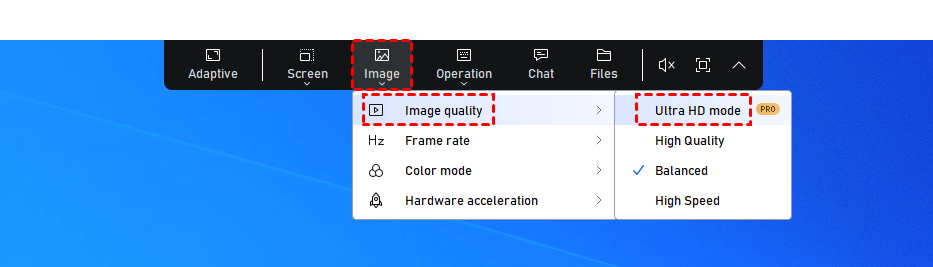
Tip: Upgrading to a Professional or Enterprise plan offers optimized display quality and additional advanced features:
- Ultra HD mode for display details
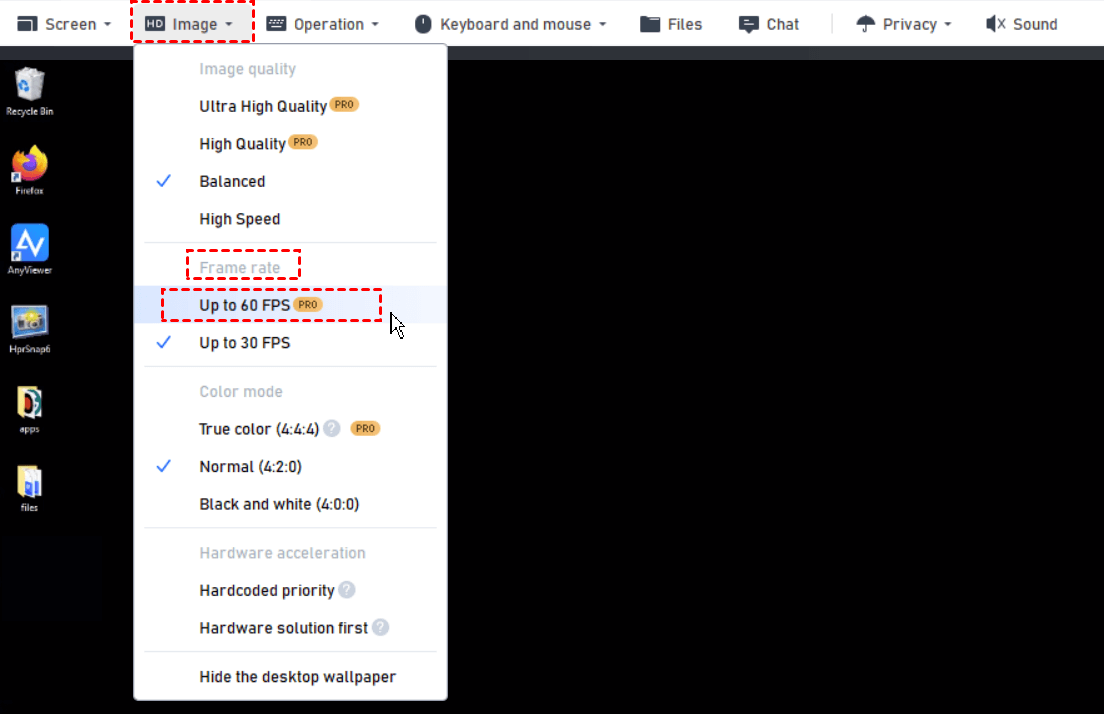
- Smooth frame rate up to 60 FPS
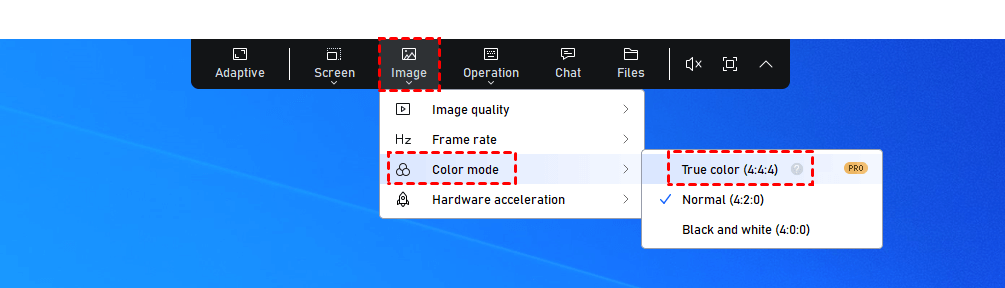
- 4:4:4 chroma sampling for accurate color display without any loss
Way 2. Windows Connect app
The Windows Connect app, also known as "Connect" or "Wireless Display," is a built-in feature in Windows 10 and later versions that allows you to wirelessly mirror or extend your PC's screen to another compatible device, such as a smart TV or another PC. It supports Miracast technology, enabling a seamless connection without the need for additional software. It’s a great choice for users looking for a straightforward, built-in solution for screen sharing.
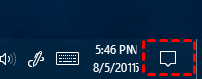
Step 1. Open the Action Center.
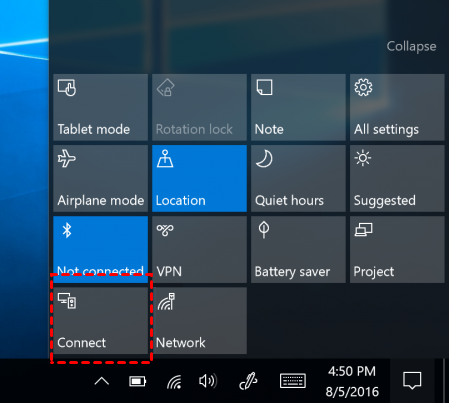
Step 2. Click on "Connect." A list of available devices will be displayed, including your other computer.
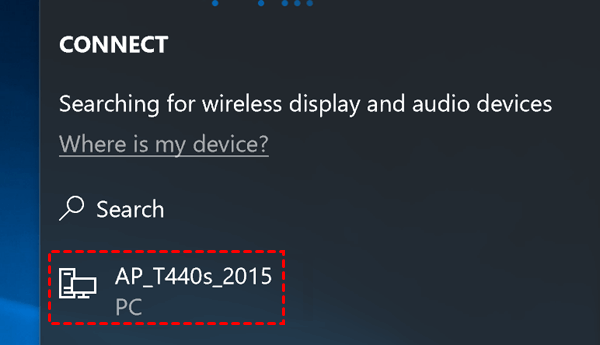
Step 3. Choose the receiving device. It may take a moment for the devices to pair. If the connection fails, try again.
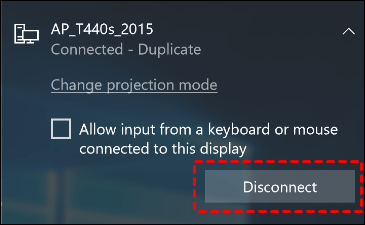
Step 4. Enable "Allow input" if you want the receiving device to control your PC using its keyboard and mouse.
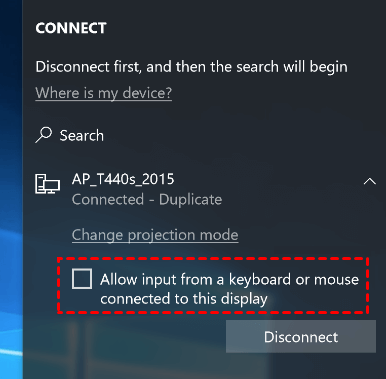
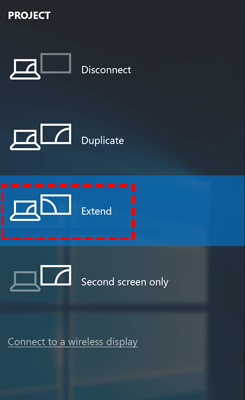
Step 5. To set up the wireless display as an additional desktop rather than duplicating your current screen, click on "Change projection mode".

Step 6. Choose "Extend" from the options.
Step 7. Click "Disconnect" to end the connection.
How to screen mirror on Windows10/11 to a TV
Screen mirroring a Windows 10/11 PC to a TV enhances viewing by providing a larger display for presentations, movies, or games. It’s great for sharing content with a group, improving visibility for entertainment or work, and creating a more immersive experience. If you want to mirror a Windows screen to a TV, there are two ways.
Way 1. HDMI cable
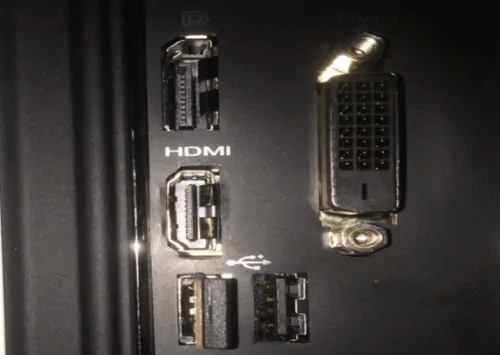
To share your PC screen with your TV, use an HDMI cable of suitable length to connect the two devices. Make sure that both your PC and TV are equipped with HDMI ports. If either device lacks an HDMI port, you'll need an adapter to make the connection.
HDMI ports on your PC and TV are typically labeled as HDMI 1 and HDMI 2 for easy identification. To cast your laptop screen to the TV, follow these steps:
Step 1. Plug one end of the HDMI cable into the HDMI port on your PC, usually located at the back of the CPU.
Step 2. Insert the other end of the HDMI cable into the HDMI port on your TV.
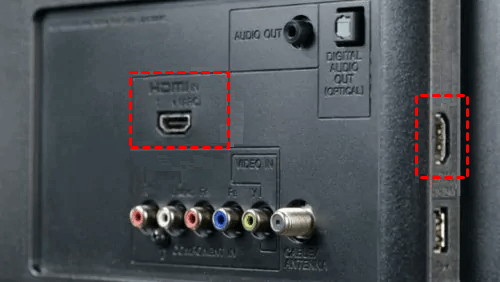
Step 3. Use your TV remote to press the "Source" button and select the appropriate HDMI port. Your PC screen will then be mirrored on the TV.
An important note about HDMI cables is that they carry both video and audio signals, so no additional audio cables are needed when mirroring your screen to a TV.
Way 2. Chromecast
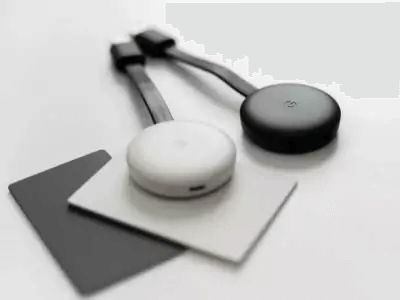
Chromecast is a series of digital media players created by Google. It lets you stream audio and video content directly to your TV from your mobile devices, tablets, or computers. If you have a Chromecast, you can use it to cast your PC screen to your TV. Here’s how:
Step 1. Plug the Chromecast into your TV using the included USB cable.
Step 2. Ensure both your PC and TV are connected to the same Wi-Fi network. Launch the Chrome browser on your computer.
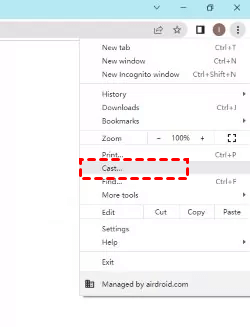
Step 3. Click the three dots menu in the browser's upper-right corner and select "Cast." Choose your Chromecast device from the list, and your PC screen will appear on the TV.
The bottom line
In conclusion, understanding how to screen mirror on Windows can greatly enhance your digital experience. Whether you use AnyViewer for PC-to-PC mirroring or the Windows Connect app for a straightforward wireless connection, these methods make sharing your display easy and efficient. For connecting to a TV, HDMI cables and Chromecast provide reliable solutions. By mastering how to screen mirror on Windows, you can effectively extend your workspace, boost productivity, and enjoy a larger display for presentations and entertainment.
