
Tutorial: How to Manage Multiple Desktops in Windows 10 & 11
Learn how to manage multiple desktops in Windows 10 and 11 to enhance productivity and organization. Discover step-by-step instructions to control multiple screens seamlessly.
By Ellie / Updated on January 17, 2025
How do I see all desktops in Windows 10?
The ability to manage multiple desktops simultaneously in Windows 10 and 11 promotes organization, efficiency, and productivity, making it an invaluable feature for users who frequently multitask and manage multiple projects simultaneously. Yet, the pivotal question remains: how can one effectively see all Windows 10 and 11 desktops?

Fear not, for this article delves into the intricacies of how to manage multiple desktops in Windows 10 and 11, elucidating each step in meticulous detail.
How to manage multiple desktops in Windows 10 & 11 [2 ways]
In diverse situations, employing varying methods can lead to heightened efficiency. Below are the top two approaches upon which you can reliably depend.
Way 1. Use the Windows built-in feature Task View
Are you constantly juggling between various tasks on your Windows 10 computer? Do you find yourself overwhelmed by the clutter of open windows and applications? Fear not! Windows 10 and 11 offer a powerful solution to streamline your multitasking experience: Task View. Task View is a built-in feature in the Windows operating system that allows users to view and manage their open windows and virtual desktops. It provides a way to easily switch between different applications and organize tasks more efficiently.
Let’s see how to use multiple desktops in Windows 10 and 11 via Task View:
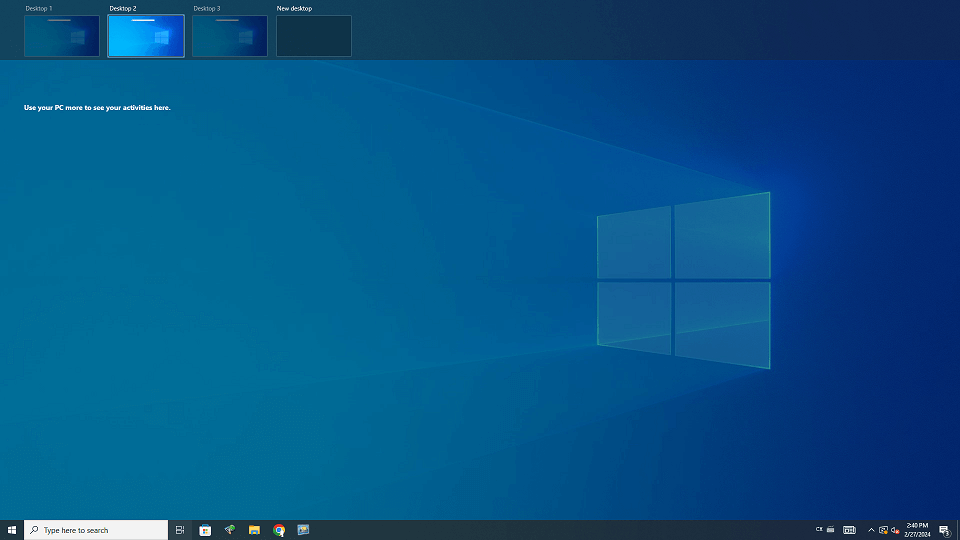
Step 1. Begin by clicking on the Task View button positioned in the lower-left corner of the taskbar. Then, proceed to click the + New desktop button located in the upper left corner.
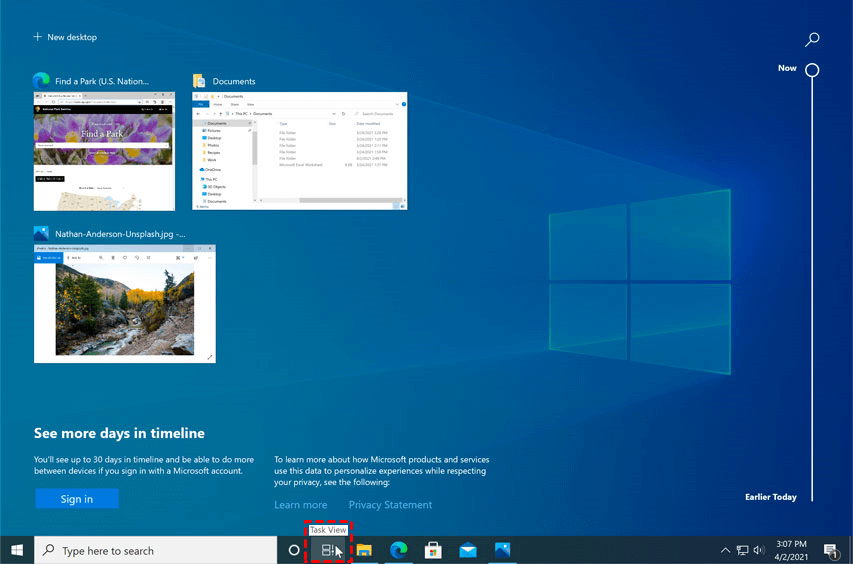
Step 2. You now can operate multiple desktops for seamless multitasking. To transition to a different desktop, simply select Task View once more.
Way 2. Manage multiple remote desktops with AnyViewer
For IT professionals working in large corporate settings, managing numerous remote desktops for tasks such as remote support or data monitoring is crucial. In such scenarios, leveraging AnyViewer, an exceptional remote desktop software, comes highly recommended. AnyViewer distinguishes itself with its cutting-edge screen wall functionality, empowering users to effortlessly oversee multiple remote desktops simultaneously on a single screen.
Let’s see how to control multiple screens on Windows 10 and 11 remotely:
Step 1. Start by downloading and installing AnyViewer on all the desktop computers.
Step 2.After installing, open AnyViewer on your main computer and sign in with your account details. Then sign in to the same AnyViewer account on all the other desktops you want to manage.

Step 3. On your main computer, go to the "Device" section, pick your local device, and choose "Screen wall."
![]()
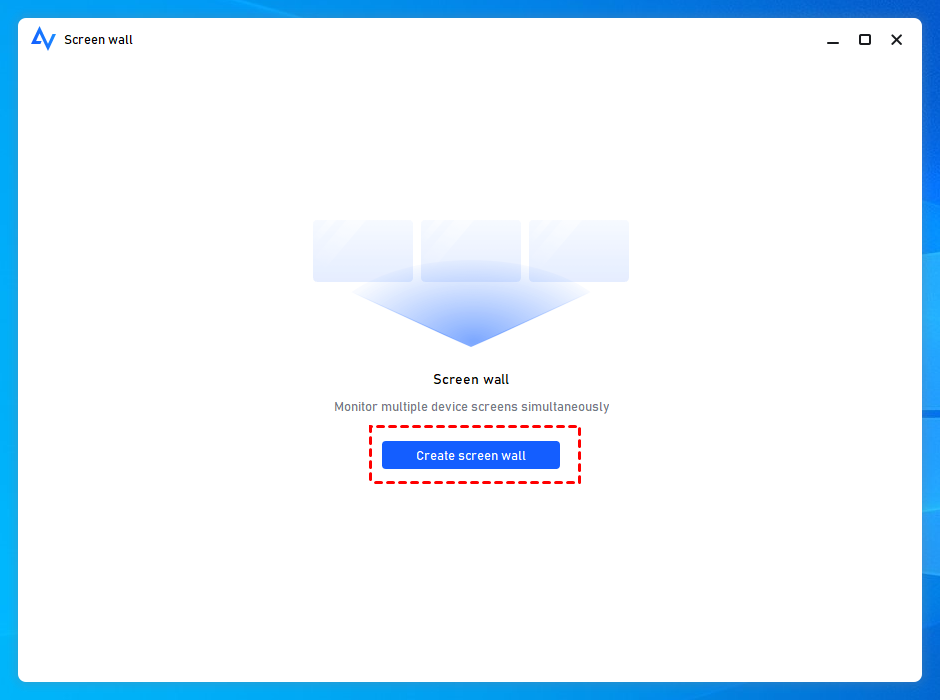
Step 4. Click "Create screen wall."
Step 5. Select all the desktops you want to control simultaneously, then click "Add."
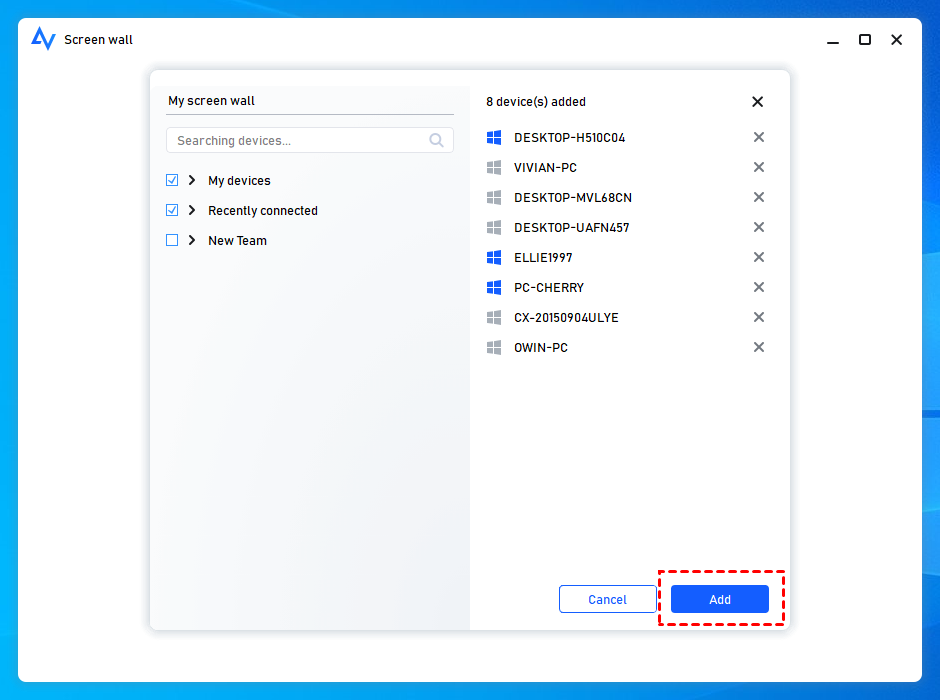
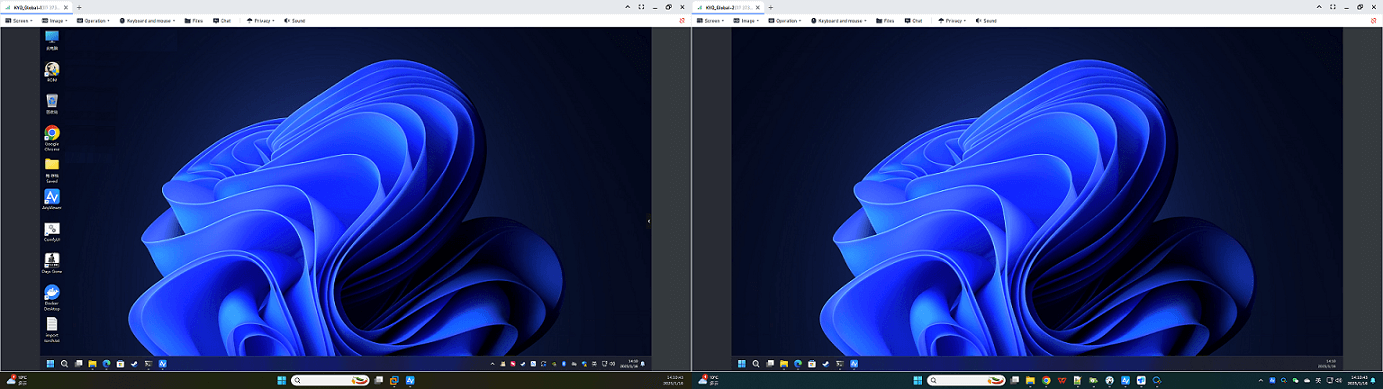
Step 6. You can now watch and handle all the desktops you added, all in one window.

If you’re working with a multi-monitor setup, there’s no need to worry. AnyViewer’s powerful multi-screen display feature allows you to seamlessly control multi-monitor devices remotely from a multi-monitor device, making it easy to streamline your workflow.
- ★Tips:
- If you're aiming to create multiple screen walls, consider upgrading to an Enterprise plan for unlimited screen walls, unlimited simultaneously sessions, unlimited channels, privacy mode, super-fast file transfer, and more.
- AnyViewer allows Enterprise admin account to create 30 sub-accounts. And it offers Role Permission Management to help you manage these accounts for team security. You can create different roles with different permission combinations and set them up on sub-accounts. The permissions include controllable devices, view, edit, and delete rights of user/device management.

The bottom line
In conclusion, mastering how to manage multiple desktops in Windows 10 and 11 is key to boosting productivity and staying organized. Whether using built-in features like Task View or specialized remote desktop software such as AnyViewer, these methods help users navigate tasks seamlessly. Whether you're a casual user or an IT professional, these techniques offer practical solutions to improve efficiency. Embrace these tips to make the most of your Windows experience and handle multiple tasks with ease.
