
How to Access My Mac Desktop Online Remotely: Complete Tutorial
This guide shows you how to access your Mac desktop online remotely. AnyViewer is the easiest and most secure option, Apple Remote Desktop is great for advanced users, and SSH is a powerful choice for tech-savvy individuals. Stay connected to your Mac wherever you are.
By Ellie / Updated on December 19, 2024
Can I access my Mac online remotely?
Ever found yourself needing a crucial file or app on your Mac while you're miles away? In today's era of remote work, having the ability to access your Mac desktop from anywhere has become essential. Thankfully, Apple offers straightforward solutions, and third-party apps make the process even more seamless.

This guide will show how to access my Mac desktop online remotely in the most effective ways, combining ease of use with top-notch security.
How to access my Mac desktop online remotely
Through extensive research and testing, three dependable methods have been identified for accessing your Mac desktop remotely.
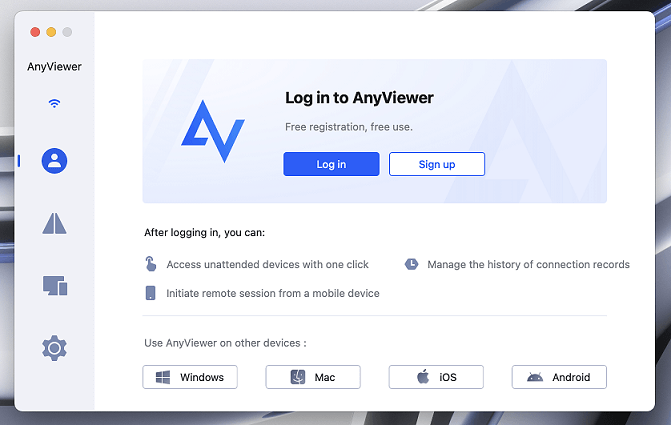
Method 1. Access Mac from anywhere via AnyViewer [Recommended]
AnyViewer is the third-party remote desktop software for Mac, allowing users to access Mac desktop remotely from other devices, including Windows, another Mac, iOS devices, or Android devices, from anywhere.
Why is a third-party tool the most recommended one for accessing Mac desktop online remotely? That is because it has many advantages, including:
- Cross-Platform Compatibility: AnyViewer supports a wide range of devices, making it incredibly versatile. Whether you're using a Mac, Windows PC, Android, or iOS, you can seamlessly connect to your Mac desktop without any hassle.
- Ease of Use: The software is designed with simplicity in mind, providing an intuitive user interface. You don't need any technical expertise to set it up or operate it, making it perfect for both beginners and advanced users.
- Robust Security Features: AnyViewer uses advanced encryption protocols to ensure secure data transmission, protecting your sensitive information while you're accessing your Mac remotely. This makes it a safe option for both personal and business use.
- High-Performance Remote Access: It delivers smooth and lag-free connections, even for high-resolution tasks, ensuring a productive remote experience. Whether you're working on graphics-heavy applications or performing simple administrative tasks, AnyViewer provides stable and responsive control.
- Free to Use: One of the best things about AnyViewer is that it offers a free version with essential features, allowing you to remotely access your Mac without any cost. For users who require additional functionalities, there are affordable paid plans available.
- Affordable Pricing: Even beyond the free version, AnyViewer offers competitive pricing for both individual users and businesses. You get excellent value for the features it provides, making it an economical option for anyone needing reliable remote access.
Here's how to access my Mac desktop online remotely with AnyViewer:
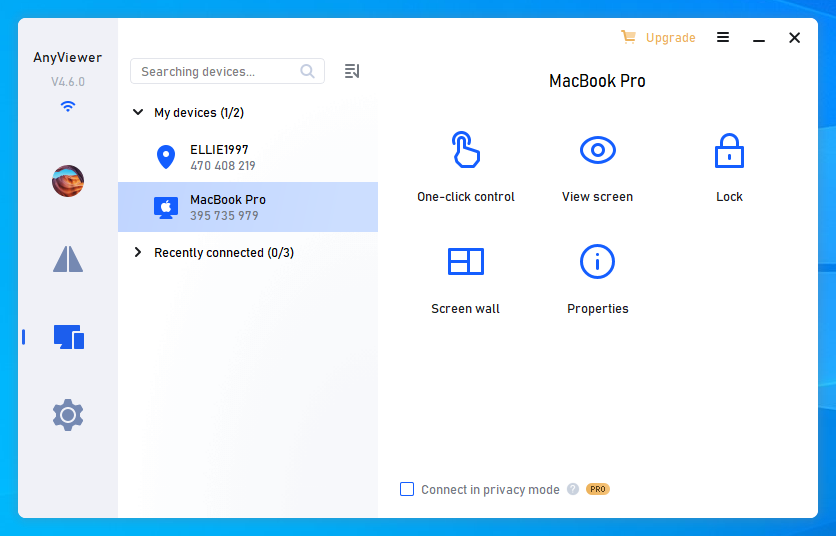
Step 1. Download and install AnyViewer on your Mac, open the app, and sign up for a new account.
Step 2. Download and install AnyViewer on your Windows device and log in with the same account.

Step 3. Go to "Device," find your Mac, and click "One-click control" for unattended Mac remote access.
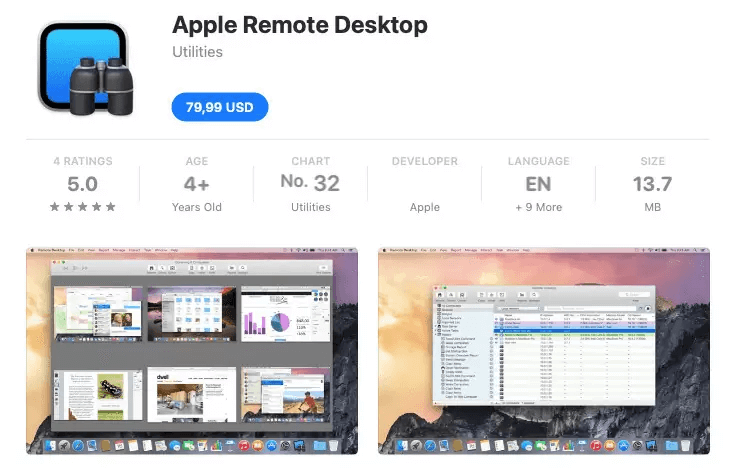
Method 2. Enable remote access to Mac with Apple Remote Desktop
Apple Remote Desktop (ARD) is a robust solution for remotely controlling Mac computers, allowing you to manage multiple systems, perform administrative tasks, and access files from a distance. It's ideal for businesses, IT administrators, and anyone needing to support or monitor Mac devices remotely.
However, here are some key points to consider:
- Apple Remote Desktop is a paid app available on the Mac App Store, priced at $79.99 with a one-time purchase.
- This tool is exclusive to Macs, so it won't work if you need cross-platform remote access—such as controlling a Mac from a Windows PC.
- There is no mobile version of the app—Apple Remote Desktop is only available through the Mac App Store, so it's not compatible with iPads or iPhones.
Here’s how to enable remote access to your Mac using Apple Remote Desktop:
Setting Up Apple Remote Desktop
Step 1. Download Apple Remote Desktop from the Mac App Store and use the setup assistant to complete the configuration.
Step 2. Enter your Task Server address and click "Continue" (skip this step if you don’t have one).
Step 3. Ensure all your client computers have the Remote Desktop client software installed (it’s pre-installed on macOS).
Step 4. Use the Scanner in the sidebar to add all client machines to your list of devices you can control.
Adding Clients
To add a client to the list of controlled machines, click on the Scanner on the left side. This will open a dropdown menu with several options to scan the network for hostnames, IP addresses, and other key information:
- Bonjour: Find all computers in your default Bonjour domain that have Remote Desktop enabled.
- Directory Server: Lists client machines grouped in the directory known to your Task Server.
- Importing a File: Allows you to import a list of IP addresses from a file.
- Network Addresses: Shows devices connected to a particular IP address.
- IP Addresses: Adds a client directly by its IP address or hostname.
- Local Network: Lists all potential clients on the same subnet as your machine.
- Network Range: Displays devices within a specific IP range.
- Task Server: Shows the devices added by other Remote Desktop administrators.
Typically, you'll find your devices listed under Bonjour (for Mac devices) or Local Network (for all network devices).
Connecting to Machines
Once your machines are added to the list, you can connect to them by clicking on their hostname and entering your administrator credentials. The client machine will then appear under All Computers on the left.
Granting Permissions
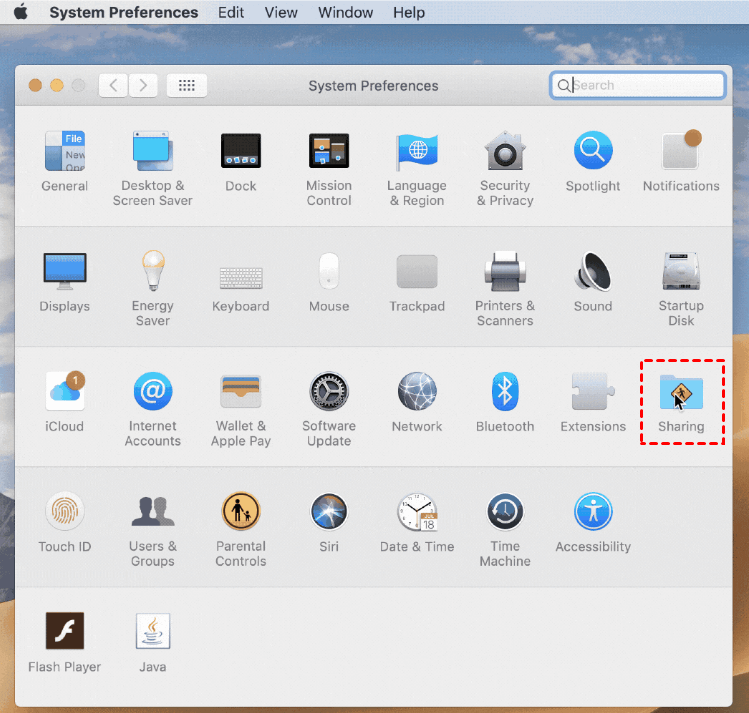
To allow Apple Remote Desktop to access your Mac, follow these steps:
Step 1. Go to Apple > System Settings and click General on the sidebar.
Step 2. Click Sharing.
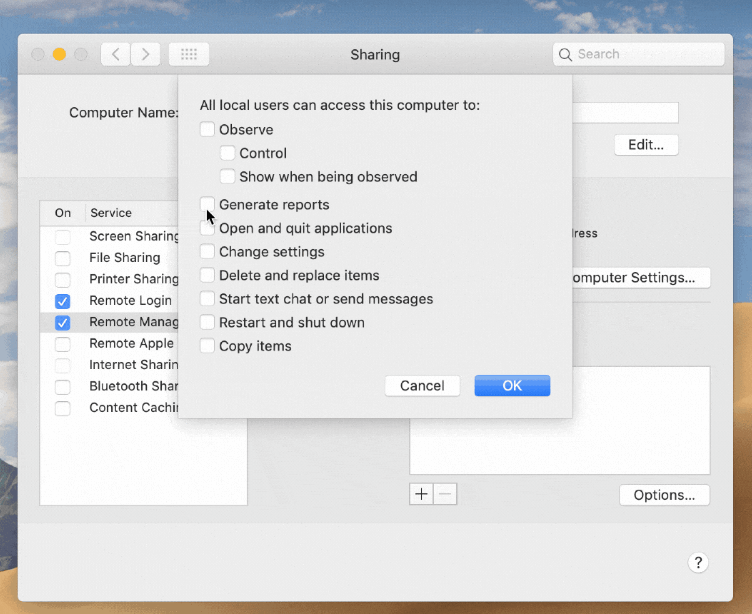
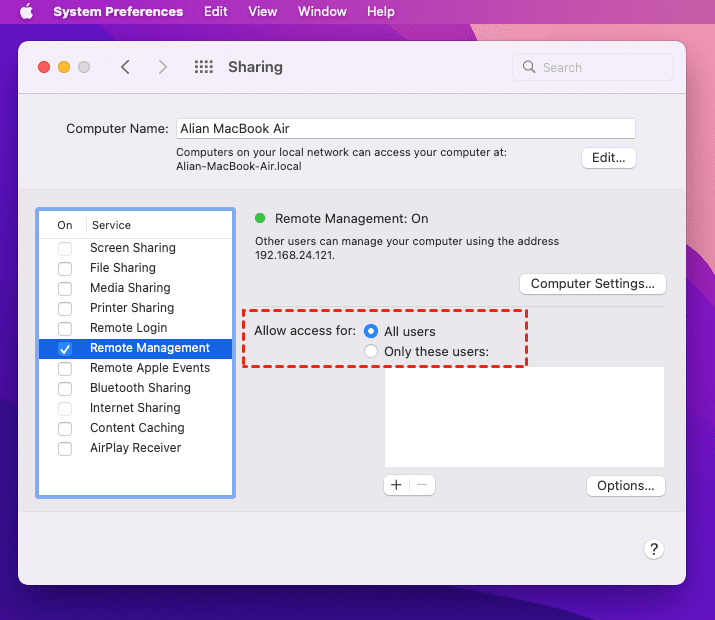
Step 3. Turn on Remote Management, and click the info button to adjust your preferences. For example, you can choose to always display the Remote Management status in your menu bar.
Step 4. Click Allow Access for and select either All Users or Only These Users. If you select the latter, choose the specific users who can access your Mac.
Step 5. Enter the information to be shown in the System Overview Report under the Computer Information section.
Step 6. Once you’re finished, click the Done button.
Method 3. Allow remote login to Mac with Secure Shell
The final method is Secure Shell (SSH), which is perfect for those with some technical expertise. However, Apple has made the setup simple enough that even users with minimal technical knowledge can use it.
Before you can remotely access your Mac, you'll need to enable SSH on the Mac you wish to log into. Here’s how to set it up:
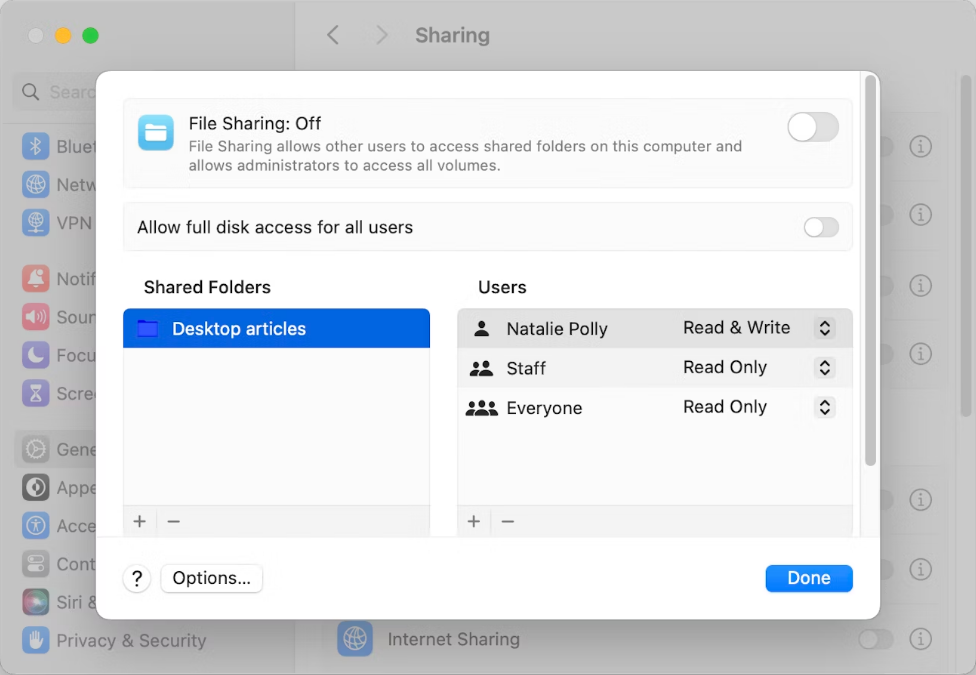
Step 1. Open System Settings > General > Sharing > File Sharing.
Step 2. Turn on the toggle and click the i icon.
Step 3. In the Allow access for section, select the usernames of Macs already on your network, or choose the username of another Mac you own. Alternatively, you can select All Users to allow access from any device on the network. Just ensure they will need your password to log in, maintaining security.
Before attempting to access your Mac from another device, make sure to securely note down the following details:
- Your Mac's admin username (the one you use to log in).
- Your Mac's IP address.
Keep these details safe, as enabling remote access can make your Mac more vulnerable, especially when using public or cellular Wi-Fi networks.
Once remote access is set up, you can use Terminal or any SSH-enabled app to create a simple Secure File Transfer Protocol (SFTP) connection. With just your username and IP address, you’ll be able to access, control, or view your Mac’s data—provided it’s turned on. Depending on the macOS versions on both devices, you may also need to enter your password.
Conclusion
In conclusion, knowing how to access my Mac desktop online remotely is essential for staying productive on the go. Whether you choose AnyViewer for its ease of use, robust security, and cross-platform compatibility, or opt for Apple Remote Desktop and Secure Shell for more advanced solutions, each method offers reliable access.
Among them, AnyViewer stands out for its seamless experience and free option, making it the most recommended choice for effortless remote Mac access. By selecting the right method, you can securely manage your Mac from anywhere and stay connected to your work.
