
2025 Full Tutorial: Best Way to Transfer All Files to New Computer [6 Ways]
Have you ever wanted to transfer all files to new computer? Don’t worry, here in this article, we will introduce the best way to transfer all files to new computer.
By Carolyn / Updated on April 15, 2025
What is the fastest way to transfer all files from one computer to another?
There is nothing more exciting than getting a brand-new computer. Often, a new computer means getting lots of new features, more power, better graphics, and more storage space. However, that excitement may be tempered if you need to transfer files from your old computer to your new one. Wondering the best way to transfer all files to new computer Windows? We'll assist you in determining the finest option.

Best way to transfer all files to new computer [6 ways]
Transferring files is not an overly complicated process, but it can take up to a few hours depending on the amount of data you need to transfer. There are various methods for moving old files from one machine to another. Here are six of the most common methods you can try on your own.
Way 1. Sharing with professional file transfer software
If you are looking for cross-platform software to transfer all files between two devices, no matter if you're using a Windows computer or a Mac, AnyViewer might be exactly what you've been looking for. It offers seamless file transfer capabilities, allowing you to move documents, photos, videos, and more without compatibility issues. With its user-friendly interface and fast transfer speeds, AnyViewer makes it easy to manage your files remotely and securely across different operating systems.
In addition, AnyViewer secures all file transfers. End-to-end encryption with a strong 256-bit Elliptic Curve Cryptography (ECC) algorithm provides high data protection. This ensures that your files remain confidential and safe from unauthorized access during transmission, giving you peace of mind whether you're transferring personal files or sensitive business data.
On top of that, AnyViewer is also a powerful remote access software. With it, you can realize one-click control of unattended devices. You can control your work computer from home to perform remote work, access software or files, troubleshoot issues, or collaborate in real-time—just as if you were sitting in front of the remote screen.
Step 1. Download, install, and open AnyViewer on both of your computers.
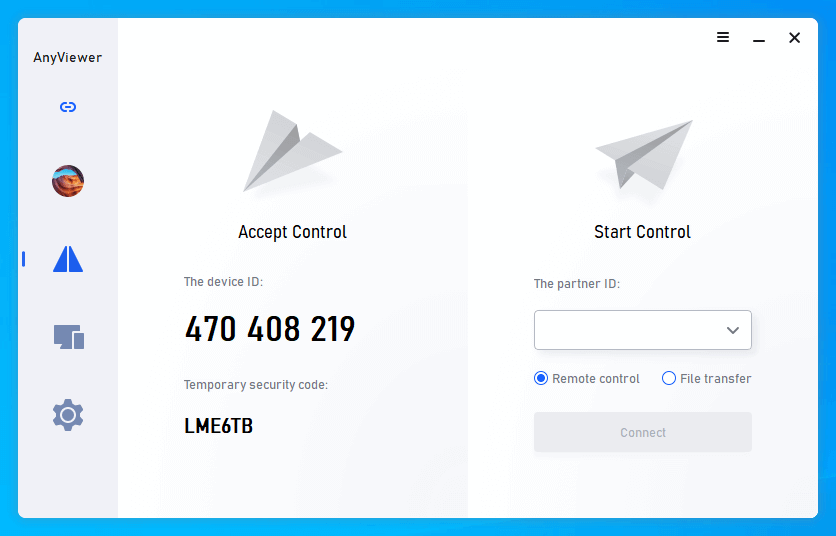
Step 2. Select “Login” and click “Sign in”. (If you have already registered on their website you can log in directly.)

Step 3. You will then see that you have successfully authenticated into AnyViewer, and your device will be automatically assigned to the account into which you logged.

Step 4. On another computer, log in to the same account. Select the “Device” tab, choose your target computer, and then click “File transfer”.


Step 5. Then the “File Transfer” dialog box appears. The left side of the box shows the host computer and the right side shows the client computer. After selecting the target file, click the arrow to freely transfer files between devices.

- ★Tips: It is strongly advised that you upgrade your account to the professional or enterprise plan in order to send files freely. Below are the benefits you can expect from the Professional or Enterprise plan:
- Faster file transfer speeds. Transfer speeds are 500 KB/s for free accounts and up to 10 MB/s for paid accounts.
- Transfer an increasing number of files at the same time. For free accounts, 100 files can be transferred at a time; for paid accounts, there is no limit to this number.
- The size of individual files that can be transferred is large. The maximum size of a single file that can be transferred is 100 MB for free accounts and 1 TB for paid accounts.
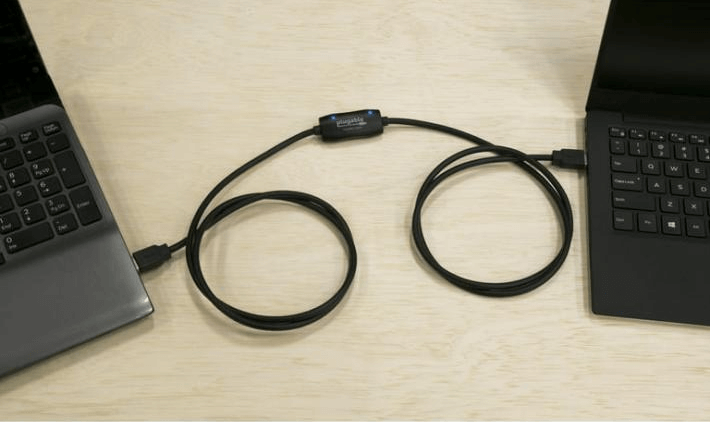
Way 2. Transfer files with a USB cable
For PC-to-PC file transfers, you need a USB bridge cable or a USB network cable. It's faster than using a drive because the copy-and-paste process happens simultaneously between connected systems. With an external drive, you are essentially transferring between three drives, but the cable reduces this to two drives.
If you want to transfer files from one Windows computer to another:
Step 1. Plug the USB cable into both computers. Once both computers recognize the cable, they will automatically install the driver.
Step 2. Download and install the data transmission software for both computers after installing the USB cable drivers.
Step 3. When you are ready, launch the Transfer application on both computers and you can now start transferring files.
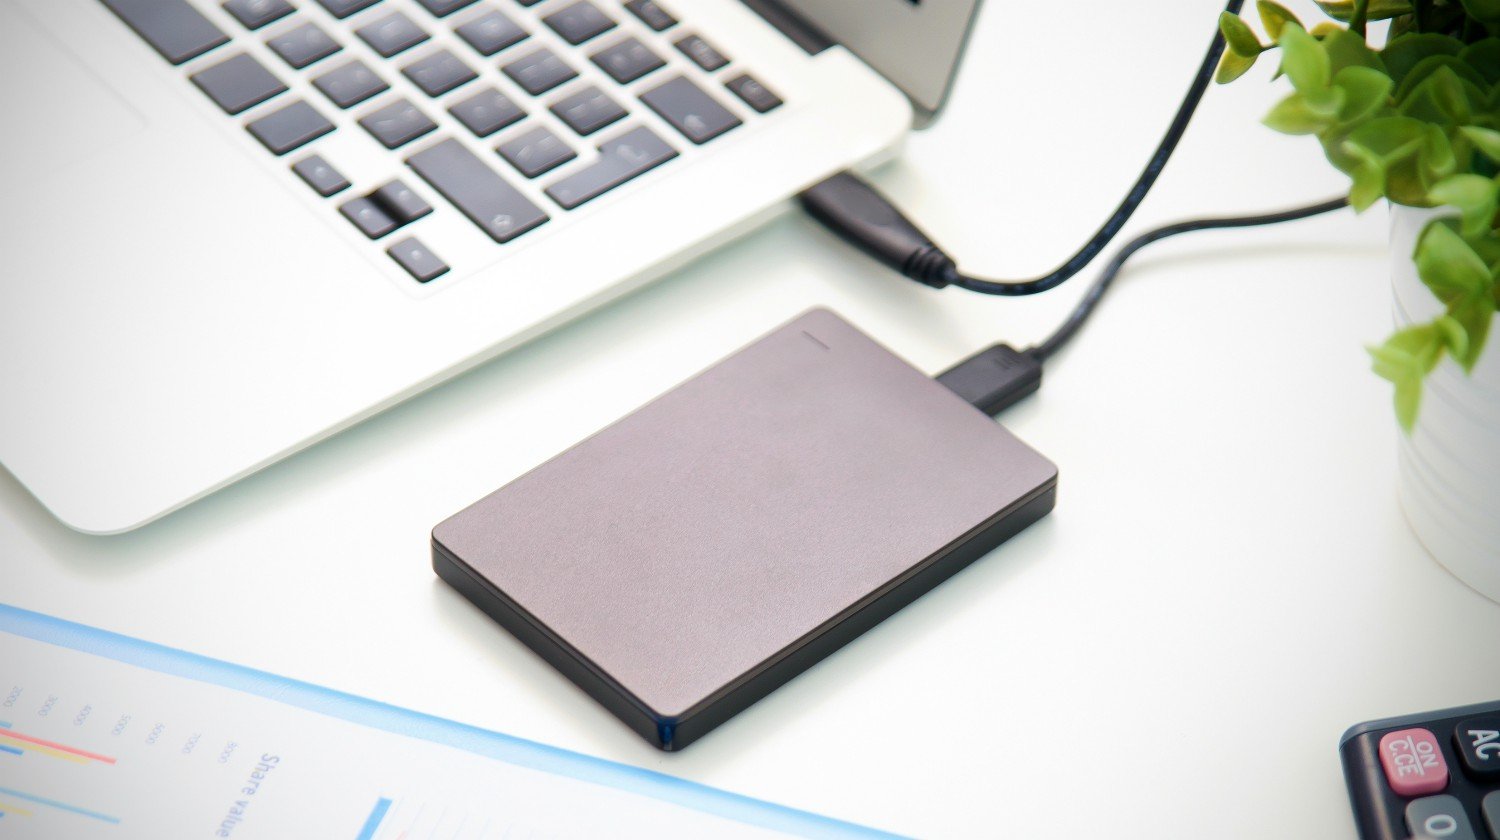
Way 3. Use external storage media
External storage media is the preferred choice for most people. Insert a USB flash drive into one computer and copy the data. Insert the same drive into another computer and paste the data. This is probably the most popular way of transferring files between PCs.
Step 1. Connect your external gadgets to the old computer.
Step 2. Locate the device in File Explorer, and then drag or copy the files you want to transfer to a folder on your hard drive.
Step 3. Securely eject the drive and connect it to the new computer.
Step 4. Locate the device again in File Explorer, and then drag or copy the file from the hard drive folder to whatever location on the new computer where you want to store this data.
Way 4. Share files with cloud storage
Cloud storage makes accessing and sharing files much easier than manual transfers. It is one of the most convenient options for storing and transferring files wirelessly - no external storage devices or cables are required!
Any files transferred via cloud storage are protected through data encryption. Additionally, unlike external hard drives, cloud storage services are scalable, meaning you only need to subscribe to the space you need.
If you have a Google account, then Google Drive is a very good option.
Step 1. Download, install, and launch the Google Drive app on both of your computers.
Step 2. Log in to your Google account. Click the "+" button in the upper left corner. You will see a menu and select "File upload".

Step 3. Select the files you want to upload and wait for the upload to complete.
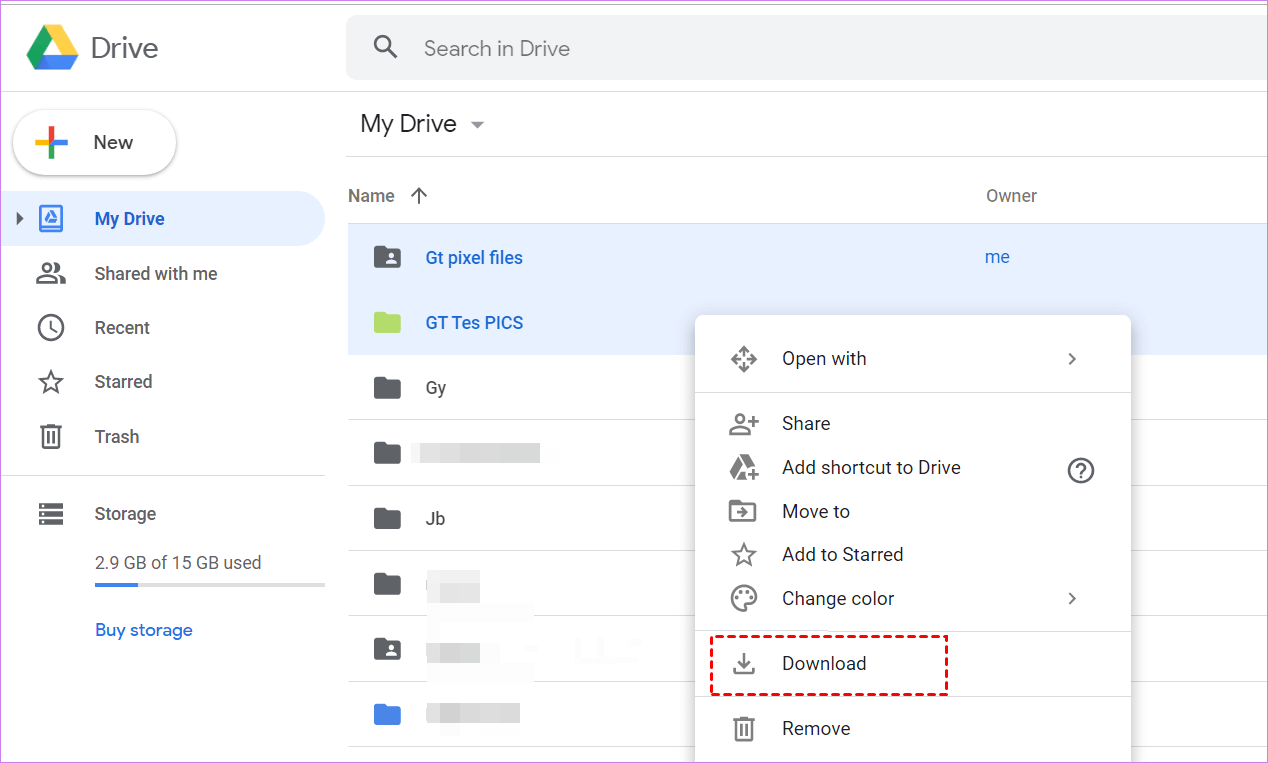
Step 4. On another computer, log in to the same Google account. Then find “My Device” on the left side and select the file you want to download. Click the “Download” and wait for it to complete.
Way 5. Connect the HDD or SSD manually
Are you attempting to move data from an old computer to a new one? If your old computer is not working, you may think that there is nothing you can do as far as recovering your data is concerned, but fortunately, you are wrong. Both solid-state drives(SSD) and hard disk drives(HDD) use SATA cables to connect them to the main circuit board (also known as the motherboard).
If you have a spare SATA or eSATA (external SATA) port, you can connect your old hard disk to the SATA SSD or eSATA (external SATA) port in your new computer. After installing the old drive, the operating system in the new PC will read the drive and begin transferring data via HDD or SSD.
Once you have removed all the files from your old hard drive, you have the option of using it as an external storage device. This is a great tool if you want to back up any important files.
Way 6. Share via LAN or Wi-Fi
Wi-Fi and local area networks (LAN) are two means for transferring files and folders between computers in close proximity.
If your two computers are on the same network and within range, you can set up a local area network (LAN) so that you can use one PC to search the hard disk drive of the other PC to select files to transfer.
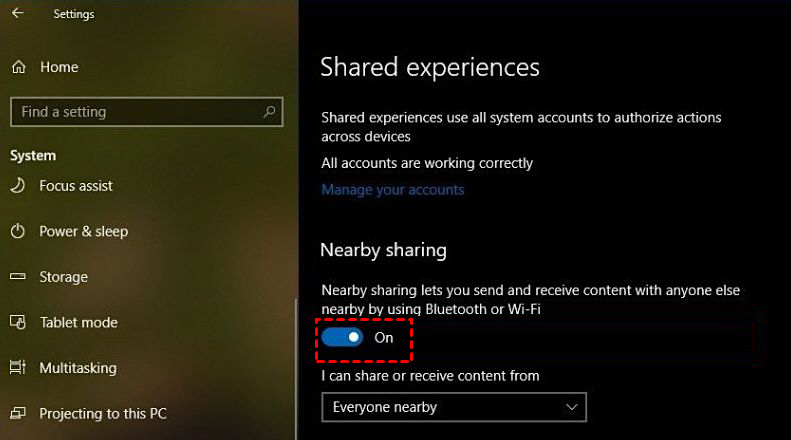
The way you transfer files over Wi-Fi varies by operating system. For Windows 10 and 11 computers, you can use Nearby Sharing. Your computers need to be connected to the same Wi-Fi network and have the same permissions (for example, the devices you can share or receive files from).
Step 1. Find: “Settings”> “System”> ”Shared Experience” and turn on the “Nearby Sharing” button.
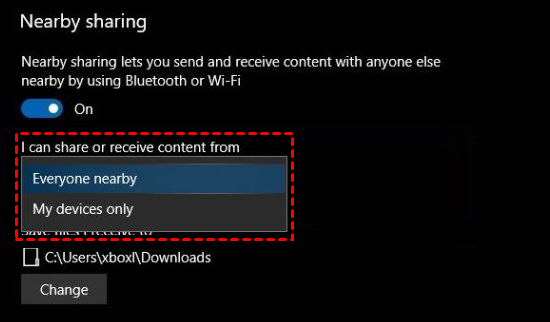
Step 2. Select the sharing mode from the drop-down menu according to your own needs.
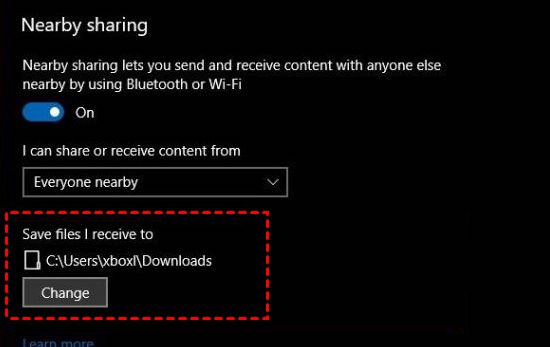
Step 3. You can click “Change” to select the folder location where you want to store the files you want to transfer to your PC.
Step 4. Go to “File Explorer”, right-click on the desired file you want to transfer, and then select “Share” from the context menu.

Step 5. Select the target device to which you want to transfer the files from the pop-up window.

Step 6. The target device will then receive a notification. Click "Save and Open" to start the file transfer.
Conclusion
This article explains the best way to transfer all files to new computer. You can choose between the file transfer tool AnyViewer, a transfer cable, an external storage media, cloud storage, and HDD or SSD. We strongly recommend you choose AnyViewer. It allows you to transfer files directly between two computers without the need for third-party media. In addition, it not only allows you to transfer files between computers remotely but also allows you to control remote devices. Get it right now!
