This guide provides a step-by-step explanation of how to use AnyViewer’s Multiple-screen control feature. By connecting multiple screens of a remote device and allocating windows for full-screen operations, it enhances the efficiency of multi-screen usage.
Multi-screen control in a remote session allows users to efficiently manage and interact with multiple screens on a remote device. This feature is particularly useful in the following situations: When we remotely view and manage multiple screens, help IT professionals efficiently troubleshoot multi-monitor setup systems, perform troubleshooting or video editing, or complex tasks that require the simultaneous display of multiple applications or files, this feature greatly improves productivity and simplifies multitasking,
Before achieving it, you need to log in to an AnyViewer account in the controller pc and establish a remote connection. Let's take dual screens controlling dual screens as an example and provide a detailed step-by-step guide.
After a successful remote connection, the two screens on the controlled device will appear as separate tabs in the interface, such as 4090-1, 4090-2. The naming convention for multiscreen device labels is as follows: append the suffixes -1, -2, -3, and so on sequentially to the original device name.
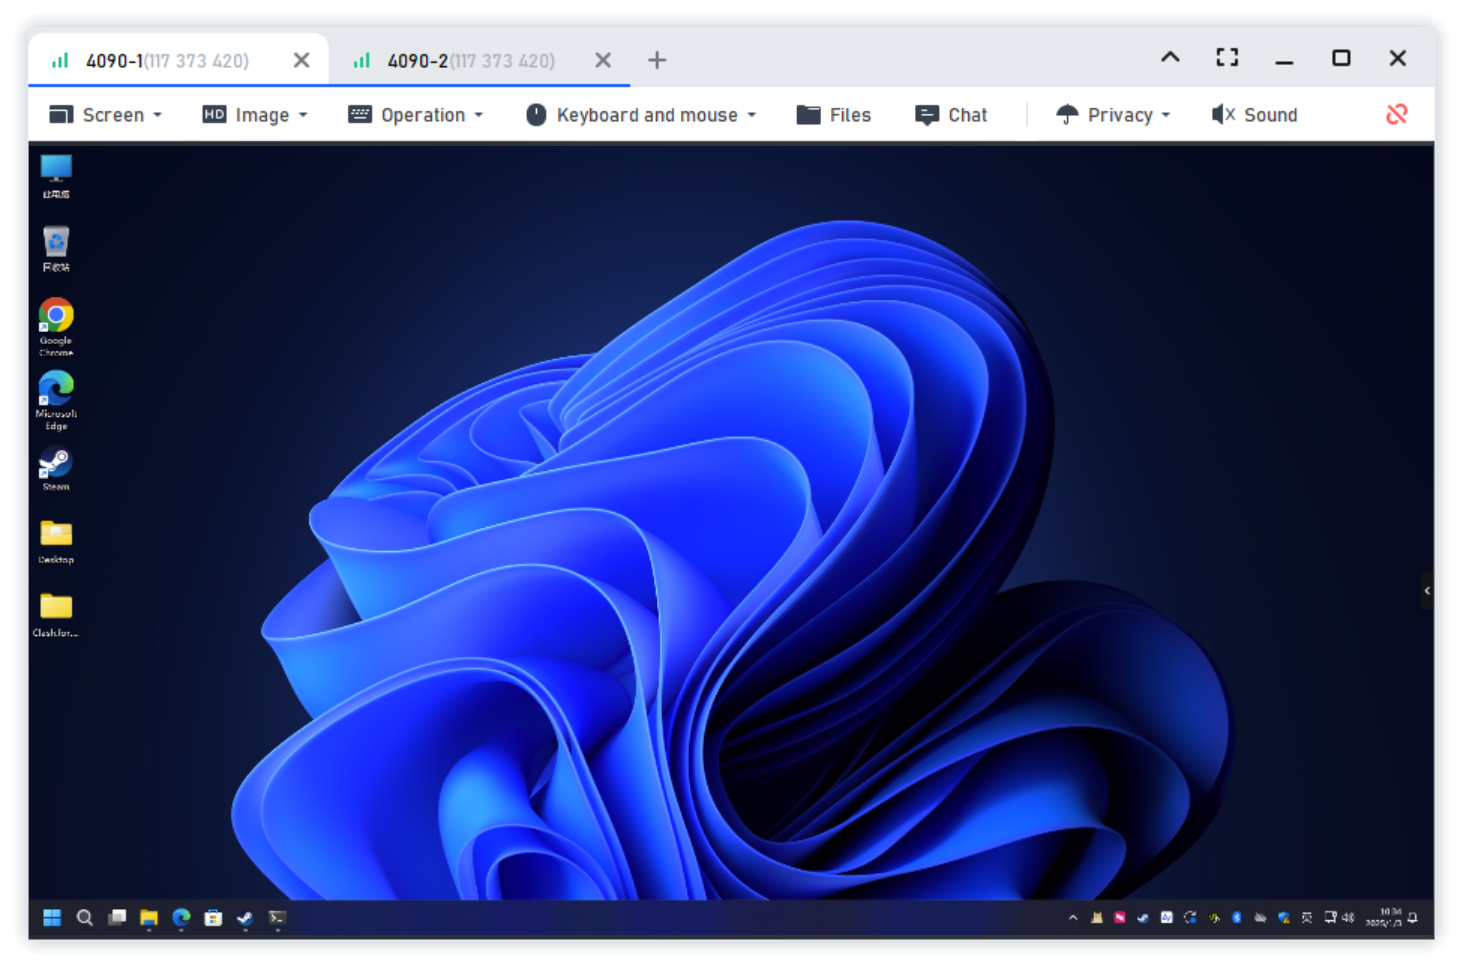
Drag one of the tabs out of the title bar area and release it to display the selected screen as a separate window. Let’s take the 4090-2 screen as an example, it is shown as follows.
After becoming an independent window, you can move each of the remote device’s screen windows to your own two monitors, then maximize or full-screen them. This will enable you to achieve dual-screen control functionality.

In short, the multiple-screen control feature in AnyViewer offers a practical solution for managing multiple screens remotely. By following the simple steps outlined, you can replicate a Multiple-screen setup, making your remote work more effective and efficient.


